
The 5-year-old is learning the wonders of the Xbox. We had a 360 that was 10 years old. Remember 10 years ago when the 360 first came out and you couldn’t find them anywhere? It was the grown up Cabbage Patch Kid or Tickle Me Elmo phenomenon (yea, I know, I am showing my age by remembering BOTH of those vividly). Well my husband locked out and walked into Best Buy just as they were placing them out for display. Mind you, he had no desire for one until that very moment when he could basically get as many as he wanted…. so he grabbed two and called a buddy… “Dude! Get over here right now, and you can buy it.” SO the friend did and the system has lasted this long. Pretty good. We have a ridiculous number of games the older kids have loved to play for years and the younger ones were just learning to love them…. and then it died.
SO we ordered a new one.. being out of touch like I am, that’s not the new system. Apparently Microsoft has a new system now.. the Xbox One. Well, it blows, but that is a post for another day. SO now we have a new system and a crud load of games that don’t work with it… Huh? Whatever happened to backwards compatible? Ok, I am getting way off track… sorry.
So the one thing the kids COULD keep was their Disney Infinity Characters. We couldn’t go out and drop a gazillion dollars on a hundred new games (OH wait, there are very few kid games with this new system… so hooray?) but we did buy the new Disney 2.0 system and a few Lego games so they could have some kind of variety. The characters are kind of smallish… and apparently fun to play with and leave in the middle of the floor… I was constantly tripping over them and picking them up. Putting them back in the tv cabinet was no good, they’d just pull them back out to see everyone they had when they next wanted to play. I decided to make a shelf.
I had this:

I decided I could make it work. I grabbed my Ryobi jigsaw and cut two sets of two pieces. (can’t snap a photo and cut sorry)

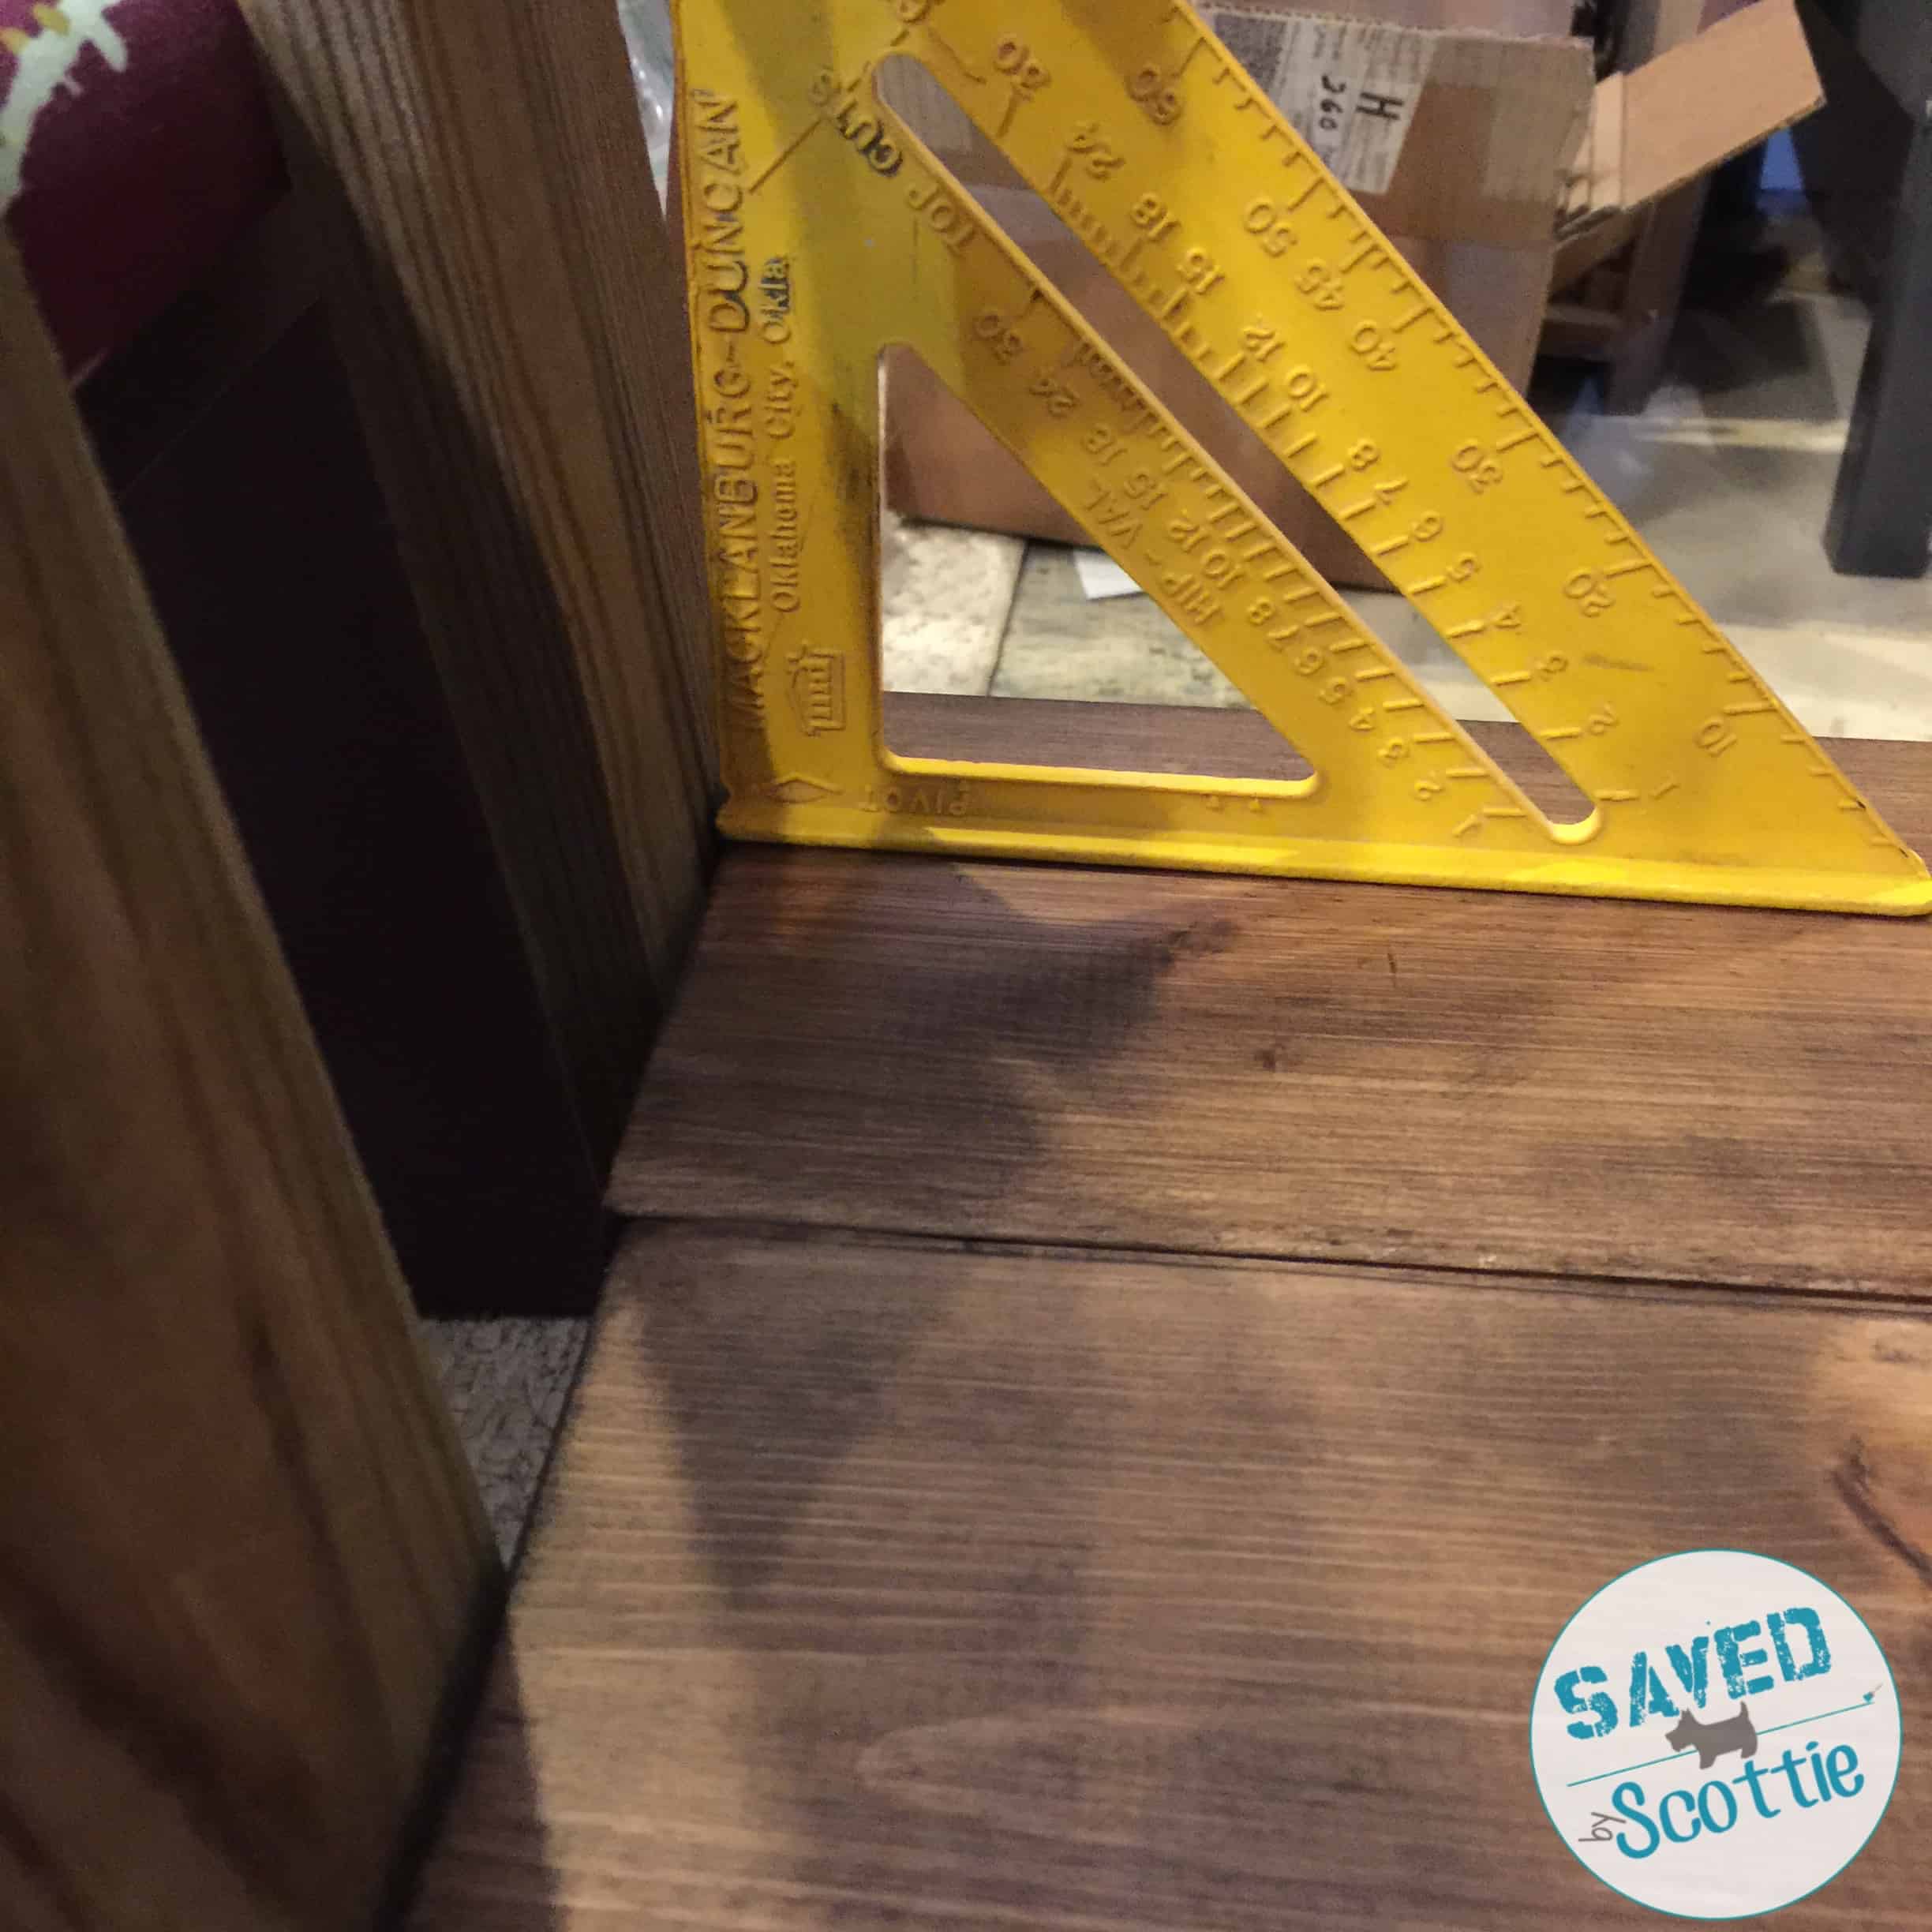
Yes, that’s one. I thought I would make a more narrow shelf to start, but changed my mind. I show you this photo for this fabulous trick- I wrapped the place I wanted to cut with painters tape and cut through it. Why? because when you do that, you don’t get all those splinters and burrs in the wood. look how smooth those cuts are!
I wanted three shelves, so I took the pieces off the single post and put them in the center using my favorite Ryobi Brad nailer.

Then I grabbed a few pieces of random 1×6 lying around and cut them to 18 inches long. I left the “assistance” because I will just turn that part to the bottom.

I laid them out and used Shabby Paints ReVAX to stain them.

I wanted a look fairly close to the age on the fence posts so I mixed the back and hazelnut. Not scientifically, mind you. I just dumped in Hazelnut and then added black until I liked the tone.

Then I used a brush and painted it on.

It dries really fast, which is fantastic for someone as patient as I am… Yea…
I did two coats to make them just a bit darker. This was after the first coat on the left and just after the second on the right. I used my square to line the bottom shelf up properly and used my Ryobi Driver to screw the shelves down on both sides.

I did all three shelves the same way and moved it into the house:

Then I filled it with the gang:


It’s a bit Rustic, but it serves a purpose and the “guys” have been much less underfoot ever since. So in this case, we lived happily ever after… The End
(While Ryobi has given me fabulous tools to use and share with you, all my opinions are always my own, and always will be)

No Comments