
Ever have that piece of furniture that is pretty, but super plain? Totally functional and in need of a mini makeover? Have I got the product for you!
*This post is sponsored by Overlays. What are Overlays? Super awesome decorative panels to use on furnishings and in your home- Check out their site and see all the options…go ahead, I’ll wait….
This page includes affiliate links. If you make a purchase using the link, I may receive a commission at no additional cost to you.
…sweet,right?! I was so thrilled with the thought of being able to choose anything that it took me a bit to pick. I finally decided on the Jasmine panels and ordered two of them. They’re 24 x 36 inches. It was way more than I needed for the piece I used and I have extra left over for another piece!
I went digging though my stash and remembered this poor sad armoire:

The poor thing had been left to rot in an outdoor shed and had quite a bit of water damage. The top had warped veneer

and the bottom was pretty much a total loss with all the peeling.

I glued down the pieces on top and stapled them in place until the glue dried. Then I cut a new piece of plywood for the bottom and marked out the holes to match up with the old ones.

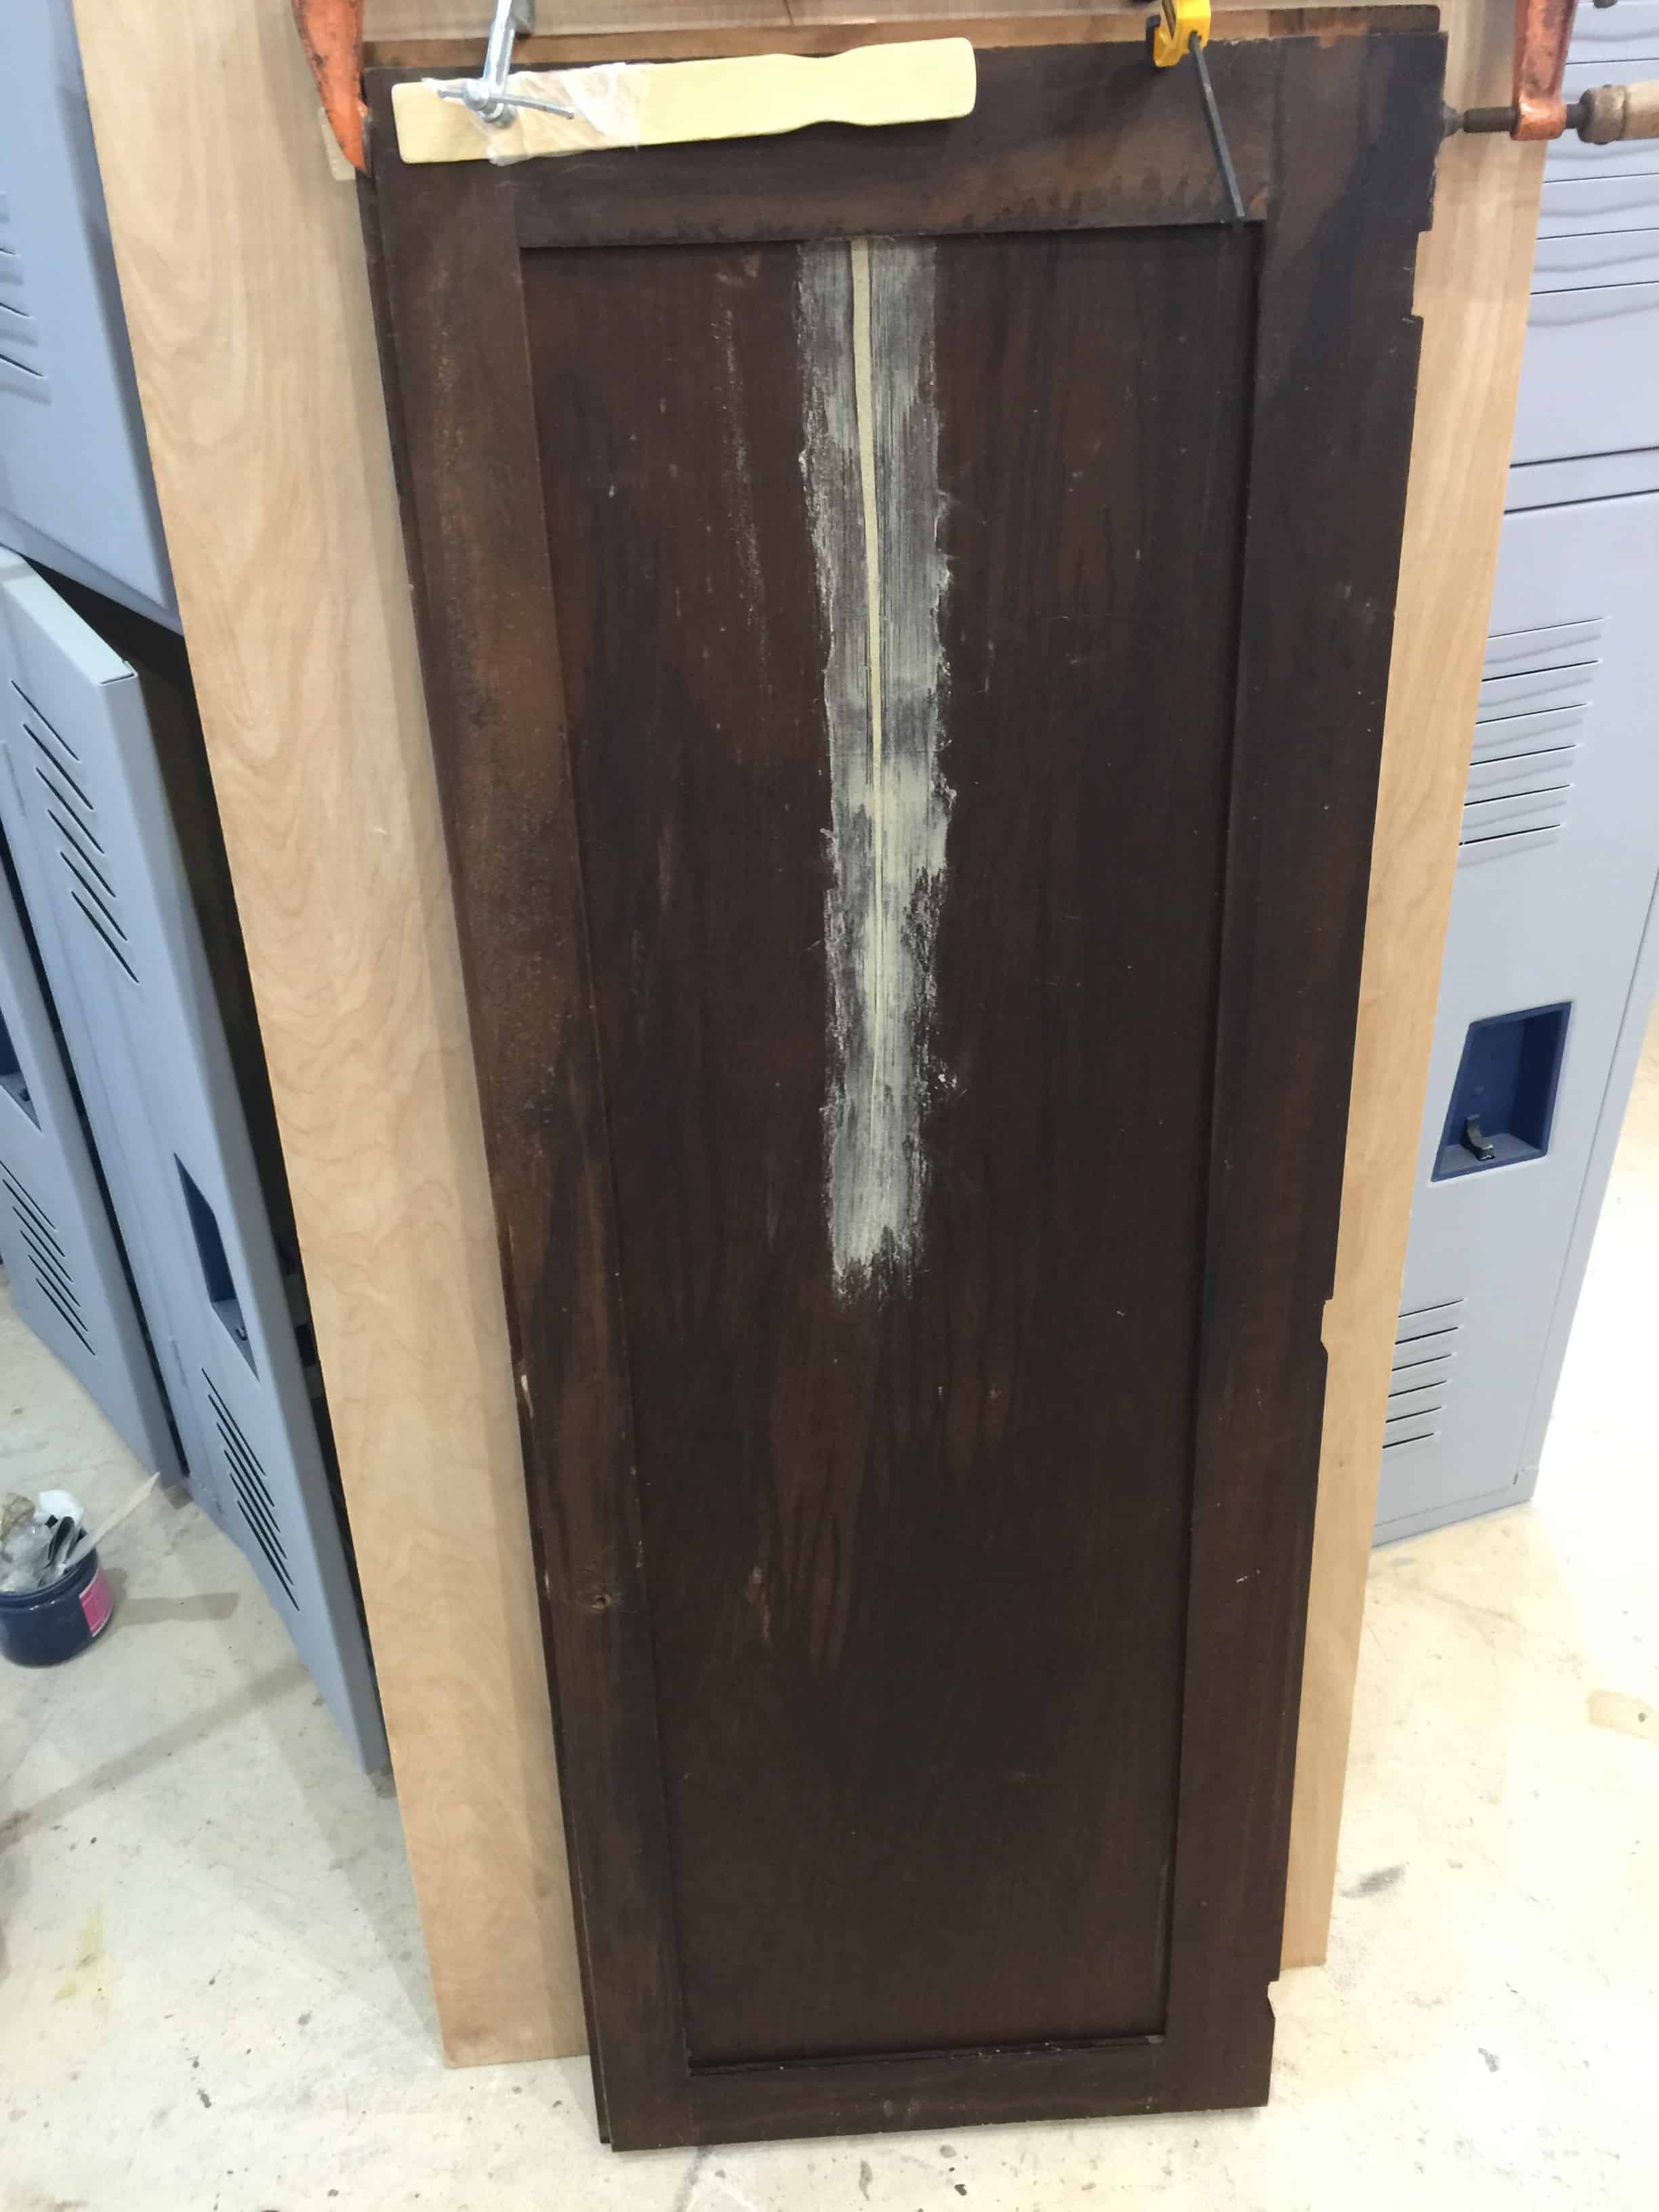
When I was done, I eyeballed the stain and used one coat of Shabby Paints Gelato in Dark Chocolate to get close to the original interior stain… except if you saw my Instagram post, it was pretty much dead on (Hooray for me- tee hee)

There was a huge gap on one door too where the wood was pulling apart.

I fit it all back together and glued it up then clamped it all together.
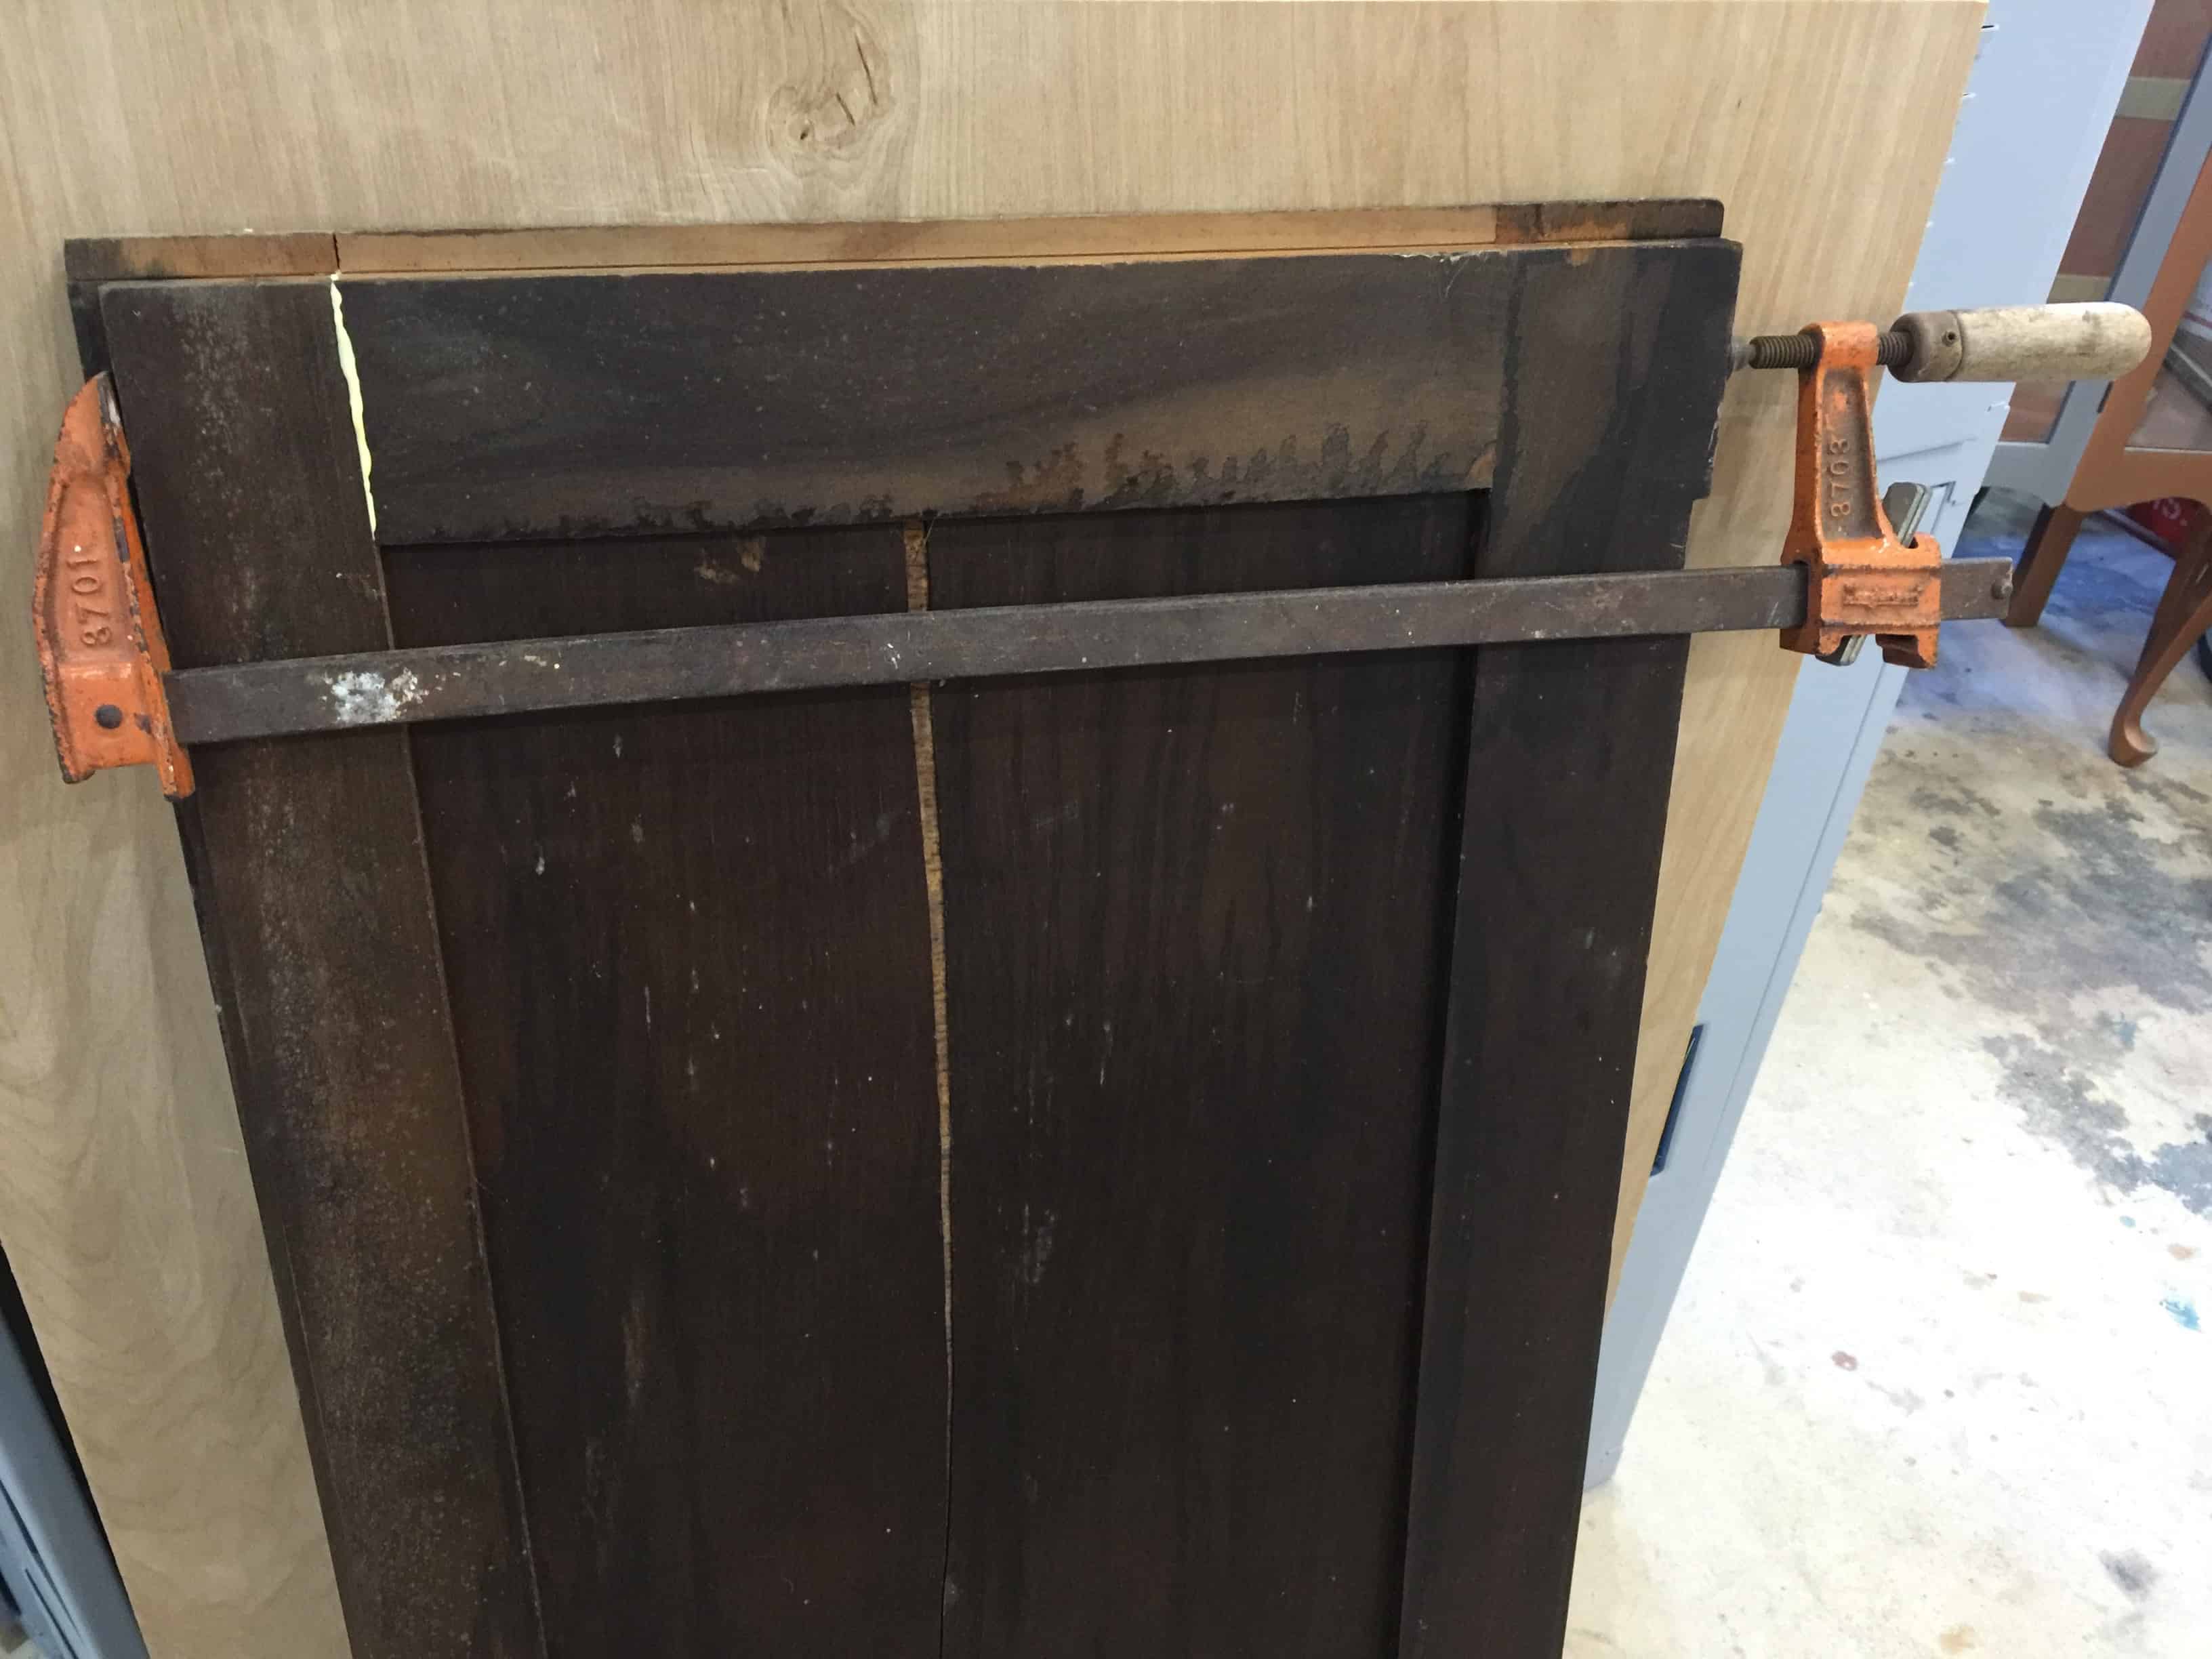

I filled that huge crack in the back of the door with wood filler while it sat overnight to dry.
Then I got to cleaning and painting the outside. I used Shabby Paints Beach House and gave it a quick two coats. When my Overlays pieces arrived, I was completely impressed with the packaging. They were not going to be bent in transit unless someone really worked at it (this is AFTER I removed all the outer packaging)

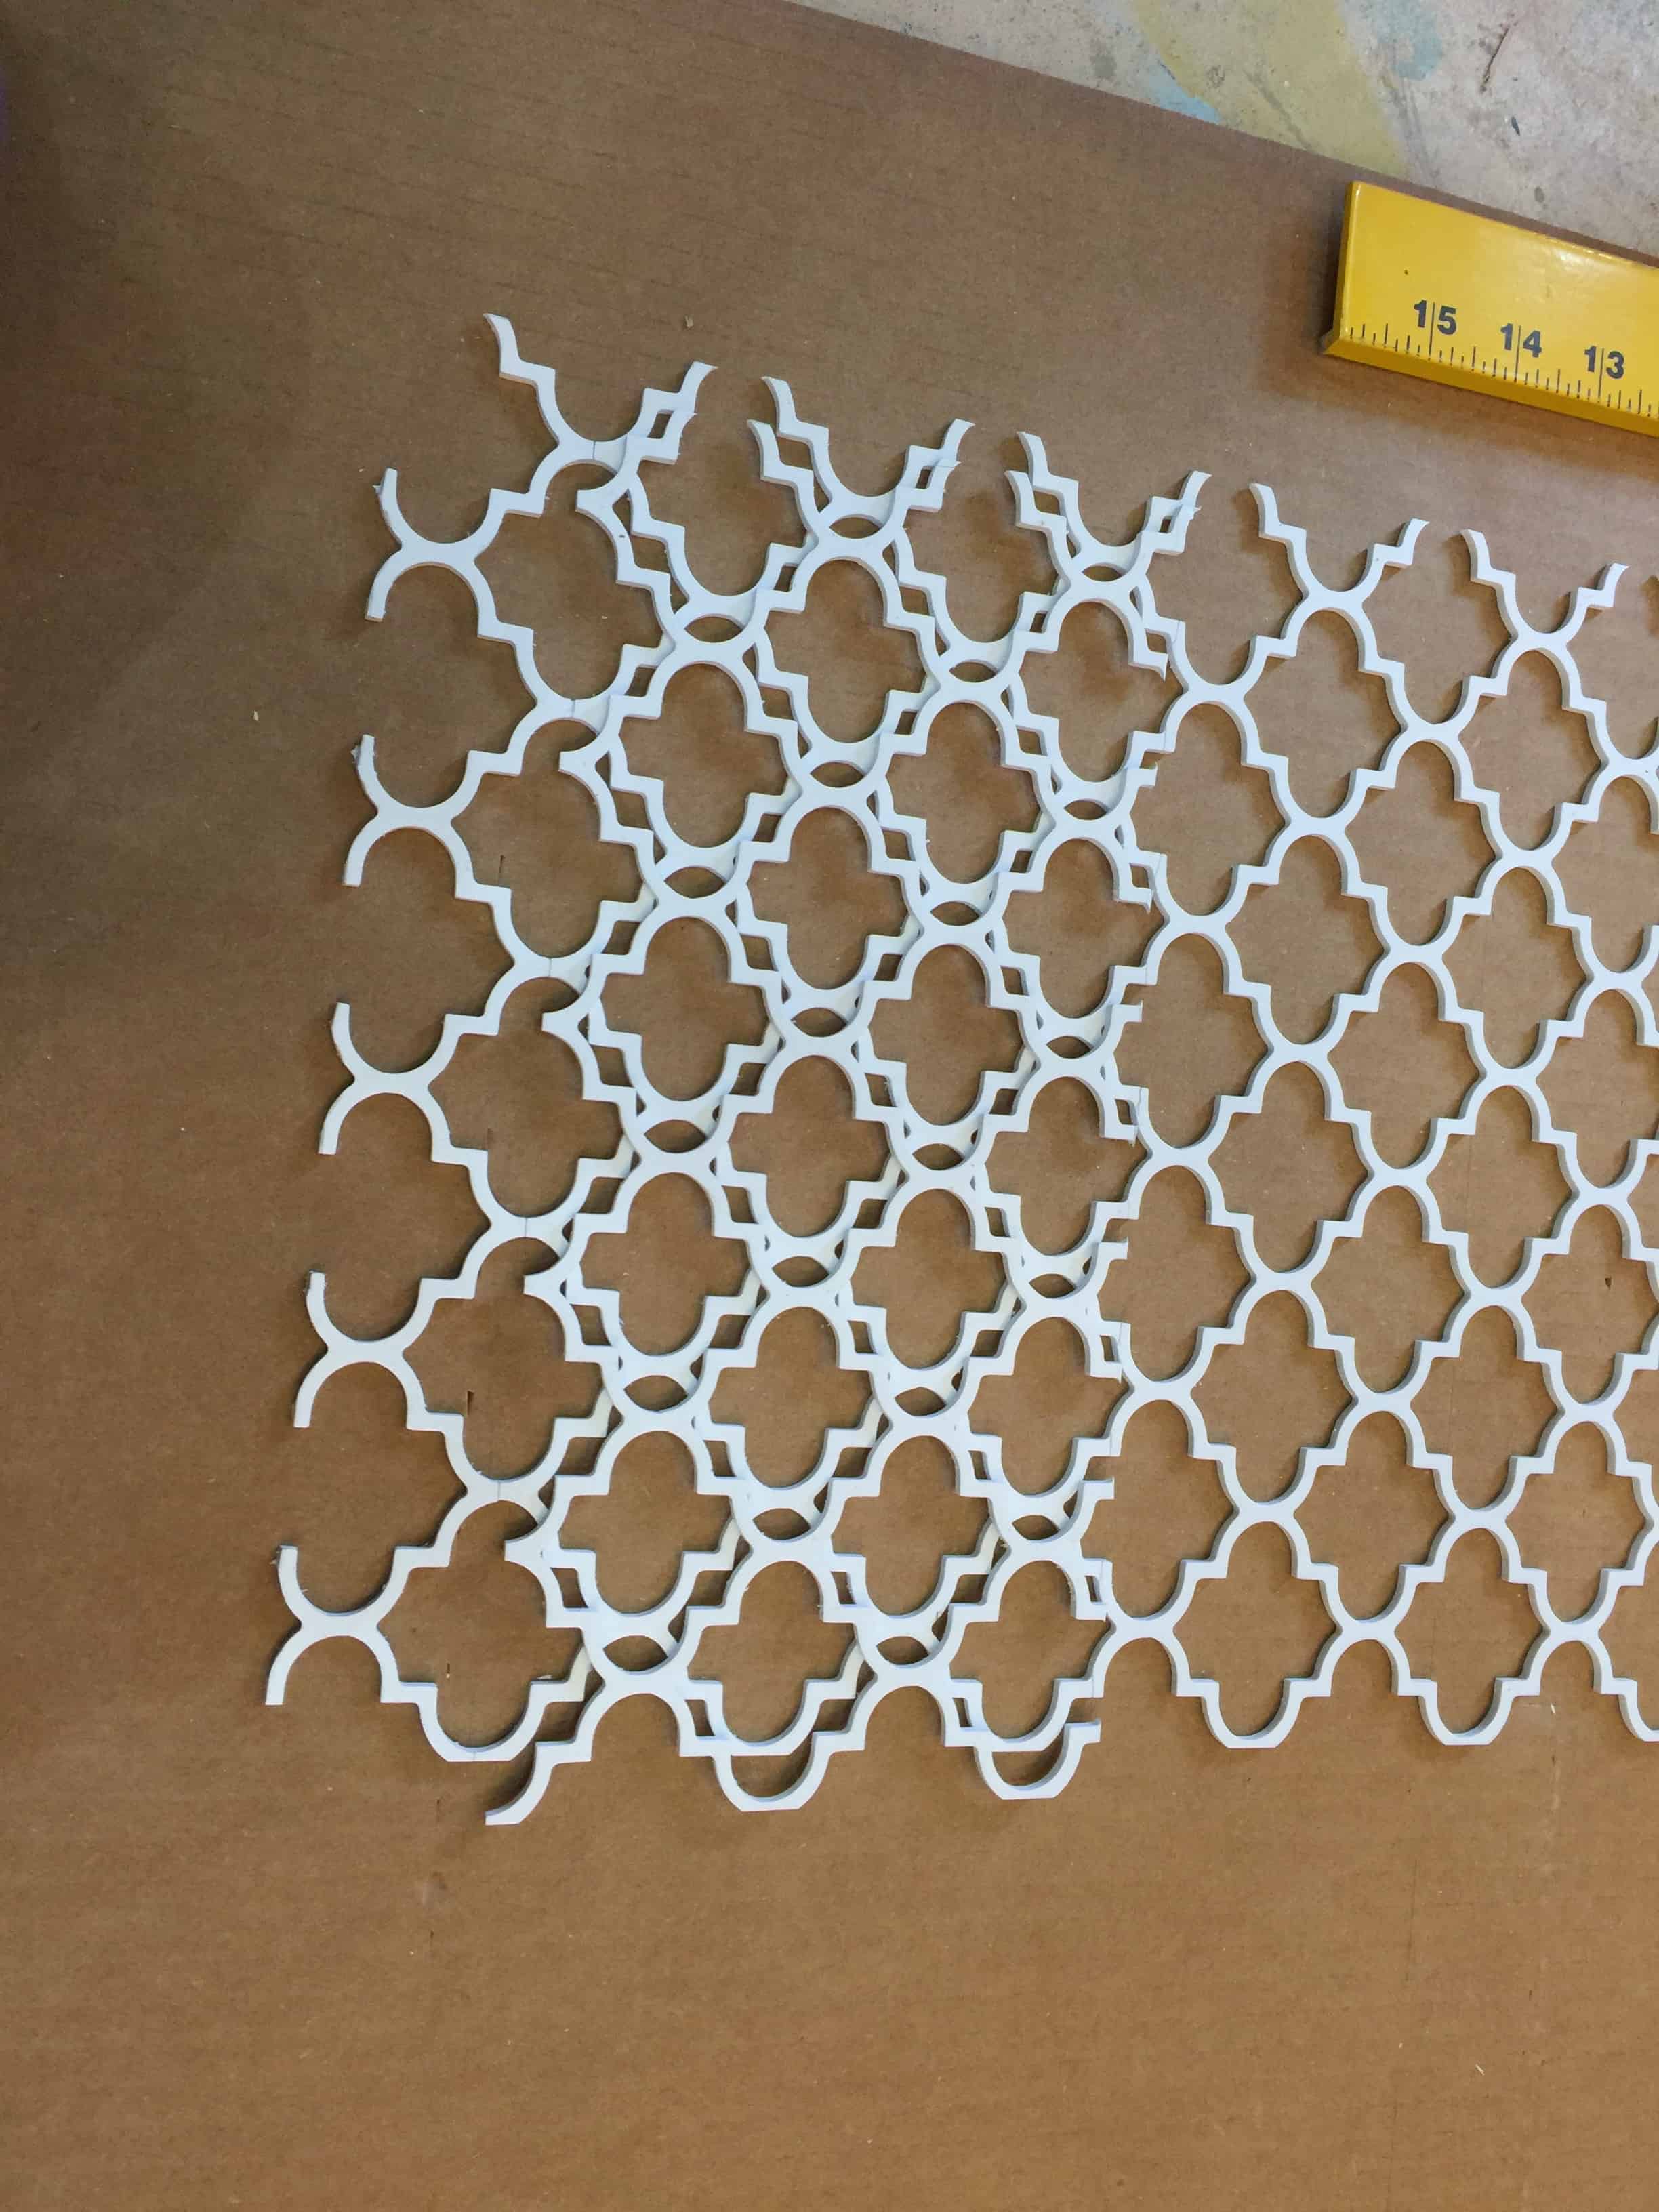
I opened them up and took several measurements because I did NOT want to screw this up. Measure twice,cut once… (or measure three or four times in several places just to be EXTRA sure). It was super easy to cut. I used my drywall square and made a faint pencil line. Then I cut it using a new blade on my utility knife and found that instead of trying to use the straight edge of the ruler, I laid the blade flat on the section and gently pressed down to “snap” each section. With the intricacies of these pieces, this gave me a bit more control and a straighter cut (I think).
I dry fit the section to be sure it was right. It was great except for the 5 1/2″ gap at the bottom.

No problem though…. I pulled out the insert and lined it up to make sure it would match up then measured 5 1/2 inches long and cut that piece.

In trying to use the pieces most efficiently (so I had max product left over) the new section ended up a tiny bit short- DOH! Instead of having a tiny short piece at the end I cut two larger pieces that met up in the middle-ish for a better look to the layout. (This is why I dry fit each step before I cut and was SO happy to have extra product.)

as I was marking and cutting, I would lay the pieces on top of each other to make sure they were lined up perfectly

Once I made the cuts, I used 400 grit sandpaper to smooth out the edges and I pulled out these odd things I bought on Amazon once called Sandits.
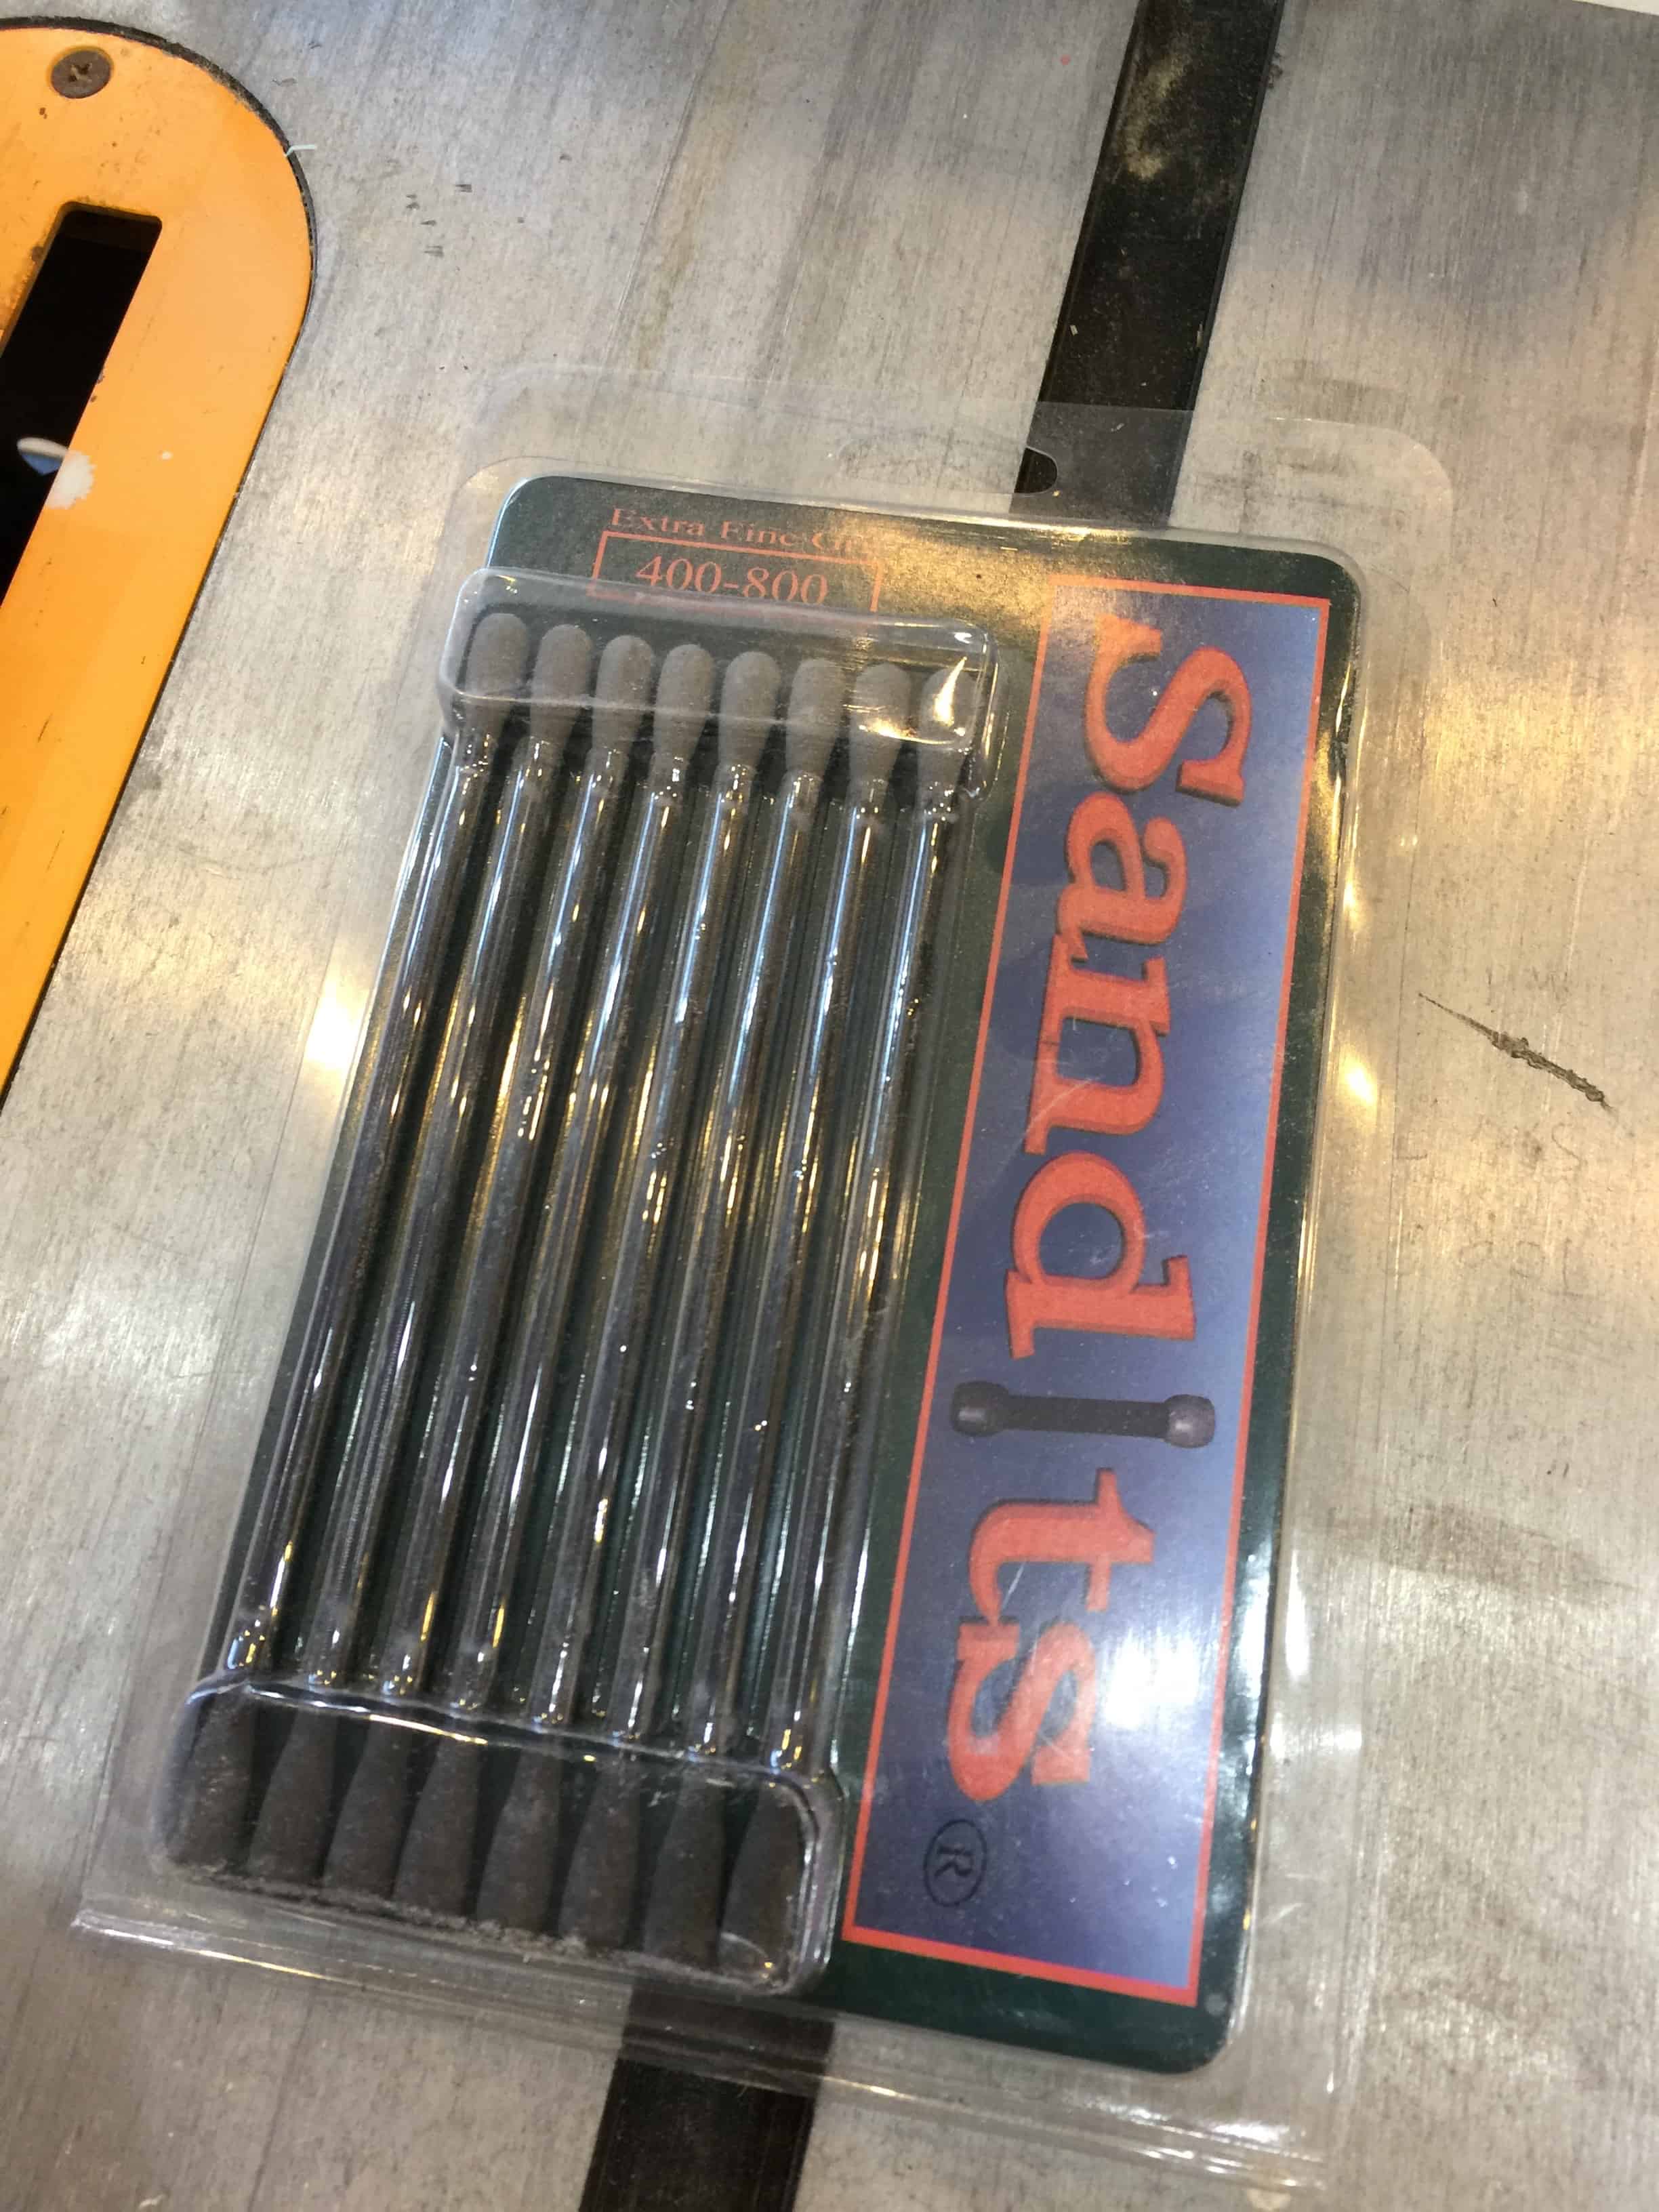
They are essentially sandpaper swabs, and were perfect for smoothing out the interior curves.I saw them once and they were super cheap so I threw them in the cart…. I knew they’d come in handy one day.
Once I was done with the first door, I pulled out the section that was left and it was a PERFECT fit to the interior of the second door- how lucky is that?!

I lined it all up again and cut out the matching piece for the top and put everything in place. You can attach these Overlays with all kinds of glues. They send a list of what works best with your order (I love that too). I used RapidFuse– it’s a version of super glue that dries a little slower so if I needed to move something around, I had that ability (though you still need to work quickly, thus no pictures).
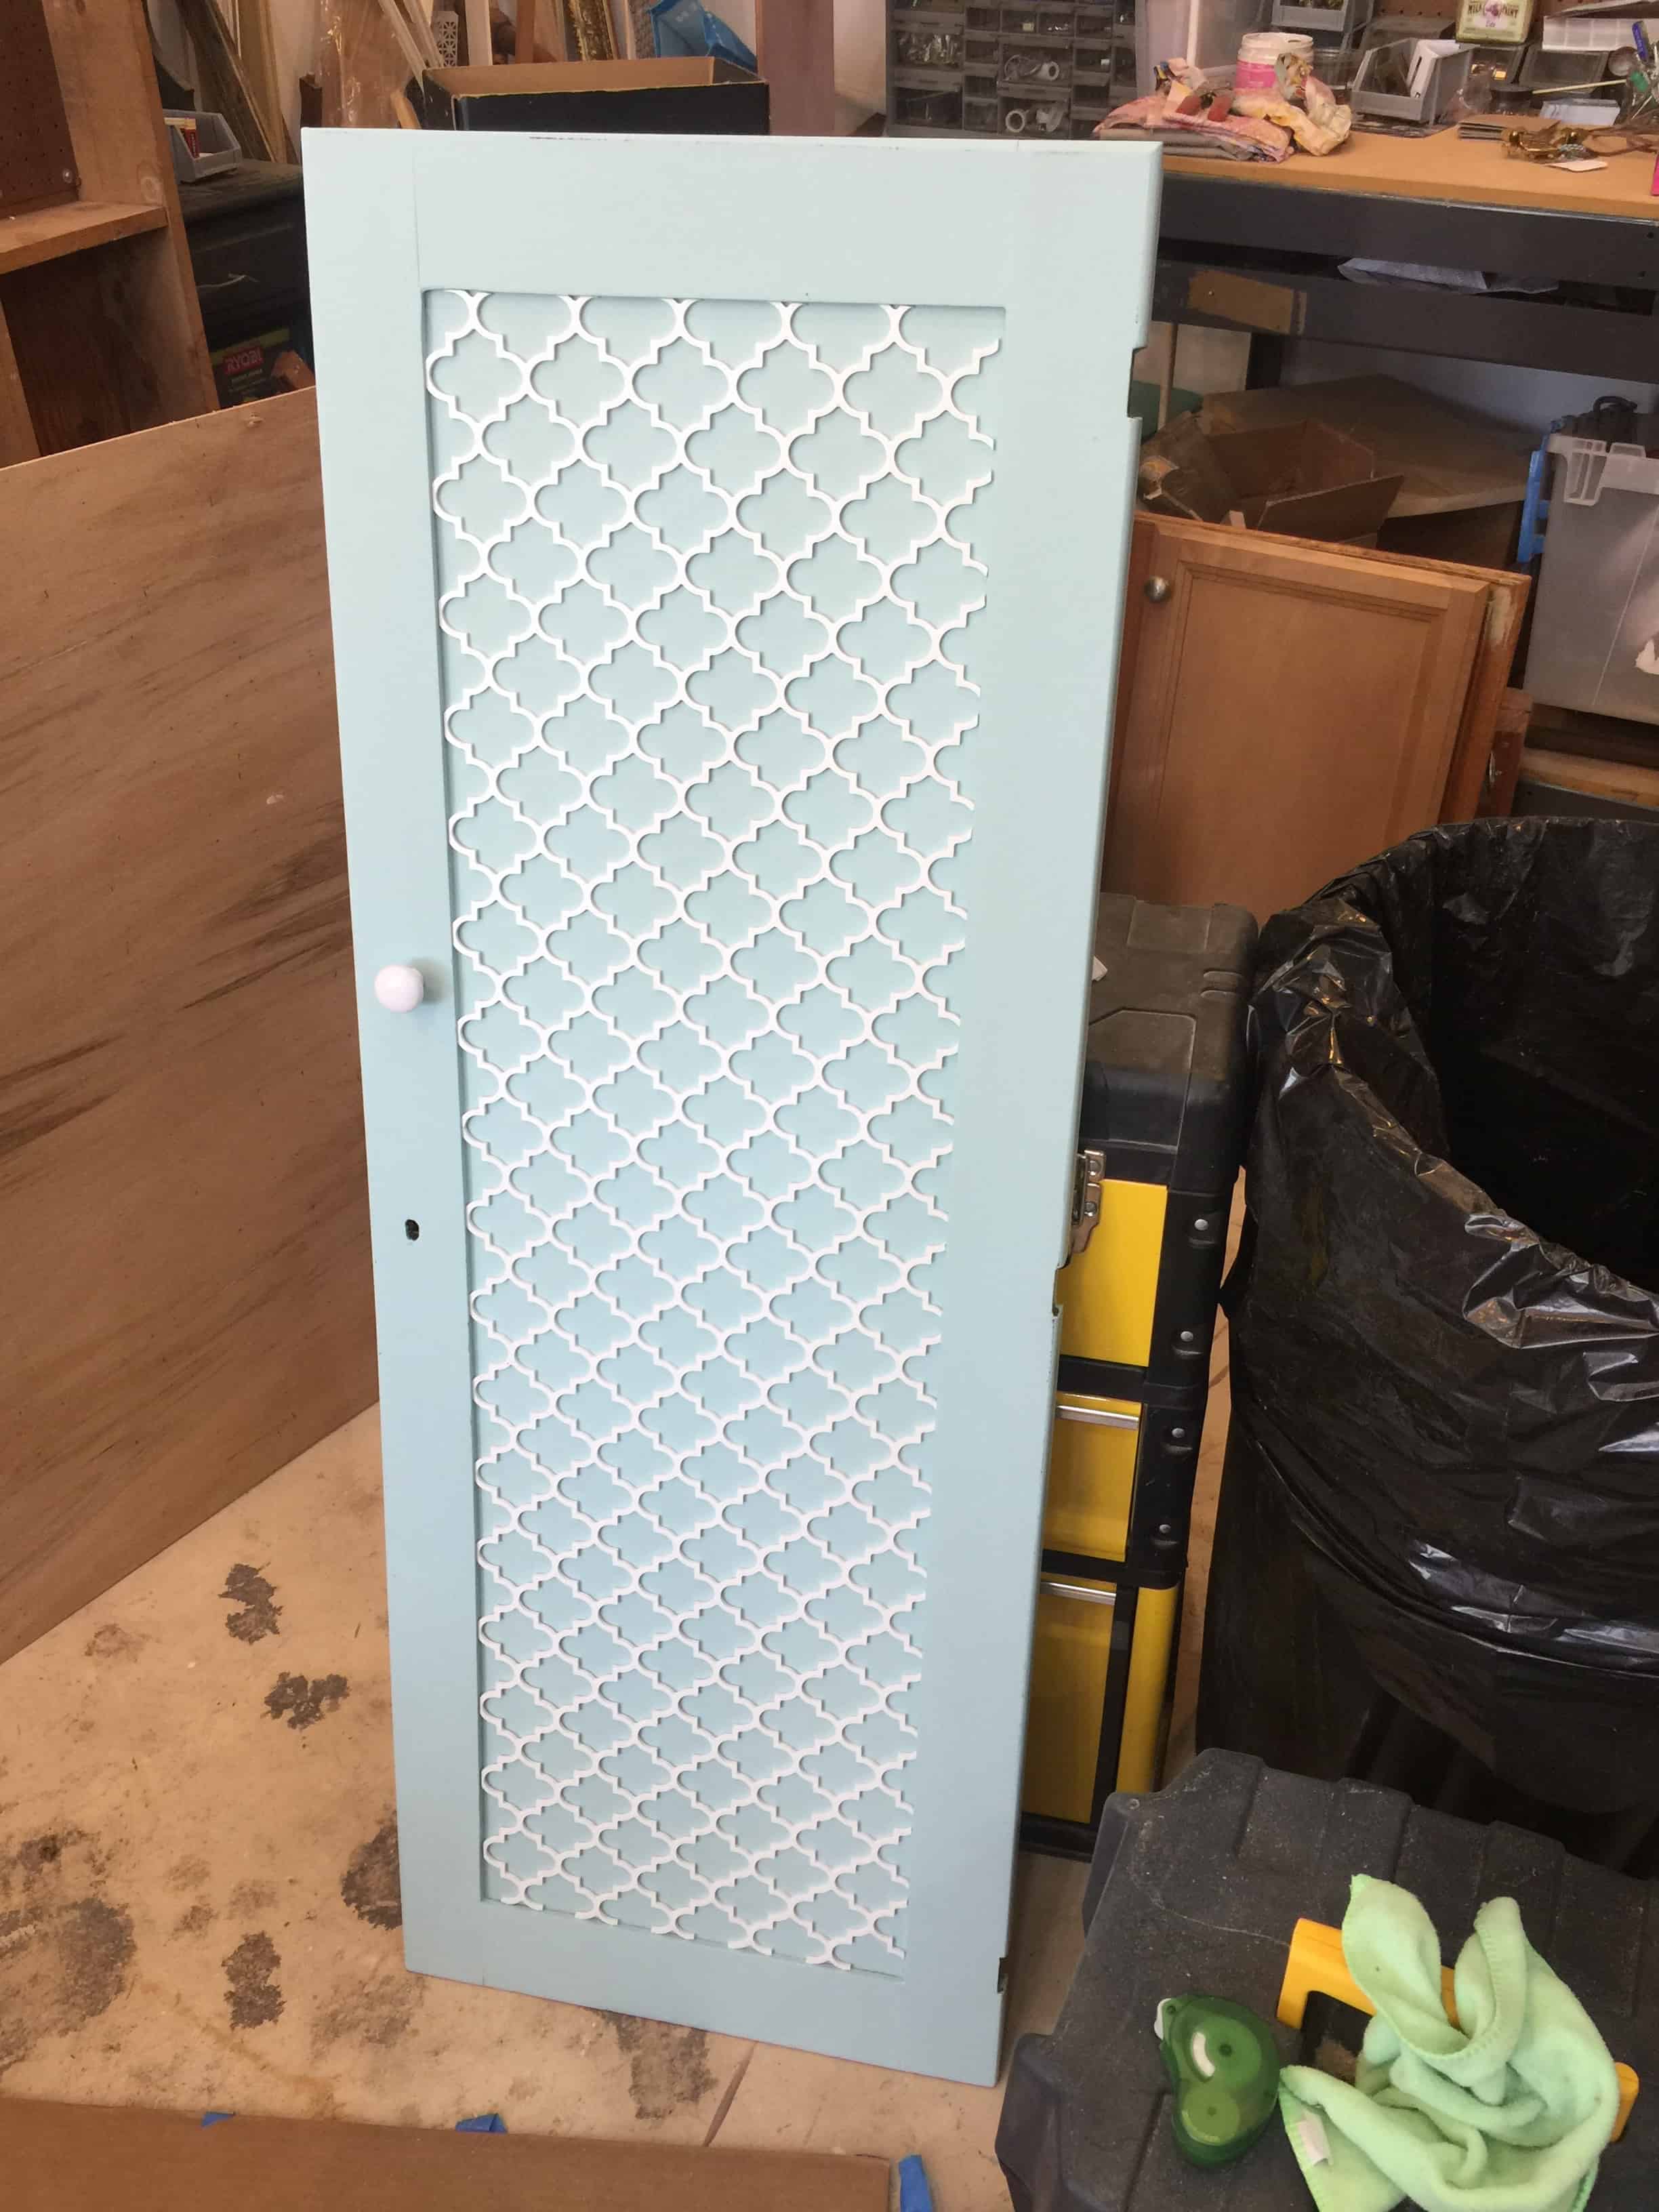
Once it was all done and back together, I rolled it out of the shop and took a picture:

The Overlays were super easy to work with so I can’t wait to find more pieces I can use these on. I have so much surplus from this project, I just know I have other pieces these panels will look amazing on.
XO!
~Scottie


13 Comments
Holly
May 2, 2017 at 8:53 AMThis turned out so pretty! I love the blue with the pop of white detail. Really nice transformation.
Scottie
May 2, 2017 at 9:35 AMThank you so much Holly!
Debrashoppeno5
May 5, 2017 at 3:04 PMI can’t get over the makeover. The cabinet does not look like it was tossed aside anymore. Beautiful job.
Scottie
May 7, 2017 at 1:13 PMThank you so much!
Brenda Young
May 7, 2017 at 2:06 PMBeautiful refresh, and I love the color combination you chose.
Scottie
May 7, 2017 at 2:59 PMThank you so much Brenda!
Sue at Blu
May 8, 2017 at 6:22 PMYou rocked it girl! Love, love, love the color! What a complete makeover…it’s projects like this that make this work addicting!
Scottie
May 12, 2017 at 8:01 AMRight?! I completely agree! (thanks so much too by the way- XO!)
A Key Largo Keepsake Sign- "Cut N Paste With Overlays"
May 10, 2017 at 8:49 AM[…] […]
Rebecca
May 11, 2017 at 11:21 PMWow, you did a lot of work to save and update this piece. It looks beautiful! The Overlays look perfect inside the trim of the door.
Scottie
May 12, 2017 at 7:59 AMThank you so much Rebecca!
“Cut and Paste” with Overlays- April FFFC® – woodworkhelp
June 11, 2019 at 4:47 PM[…] fab featured hosts for our contest, for this month it’s Scottie and Evey. Make sure you visit Scottie’s page for the entries as well as to see how she gave this piece a COMPLETELY new life… Seriously, the ‘After’ is […]
How To Turn An Old Bookshelf Into A DIY Bar Cart Our Crafty Mom
May 20, 2020 at 12:04 PM[…] visit this month’s host Saved by Scottie to see her amazing transformation using […]