In-depth tutorial for how to add faux shiplap to a powder room.
This page includes affiliate links. If you make a purchase using the link, I may receive a commission at no additional cost to you.
Who loves shiplap? Come stand by me! Did you know you can use plywood to get the same look at a significantly lower cost? Faux shiplap is SO easy and I am so excited to show you how!
This is a project that I did for a client. Her powder room was lovely but lacked the personality that matched the rest of the house:
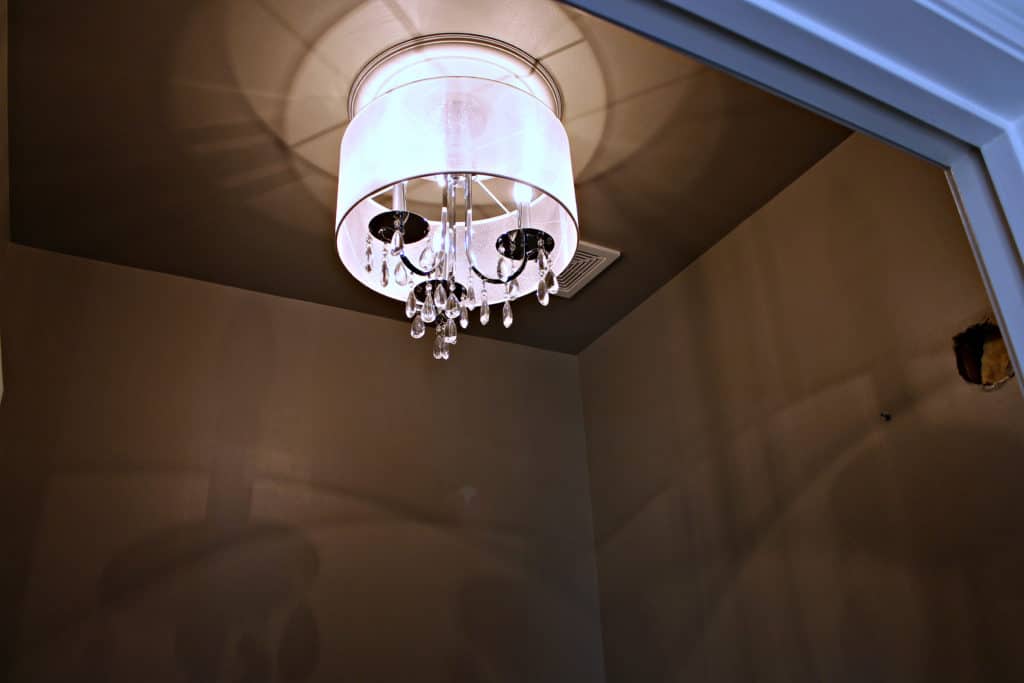
It had a super cute fixture:
She was just waiting for the right thing to strike her… and shiplap did!
On “demo day” I came in to a blank canvas. She had her handyman remove the toilet, sink, and flooring.
Removing the Chair Rail
First thing I did was pull the chair rail off. Seriously this is NOT hard.
Cut around the edge with a utility knife to loosen the caulk that is holding it to the wall.
Use a putty knife (or in my case, my gazillion 14-in-1 tool- these things are awesome and I have them everywhere) to gently pull the rail away from the wall:
It becomes extremely easy to just pull it off at that point. See?
Then the room looks like this:
a fabulous blank canvas!
Choosing the Wood for the Shiplap
I chose to use 5mil flooring underlayment for the boards. It’s inexpensive and still decent quality wood. Some big box stores sell a version that is already primed. You can also use 1/4 inch plywood if you can’t find flooring underlayment.
Deciding on shiplap width
These ceilings are very high so I cut wide planks for this bathroom- these are 7.5 inches (typical shiplap is about 6″ wide).
Because you are cutting the boards from a large piece of wood, you get to decide how wide your planks will be.
One way to figure out the width you prefer is to hold up a piece of paper that is folded to roughly the width you are thinking about to decide what you like best (For instance, I will use about 5″ wide when I do it in my house, it’s smaller and the ceilings are low so the proportions look better).
Installing the shiplap
Once all the wood was cut, I sanded down the edges to avoid splinters and put one coat of paint on the boards with my paint sprayer.
I found all the studs in the walls and using a level, marked them with a pencil (seriously, I just drew a long line down the wall, it was covered up by the shiplap, no one will see it).
Then I measured and started nailing the boards up at the stud lines. I used my fabulous Ryobi Air Strike finishing nailer:
Isn’t she pretty?
Why would I use a finishing nailer instead of a brad nailer?
A finishing nailer has a larger head and typically uses longer and wider nails so it’s made to keep trim attached to the wall while a brad nailer would be for more temporary bonds- attaching smaller and more delicate trim, or when used with glue or another bonding agent.
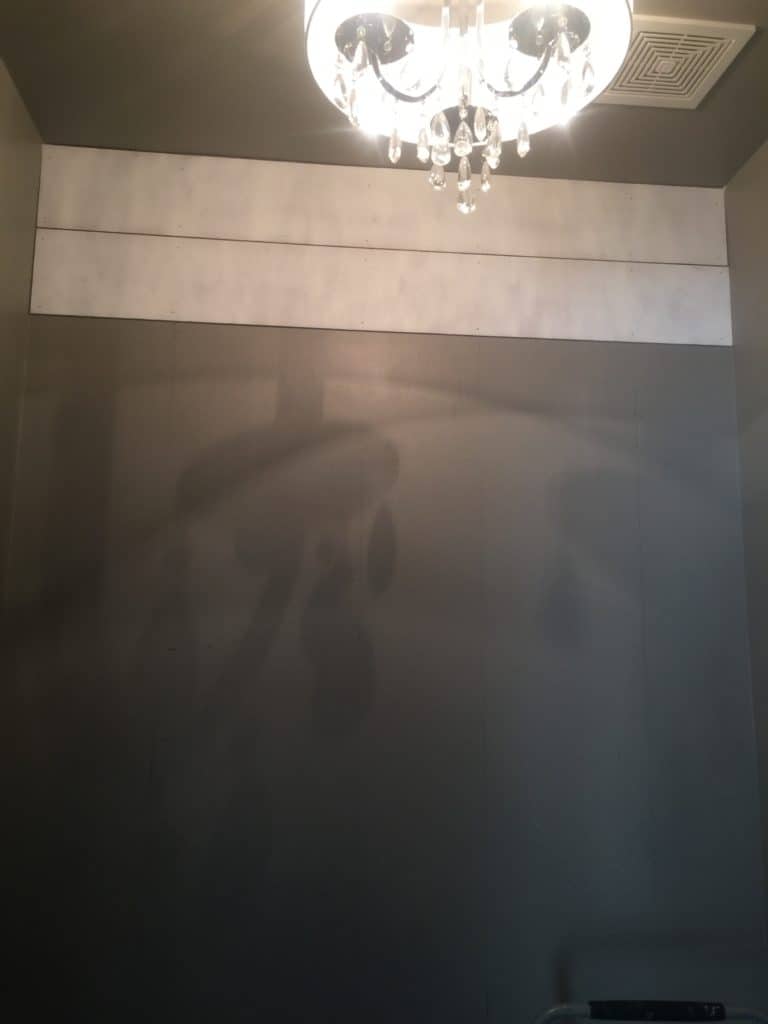
Here is a shot of the first two boards:
I started at the ceiling because the baseboards were gone. any cuts that would have to be made, would be easier and I can control the top edge a bit better to adjust for the unevenness of the ceiling (using caulk and trim of course) and because i just thought that seemed to make more sense to me.
I will start at the floor at my house because I don’t plan on taking out the baseboards and don’t want the look of a narrow board at the floor.
I wanted to use nickels to line up the spaces evenly between the boards… but of course I didn’t have any that day… so I decided two pennies would work just as well and stacking them on top of each other between the boards gave me even spacing all around.
I chose to leave the old paint color because I like the look of the dark behind the boards to highlight the depth.
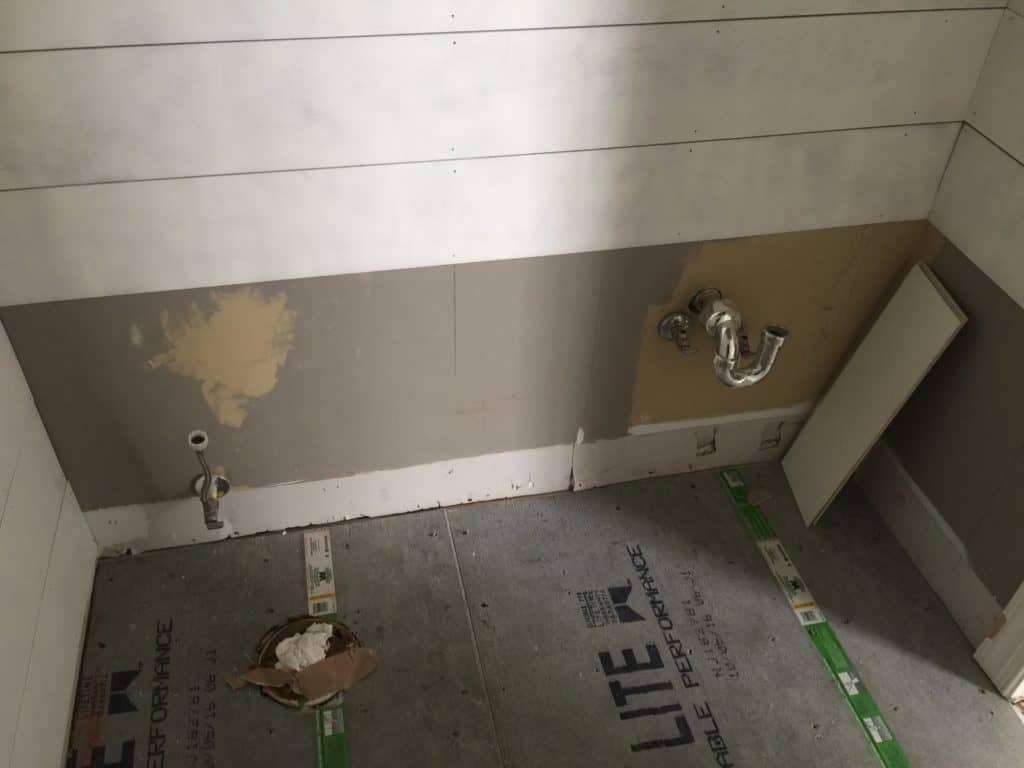
Once I got the first wall in, I moved to the wall on the left. Why? Because the wall on the right has plumbing and that’s fancy cutting. I prefer to save the most complex stuff for the end when I am most tired… don’t be like me. Do the hard part first and then the rest whips by….
Here is my advice: before you make these cuts, measure out where the boards will go and mark them on the wall if you need to. Think about what the fixtures look like that are in front of them.
In this case, the toilet was going to hide most of the cut needed for the water line so I cut it to leave spacing underneath where it wouldn’t be noticed.
For the sink, I lucked out on placement and cut small squares that hid mostly behind the collars on the pipes and the sink itself.
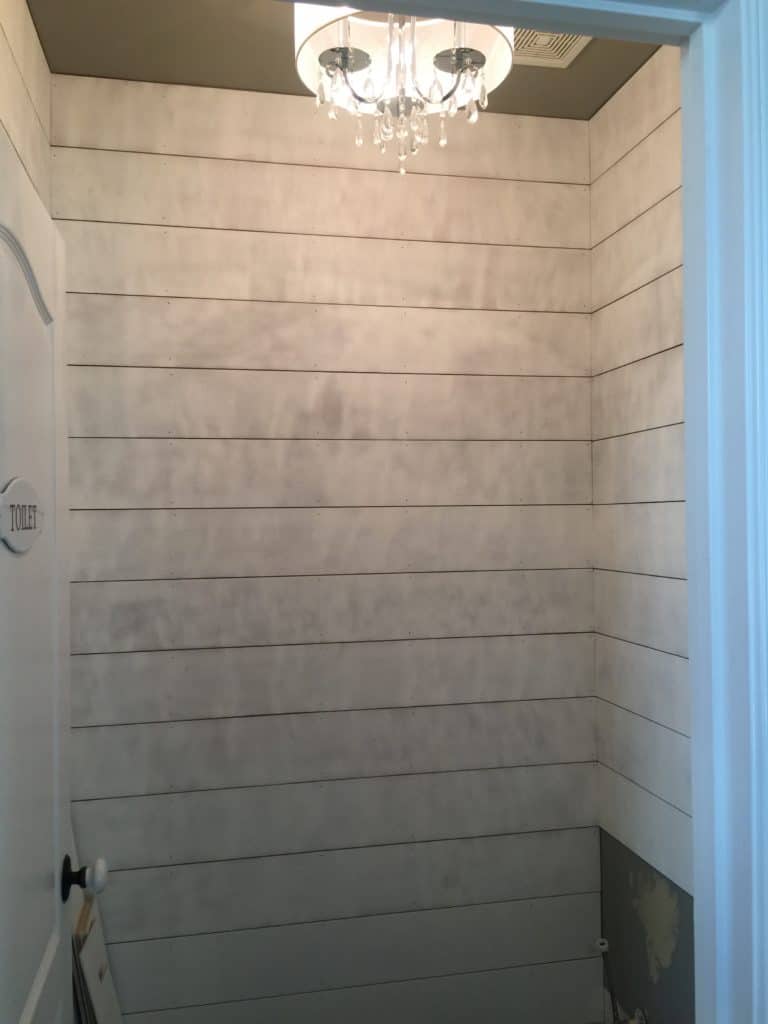
Once completely finished attaching everything her handyman came back. He tiled the floor, changed out the light and added the plumbing fixtures. Everything got a second coat of paint after filling in the nail holes.
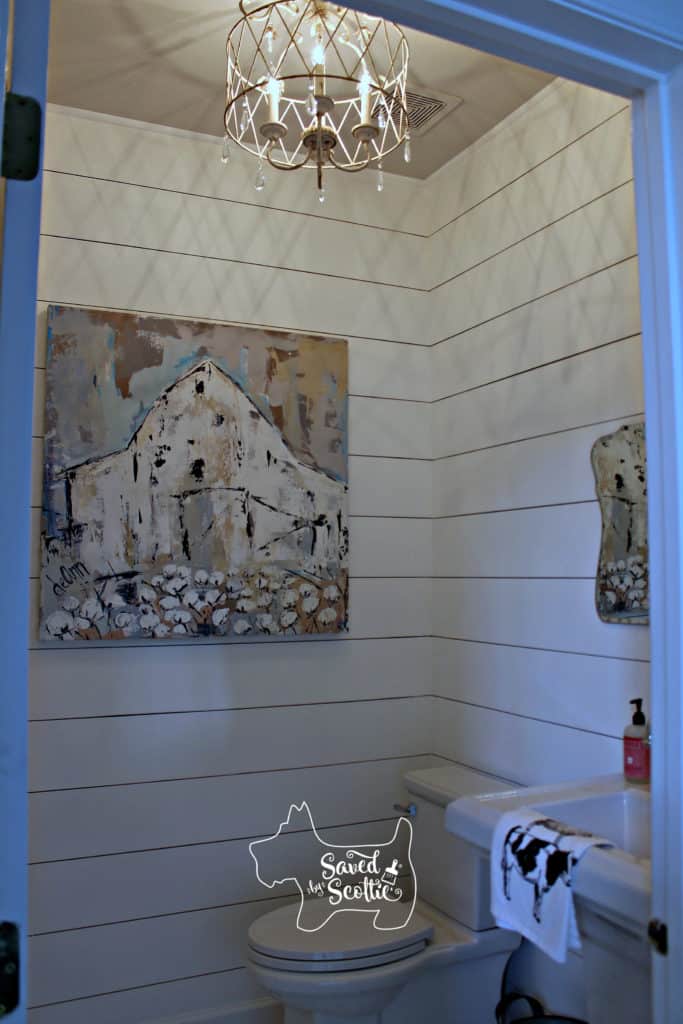
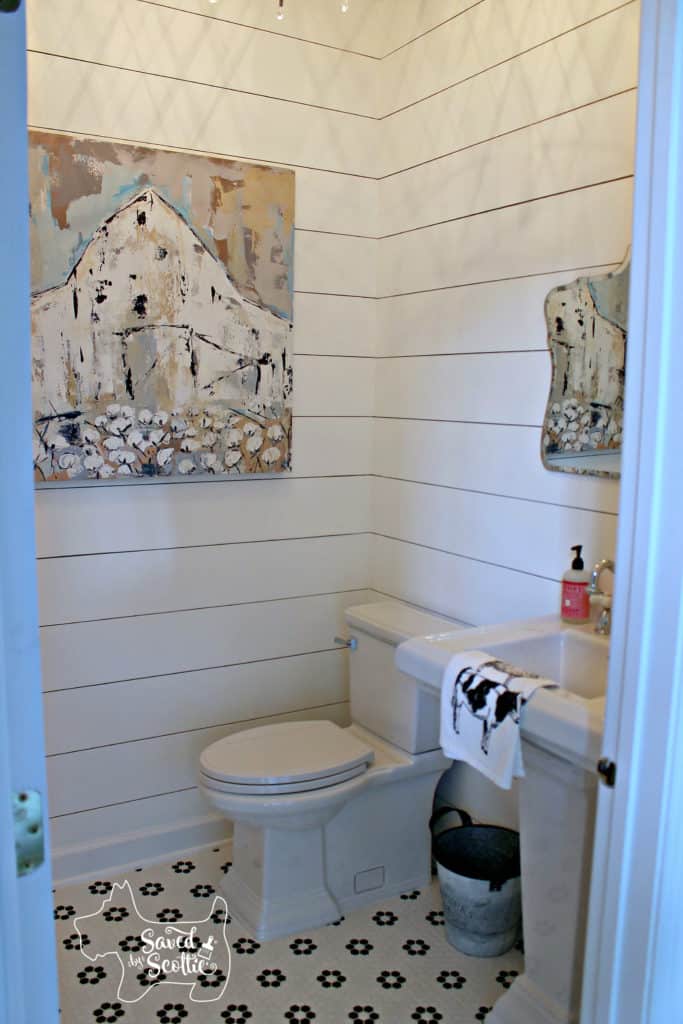
Let me give you a tour:
Do you have the same chills I do?
I love the mirror, I think it is perfect for the space and stands out so beautifully against the faux shiplap.
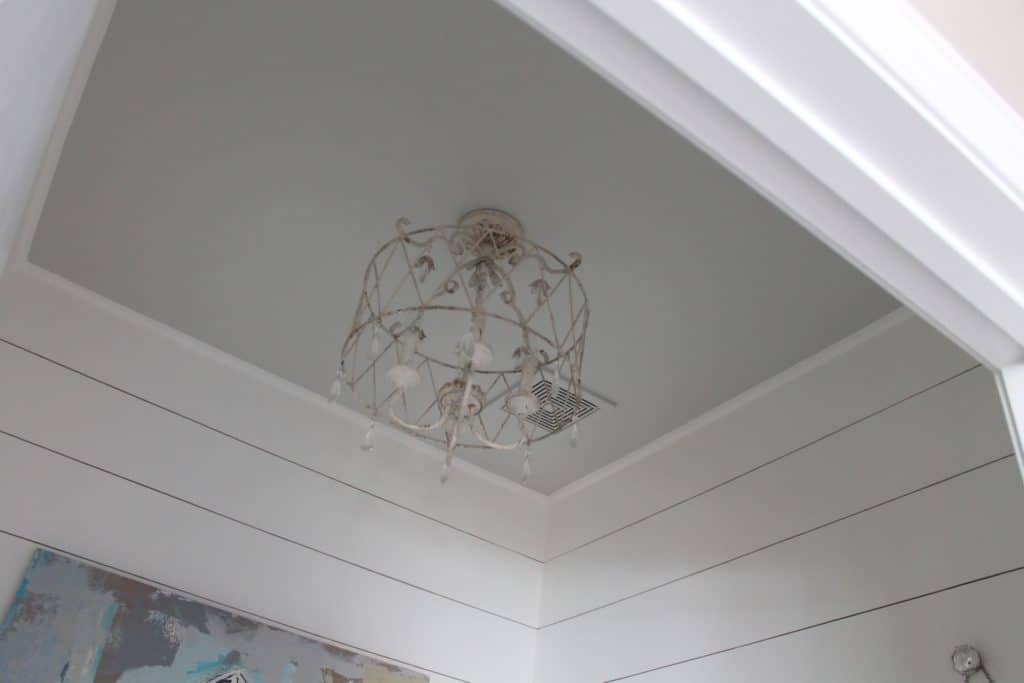
Isn’t the new light fixture swoon worthy?
the tile…and that print… just wow.
Her choice for a new fixture is totally perfect for this space! She’s considering a more sky blue for the ceiling too and I love that idea!
This new powder room totally fits in with the whole farmhouse look in her home. Every little detail in this room is incredible!
What do you think? Do you love it as much as I do?!
XO!
~Scottie
(While Ryboi is kind enough to send me tools to test, review, and share with you, all thoughts and opinions are my own and always will be)









8 Comments
Kellie Buchanan
March 12, 2017 at 7:34 AMI still love this faux shiplap bathroom makeover… Beautiful work! I am very interested in the barn print on the wall. Does itvhsve a title or where you purchased? I have a perfect spot for it in my renovated office/craftroom. My walls are red and going shiplap on two walls and painting the other’s…. Its a small room of 10′ x 10′. Any info appreciated! Enjoying your site! Thank you!
Kind regards,
Kellie Buchanan
Scottie
May 7, 2017 at 1:14 PMHi Kellie! I am so sorry it has taken me so long to get the information to you. Here is a link to the website where my client ordered the picture from. http://www.deanndesigns.com?rfsn=594307.81875 Deann has lots of different paintings. I hope you find the perfect one for your space!
CARIN NEWHAUSER
June 3, 2018 at 8:40 PMHow will this hold up to the water of the sink?
Scottie
June 5, 2018 at 4:26 PMHi Carin! It should hold up as well as any painted wall would. The sink in this bathroom is a pedestal sink so it’s a bit off the wall and this is a half bath with no shower- which makes for a room with far less moisture. I wouldn’t necessarily drench the walls with water…. but I wouldn’t recommend that in any bathroom.
Should I Remove My Chair Rail – Home Direct
November 6, 2019 at 5:37 PM[…] View Image More Like This […]
My second attempt? Not so much....Pinterest fail - Saved by Scottie
December 2, 2019 at 8:34 PM[…] If you enjoy this, you might like this: button art, faux shiplap bathroom. […]
Bathroom Sink Removal | The best interior equipment
February 14, 2020 at 3:38 AM[…] View Image More Like This […]
Furniture repair: sliding doors - Saved by Scottie
March 2, 2020 at 11:51 AM[…] had several pieces of leftover faux shiplap pieces from the half bath refresh. They were the perfect size too! I used pieces of lattice moulding cut to size on both the front […]