
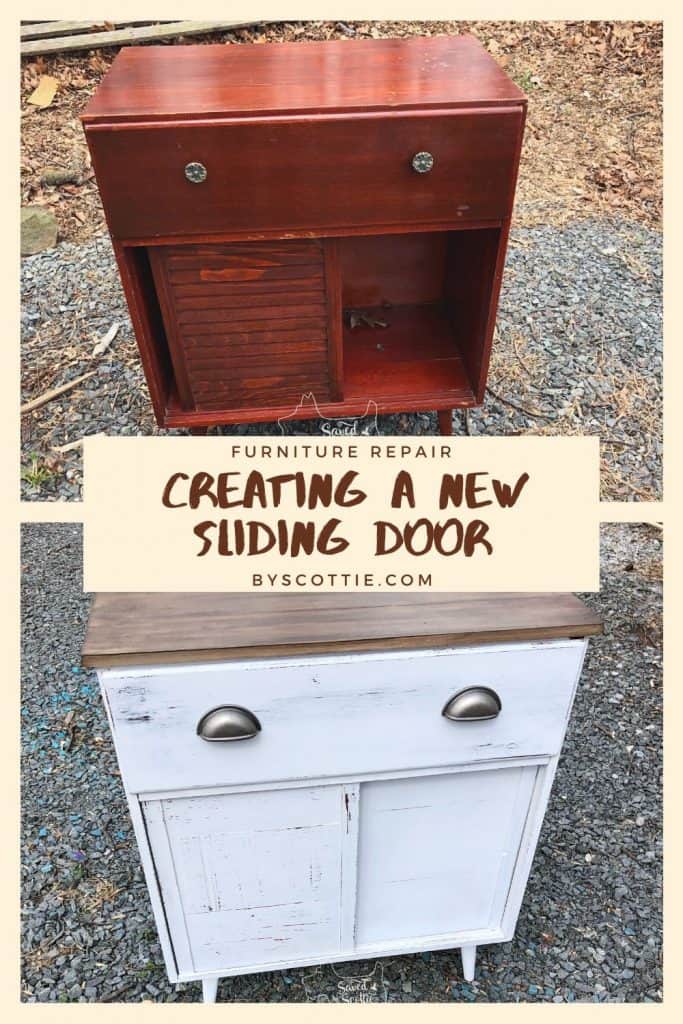
I came across a small cabinet that was missing a door. Don’t be afraid to take on a furniture repair. In this post, I will show you how I easily crafted a new door and gave a little cabinet a full makeover.
This page includes affiliate links. If you make a purchase using the link, I may receive a commission at no additional cost to you.


The first thing I did was take out the one door that was still present. It was good and stuck and really didn’t slide easily at all.

When I flipped it over, I noticed it looked much easier to duplicate on this side and realized this might not be as tricky as I thought.

The first thing I did was sand off the drips of old varnish that were getting in the way of the sliding. I gave it a good scuff sanding all over too so the varnish would have some “tooth” for the paint to stick to.

I had several pieces of leftover faux shiplap pieces from the half bath refresh. They were the perfect size too! I used pieces of lattice moulding cut to size on both the front and back to create a frame. Then glue and a brad nailer to attach it all together.

Laying them next to each other, you could see they’d be a great match when painted.

I fit them in the cabinet just to make sure everything went together well

I gave the “new” door a coat of stain so once distressed back, the undercoat would be similar in color. It really doesn’t have to be exact, just pretty close.

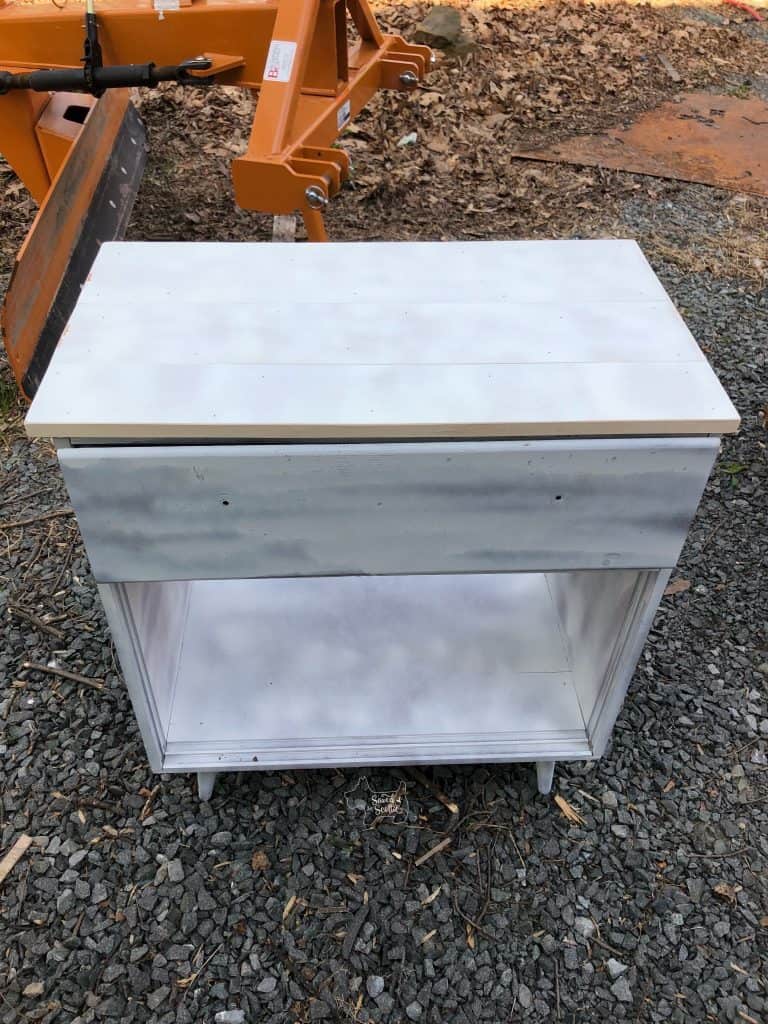
Oil based varnish and water based paints don’t always play well together. The last thing I wanted was the new paint job sliding off when I went to distress the cabinet. Dragging the whole piece out to the yard and using a spray paint primer solved that problem. Taking it apart made it easier to paint without missing any spots.

I noticed when I removed the back, it wasn’t incredibly secure so I put an extra piece of lattice across the back to help keep everything in place a little better.

The top needed something more interesting than just paint.

Attaching a new top was pretty simple. Glue and screws from underneath will keep it from moving around while the glue dries.

I used other pieces of the shiplap placed on a piece of 1/2″ plywood and then edge banded to look like one solid piece to create a top.
Once the glue was dry, I painted the whole cabinet Shabby Paints Alamo White and gave the top a base coat of Vanilla Bear.
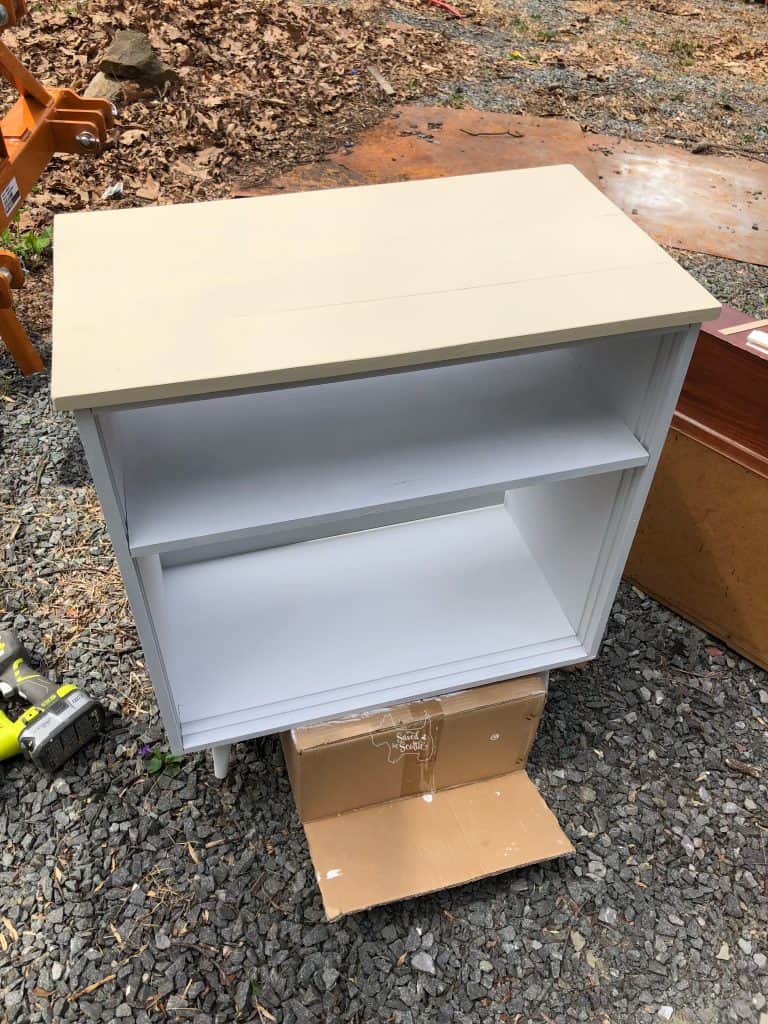
Then I used Hazelnut ReVax to create the first layer for a faux wood look.


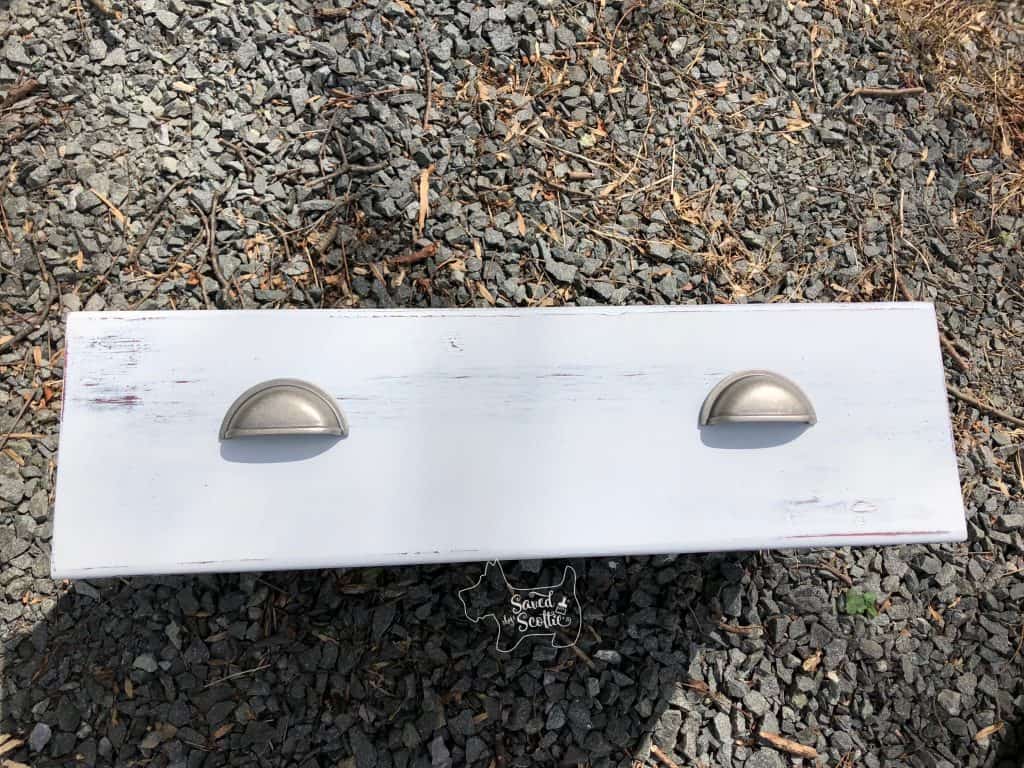
Then I distressed the cabinet and doors and slid the new doors into place. This furniture repair was coming along nicely.

I added some cup pulls to the drawer front to update the look a bit.
Gave a final top coat of Black ReVAX for depth and the new cabinet was ready for it’s new home!

Do you feel like you could take on a furniture repair like this? Need any help with a project? I’m happy to provide tips or advice if you need some.
Please Share and Pin this Post!


No Comments