
This page includes affiliate links. If you make a purchase using the link, I may receive a commission at no additional cost to you.
Years ago I made a pallet tree. I posted how to do it on a different website. A few days ago I had a stranger over the internet find my picture and ask me how I did it. I figured if she wanted to know, maybe someone else did too….
Materials I used:
- 8 foot pallet
- string
- staple gun
- wood glue
- leftover wood scraps
- Ryobi 18V Job Plus with wood cutting attachment
- Ryobi 18V Airstrike brad nailer
Step one:
I laid the pallet on the ground to have a look at the basic shape.

Step 2:
Staple the string end in the top center (ish) and bring it to the bottom of one side leaving room for a “trunk” while avoiding the outside support rail.
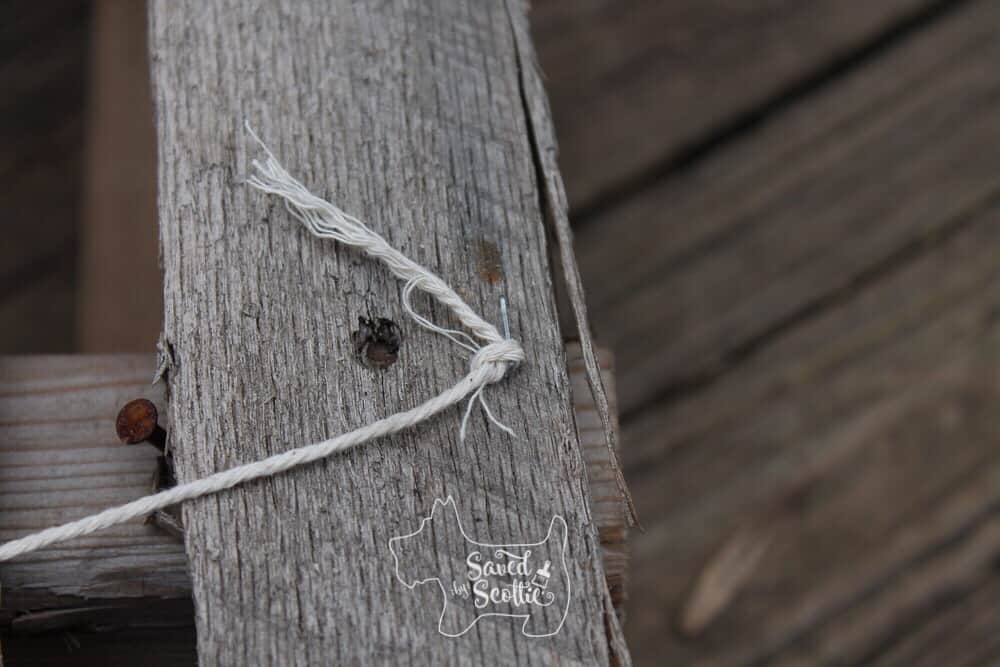
Step 3:
Repeat on the other side
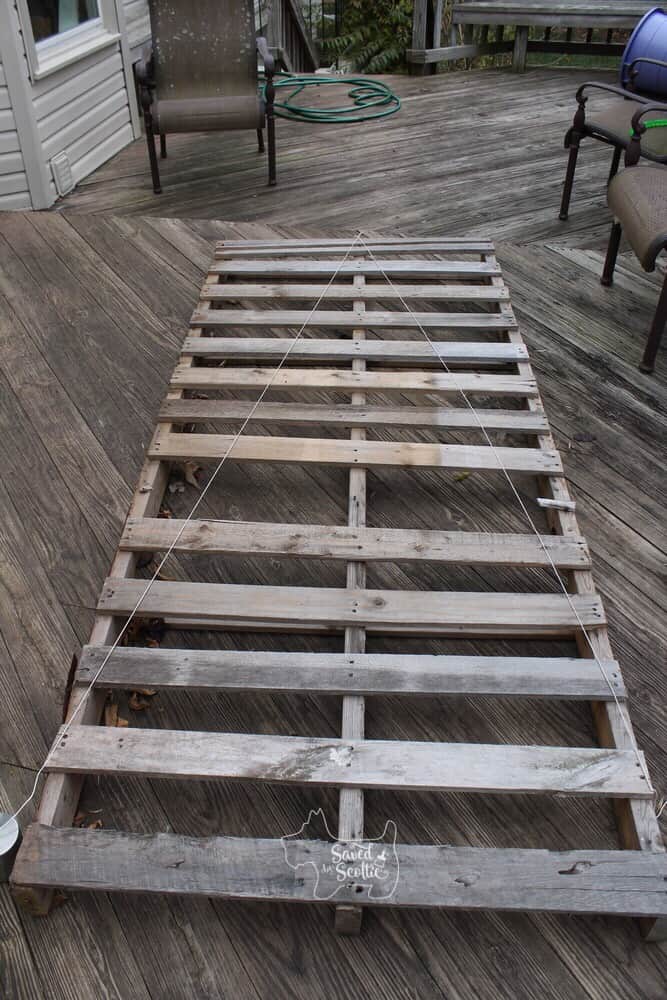
Step 4:
Use your Job Plus to cut along the string line layout to give you a general simple tree shape.

Step 5:
Stand it up and see what you think so far.
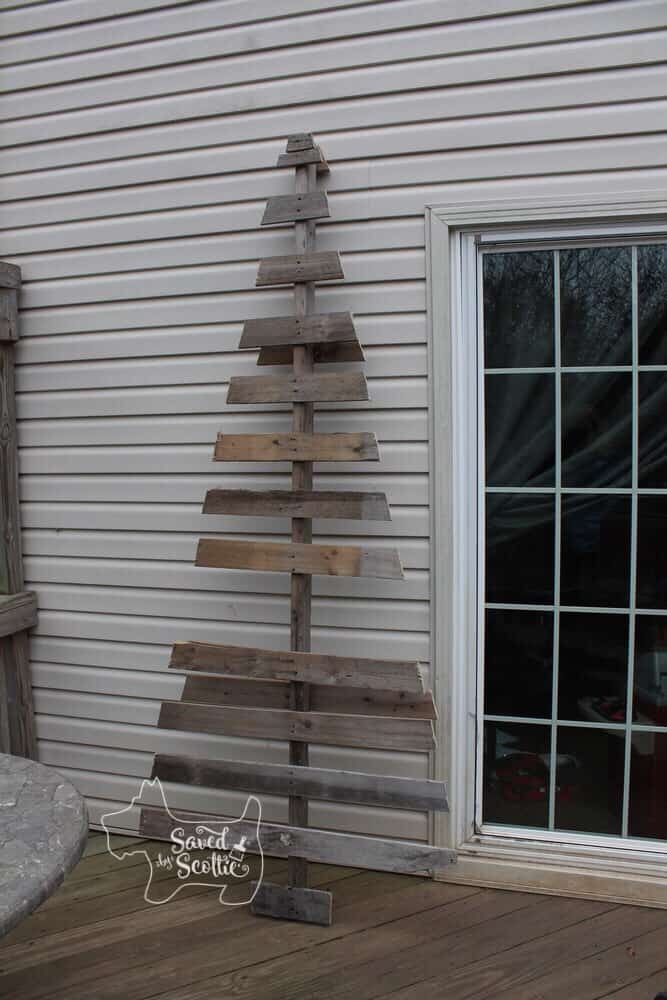
Step 6:
Use glue and the brad nailer with the scraps from the outside parts to add fullness. Also glue and brad nail any pieces that don’t seem secure.

Step 7:
Longer parts towards the bottom may need additional support. I used scraps left over from my tree place card project. (glued and nailed)


Step 8:
Figure out how you want to display it. I added a heavy duty D ring hanger on the back

On display
At the time I was selling items at a shop in Leesburg. We put it on display for the Holidays and it sold in a flash!

The next year, I made a standing version

The standing version didn’t sell (truth be told, I was happy about it) so I put a hanger on the back of it, added cup hooks, lights, ornaments, and hung it in my house.


Last year we had lots of smaller pallet trees we used for display at The Painted Pig.

I guess I like pallet trees. You don’t have to water them, they can fit anywhere depending on size, and can look as fancy or a rustic as you please. For a fun twist, I might try painting some this year….
Sharing is caring! Please share and pin this post!

XO!
~Scottie


1 Comment
Holiday Place cards with Ryobi- Saved by Scottie
October 28, 2019 at 3:11 PM[…] and wasn’t really a “gift” idea… (It was posted on Ryobi Nation and I recreated it for you, because don’t you still want to know […]