
A few months ago I found a really neat rustic key holder on one of those “deal” websites and was totally bummed when it was sold out. I took a look at it and just knew I could make it as long as I could find the right hardware.
This page includes affiliate links. If you make a purchase using the link, I may receive a commission at no additional cost to you.
*This post is sponsored by DLawless hardware, Pure Bond Plywood, and Ryobi Power Tools. Brands I use constantly and love.
build
I started with a piece of 3/4 inch Pure Bond Plywood. I didn’t have set dimensions in mind so I waited until I got the hardware to figure it all out. The label holders are about 3 ½ inches wide so leaving about 4 inches in each spot plus the trim on each side gave me a width of about 21 inches. Honestly, I just eyeballed the height to what seemed to look good (which in this case was about 8 inches).
I used my Ryobi table saw to cut the pieces out and then lowered the blade to make the grooves (it’s called a dado cut). I eyeballed it to make sure they were just touch deeper than that first layer of plywood.

Once I had the grooves cut, I measured out the trim pieces and used my Ryobi sliding compound miter saw to cut the right length and angles. I laid it all out to make sure it all fit together properly, then used Shabby Paints ReVAX in a gray custom color mix (Black, White, and Sheer) to stain the raw wood (2 coats).


ReVAX dries really quickly so with thin coats, I was able to glue and brad nail the trim (with my favorite Ryobi AirStrike brad nailer) in minutes

hardware
Next step was marking the holes for the file labels and hooks, pre-drilling the holes, and screwing everything on.

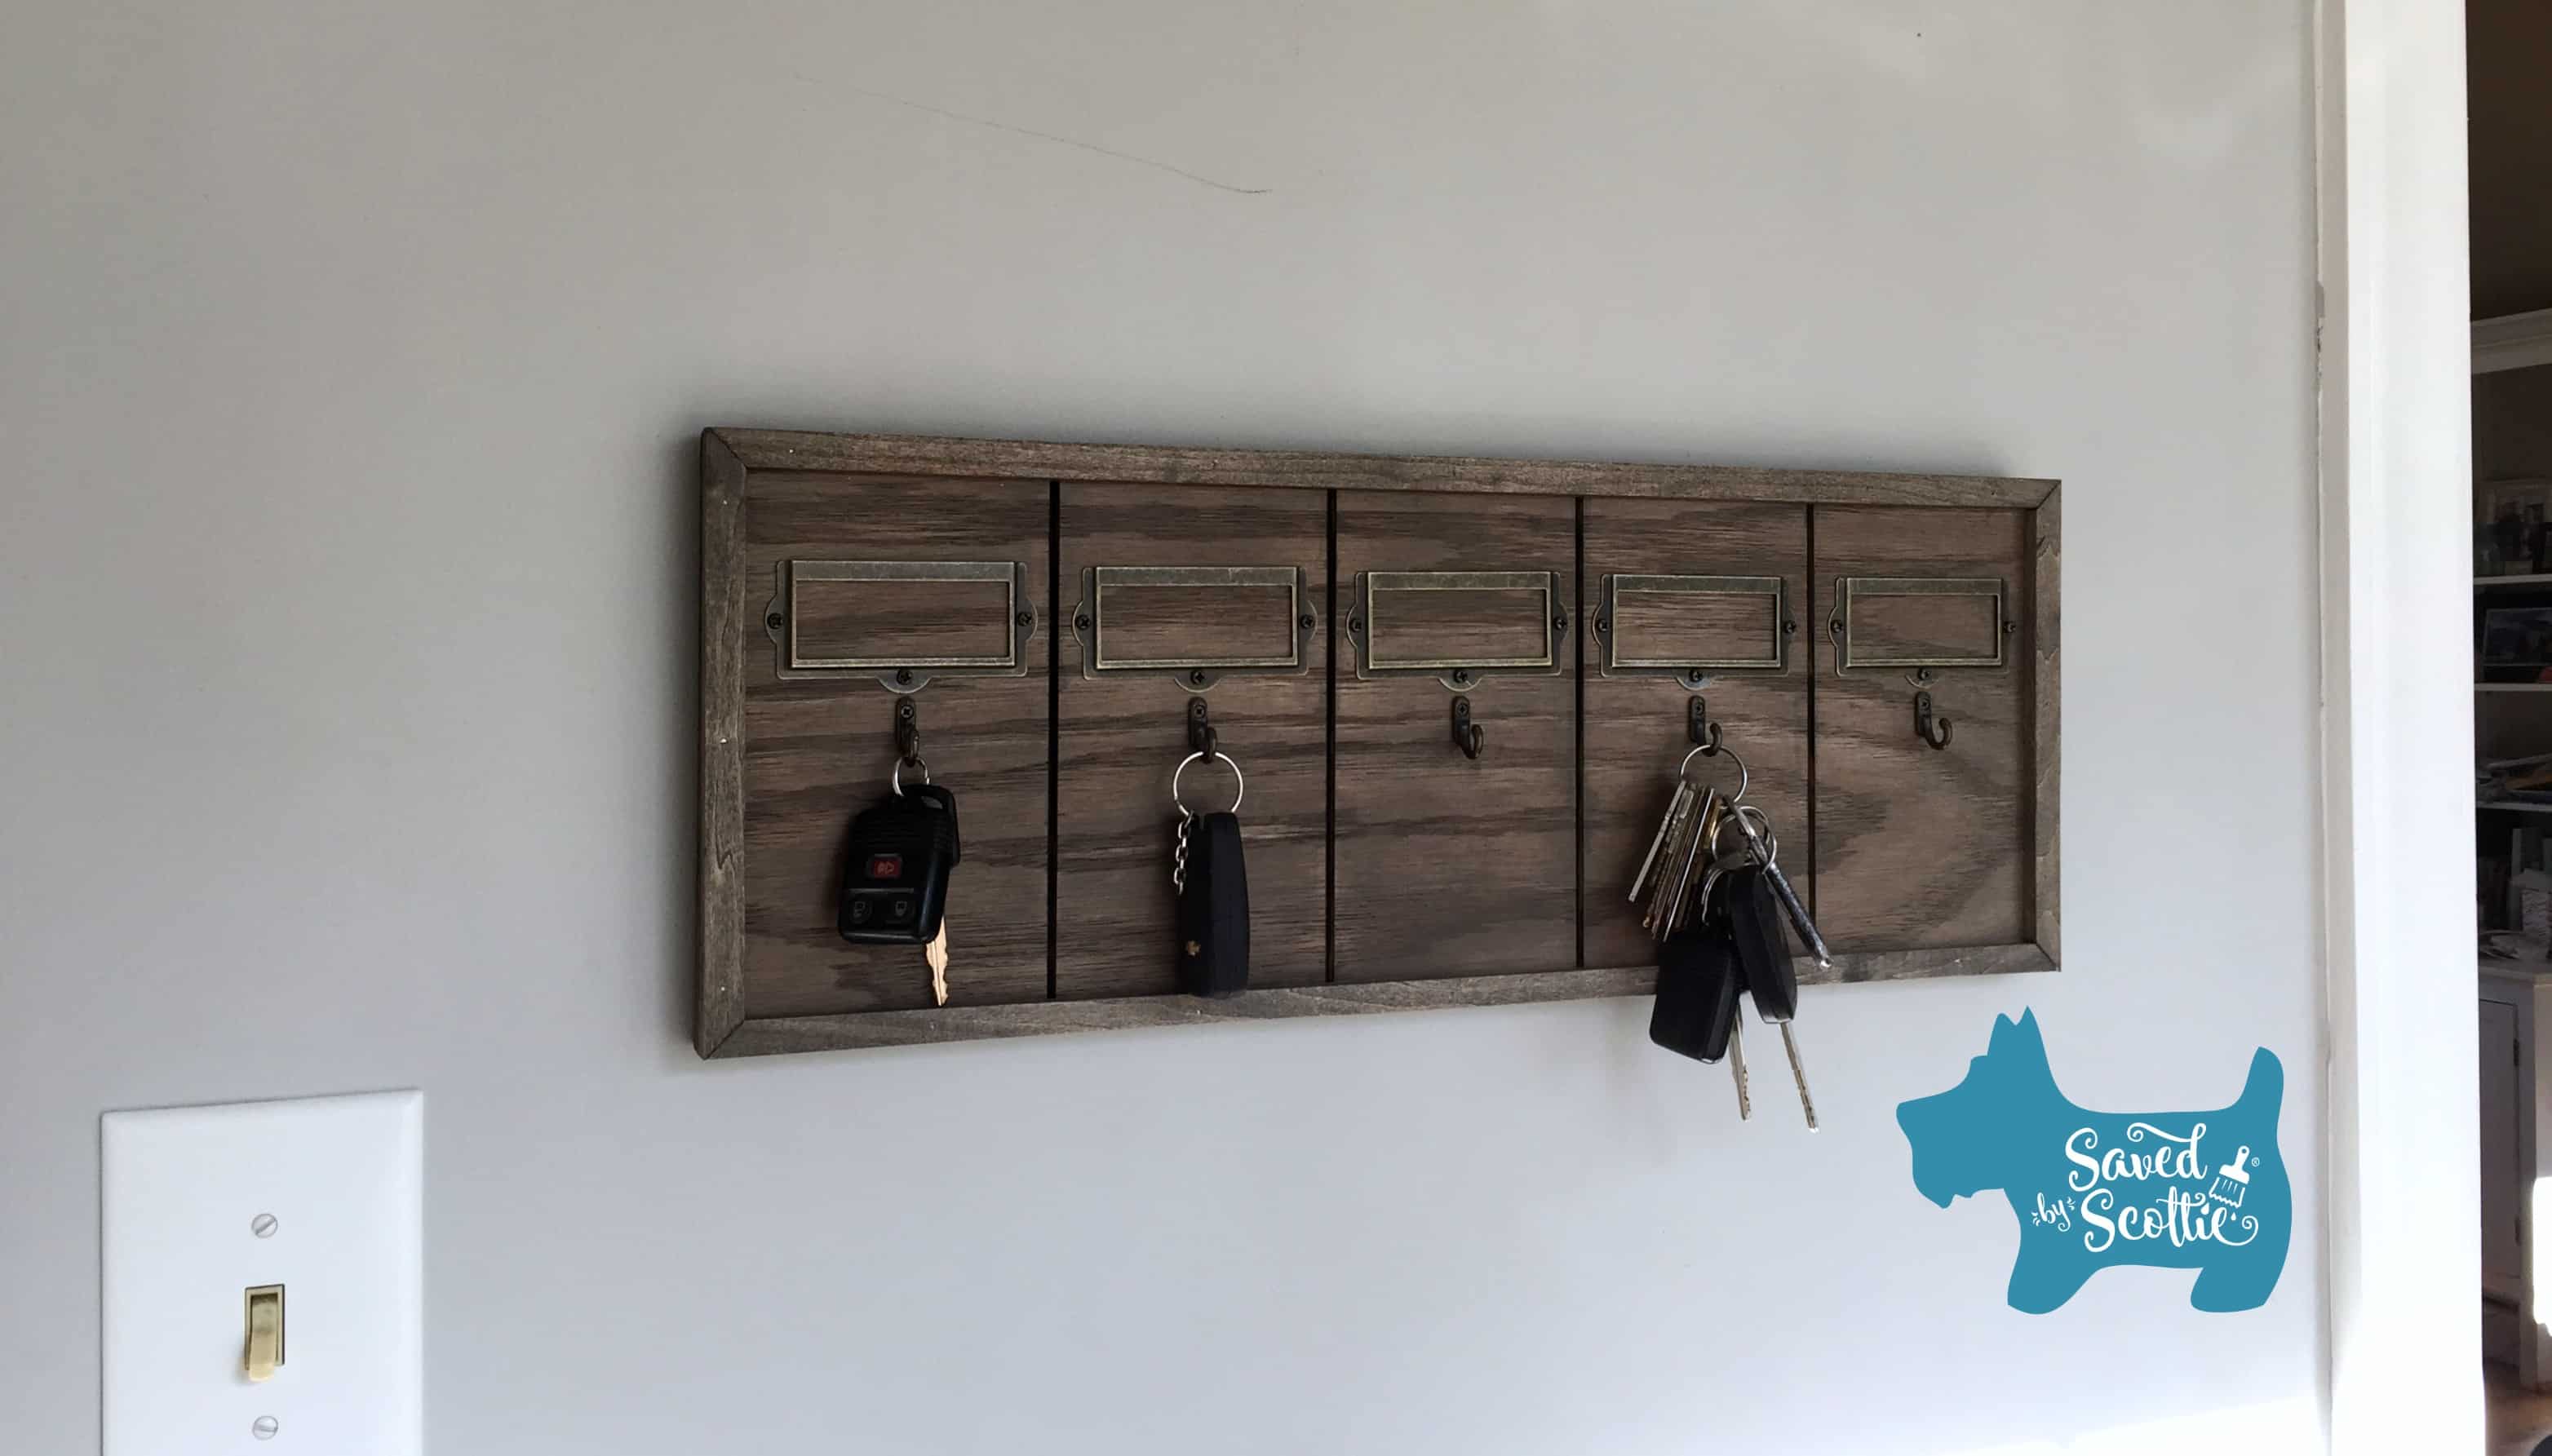
Finished
BOOM! It’s really that easy! Now we have a better place to store the keys then a jumbled up mess on the kitchen counter… or lost on the coffee table… or in a chair… or… well, you get the idea. It’s really easy to misplace keys around here.

I would love to hear what you think of this project.
Please Share and Pin this Post!
XO!
~Scottie
(Products have been provided to me by DLawless Hardware, Pure Bond plywood, and Ryobi Power Tools in exchange for sharing how I use them with you and I am so grateful. All opinions and experiences are my own, and always will be)


3 Comments
Renee Huepper
March 16, 2017 at 10:32 AMLove it Scottie! Wish I could hire you to make one for me!!
Scottie
March 16, 2017 at 5:35 PMThank you Renee- I wish you were close enough to come up and make your own at the workshop!
Scrap Wood Projects: quick tool charging station - Saved by Scottie
August 11, 2020 at 9:23 AM[…] scraps and I started digging around to see what else I could find. I had other scraps from the key holder and cremone bolt cabinet and managed to gather enough to throw something […]