
Tile can transform a space. If you don’t believe me, check out my kitchen update… or see what happened in this rv. You may recall what it used to look like before, and then we added shiplap. Now we have the kitchen AND bedroom. Bedroom?! Seriously, it’s impressive… we’ll get there, I promise.
This page includes affiliate links. If you make a purchase using the link, I may receive a commission at no additional cost to you.
*This post has been sponsored by Aspect Tiles. User-friendly, peel and stick tiles in on-trend finishes.
Glass Subway Tile
First thing I did was take down that sad excuse for a backsplash over the stove in the kitchen. The adhesive residue it left behind wasn’t so bad. I just used a metal putty knife to scrape as much as I could off the wall to leave a flat surface. The color was still there, but when I ran my fingers over it, I didn’t feel any difference in the surface so that was good enough.

I knew with all the lightness we were trying to bring into the space white glass was going to be the answer. RVs need everything on a much smaller scale that everywhere else so I reached out to Aspect tiles for their Mini Subway Glass Tiles in Frost. They are the perfect size for a small space like this.
Because RVs bump as they go down the road, I wasn’t sure the sticky back on the tiles would be enough adhesive (though it was probably fine) so instead of priming before tiling, I decided to use construction adhesive as a bit of extra insurance.

Usually I start my tiling in the middle of the wall so the focal point is right. However, this middle was just at the window and it was just easier to start at the back corner. I lined it up using the counter as my “level” because as I have stated before, NOTHING in an rv is generally level, plumb, flush, or square. Before I started I had cut some “half tiles” to fill in my gaps so it was easy to just add them as I went along since at the start, they were all the same.

I went all the way across the bottom row as far up as I could without fancy cutting then straight up over the stove.

The first section went along pretty quickly since it was just wide open space… then the window got involved. Years ago I had taken a stained glass class and all those tools have come in handy a few times.
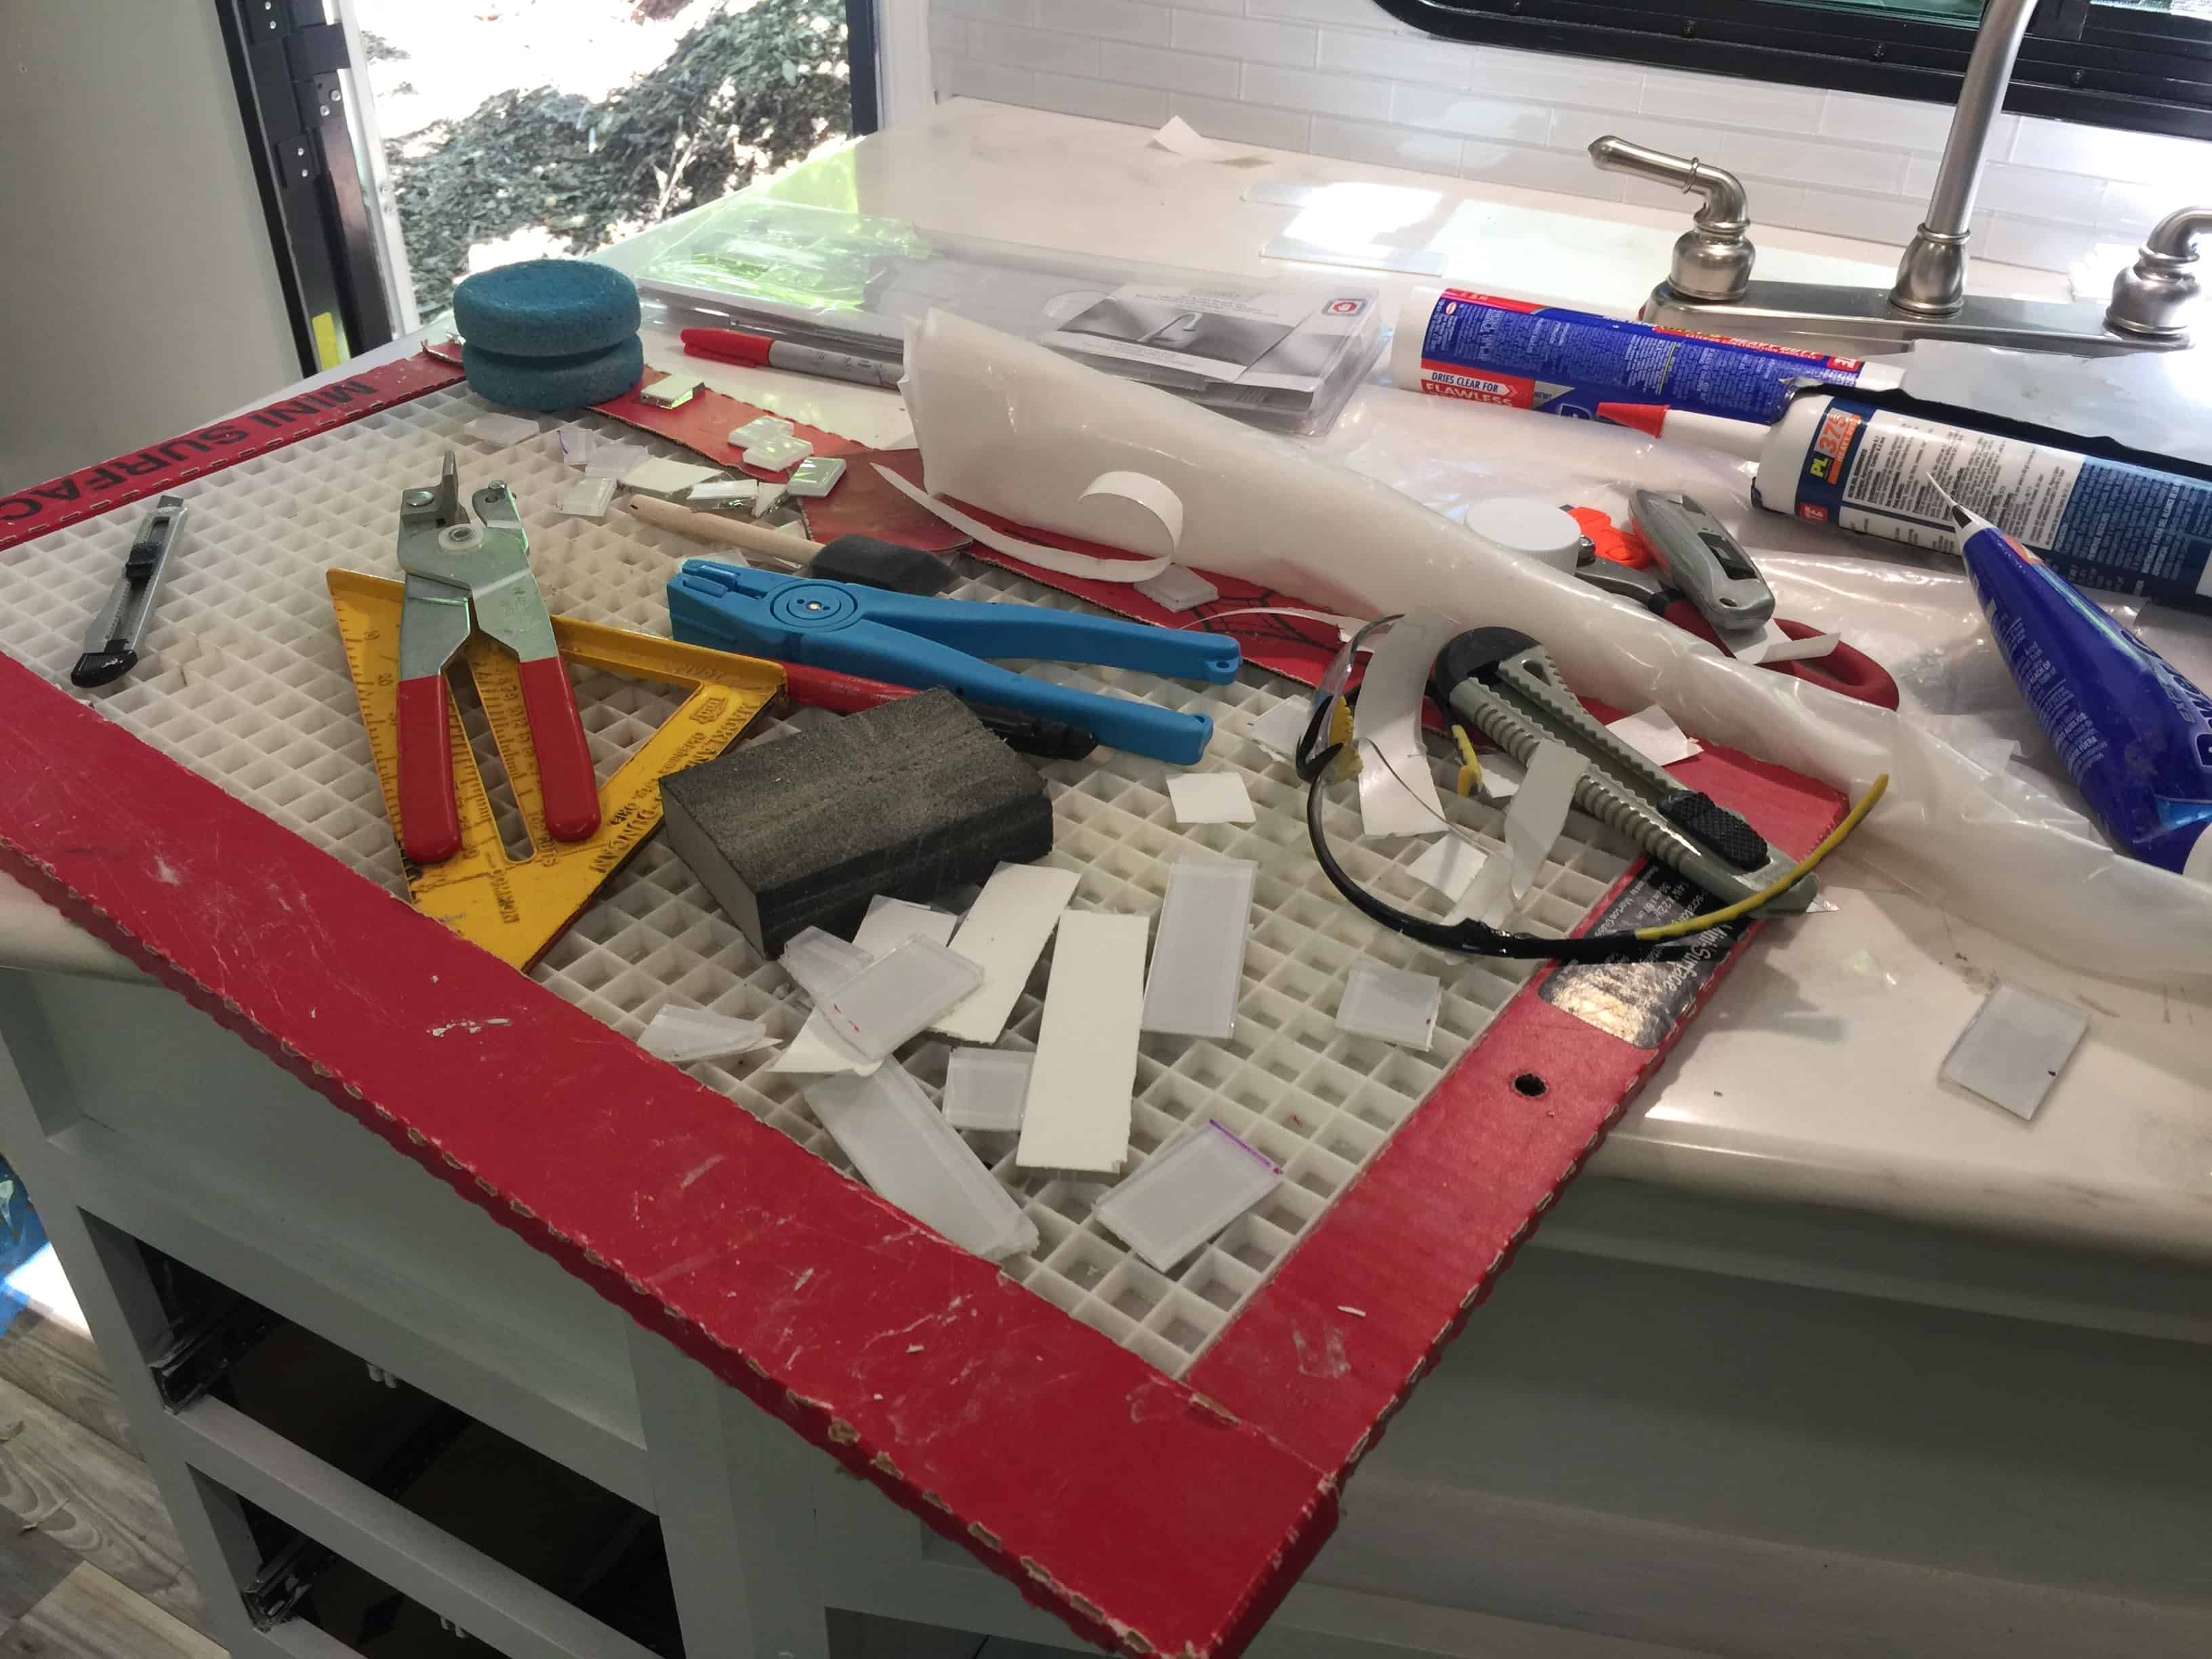
I don’t have a picture of it, but one of the neatest tools I have is a glass grinder. It was super helpful when working on the curves of the window. I would get close, and then use the grinder to fine tune the tiles to fit the curves. It took a little extra time, and the final look made it worth it.

Honestly this tile is just so easy to use, ANYONE can do it and look like a pro.

Painting the cabinets white brought a lot of light into the space.. but the glass tile reflected so much light and took that look up even a few more notches… WOW!

Oh yea… you see that little one that’s missing up at the top corner? It was missing for QUITE a while. Completely forgot to put it in and then dragging everything out for one little tile seemed excessive… so on the last day I finally took care of it…. Sigh… ADD. (I promise it’s there in the final shots)
Stone decorative tile
Moving into the bedroom… bet you didn’t know you could up your game with tile there, did you? Here is what we started with: painted walls… and little else.

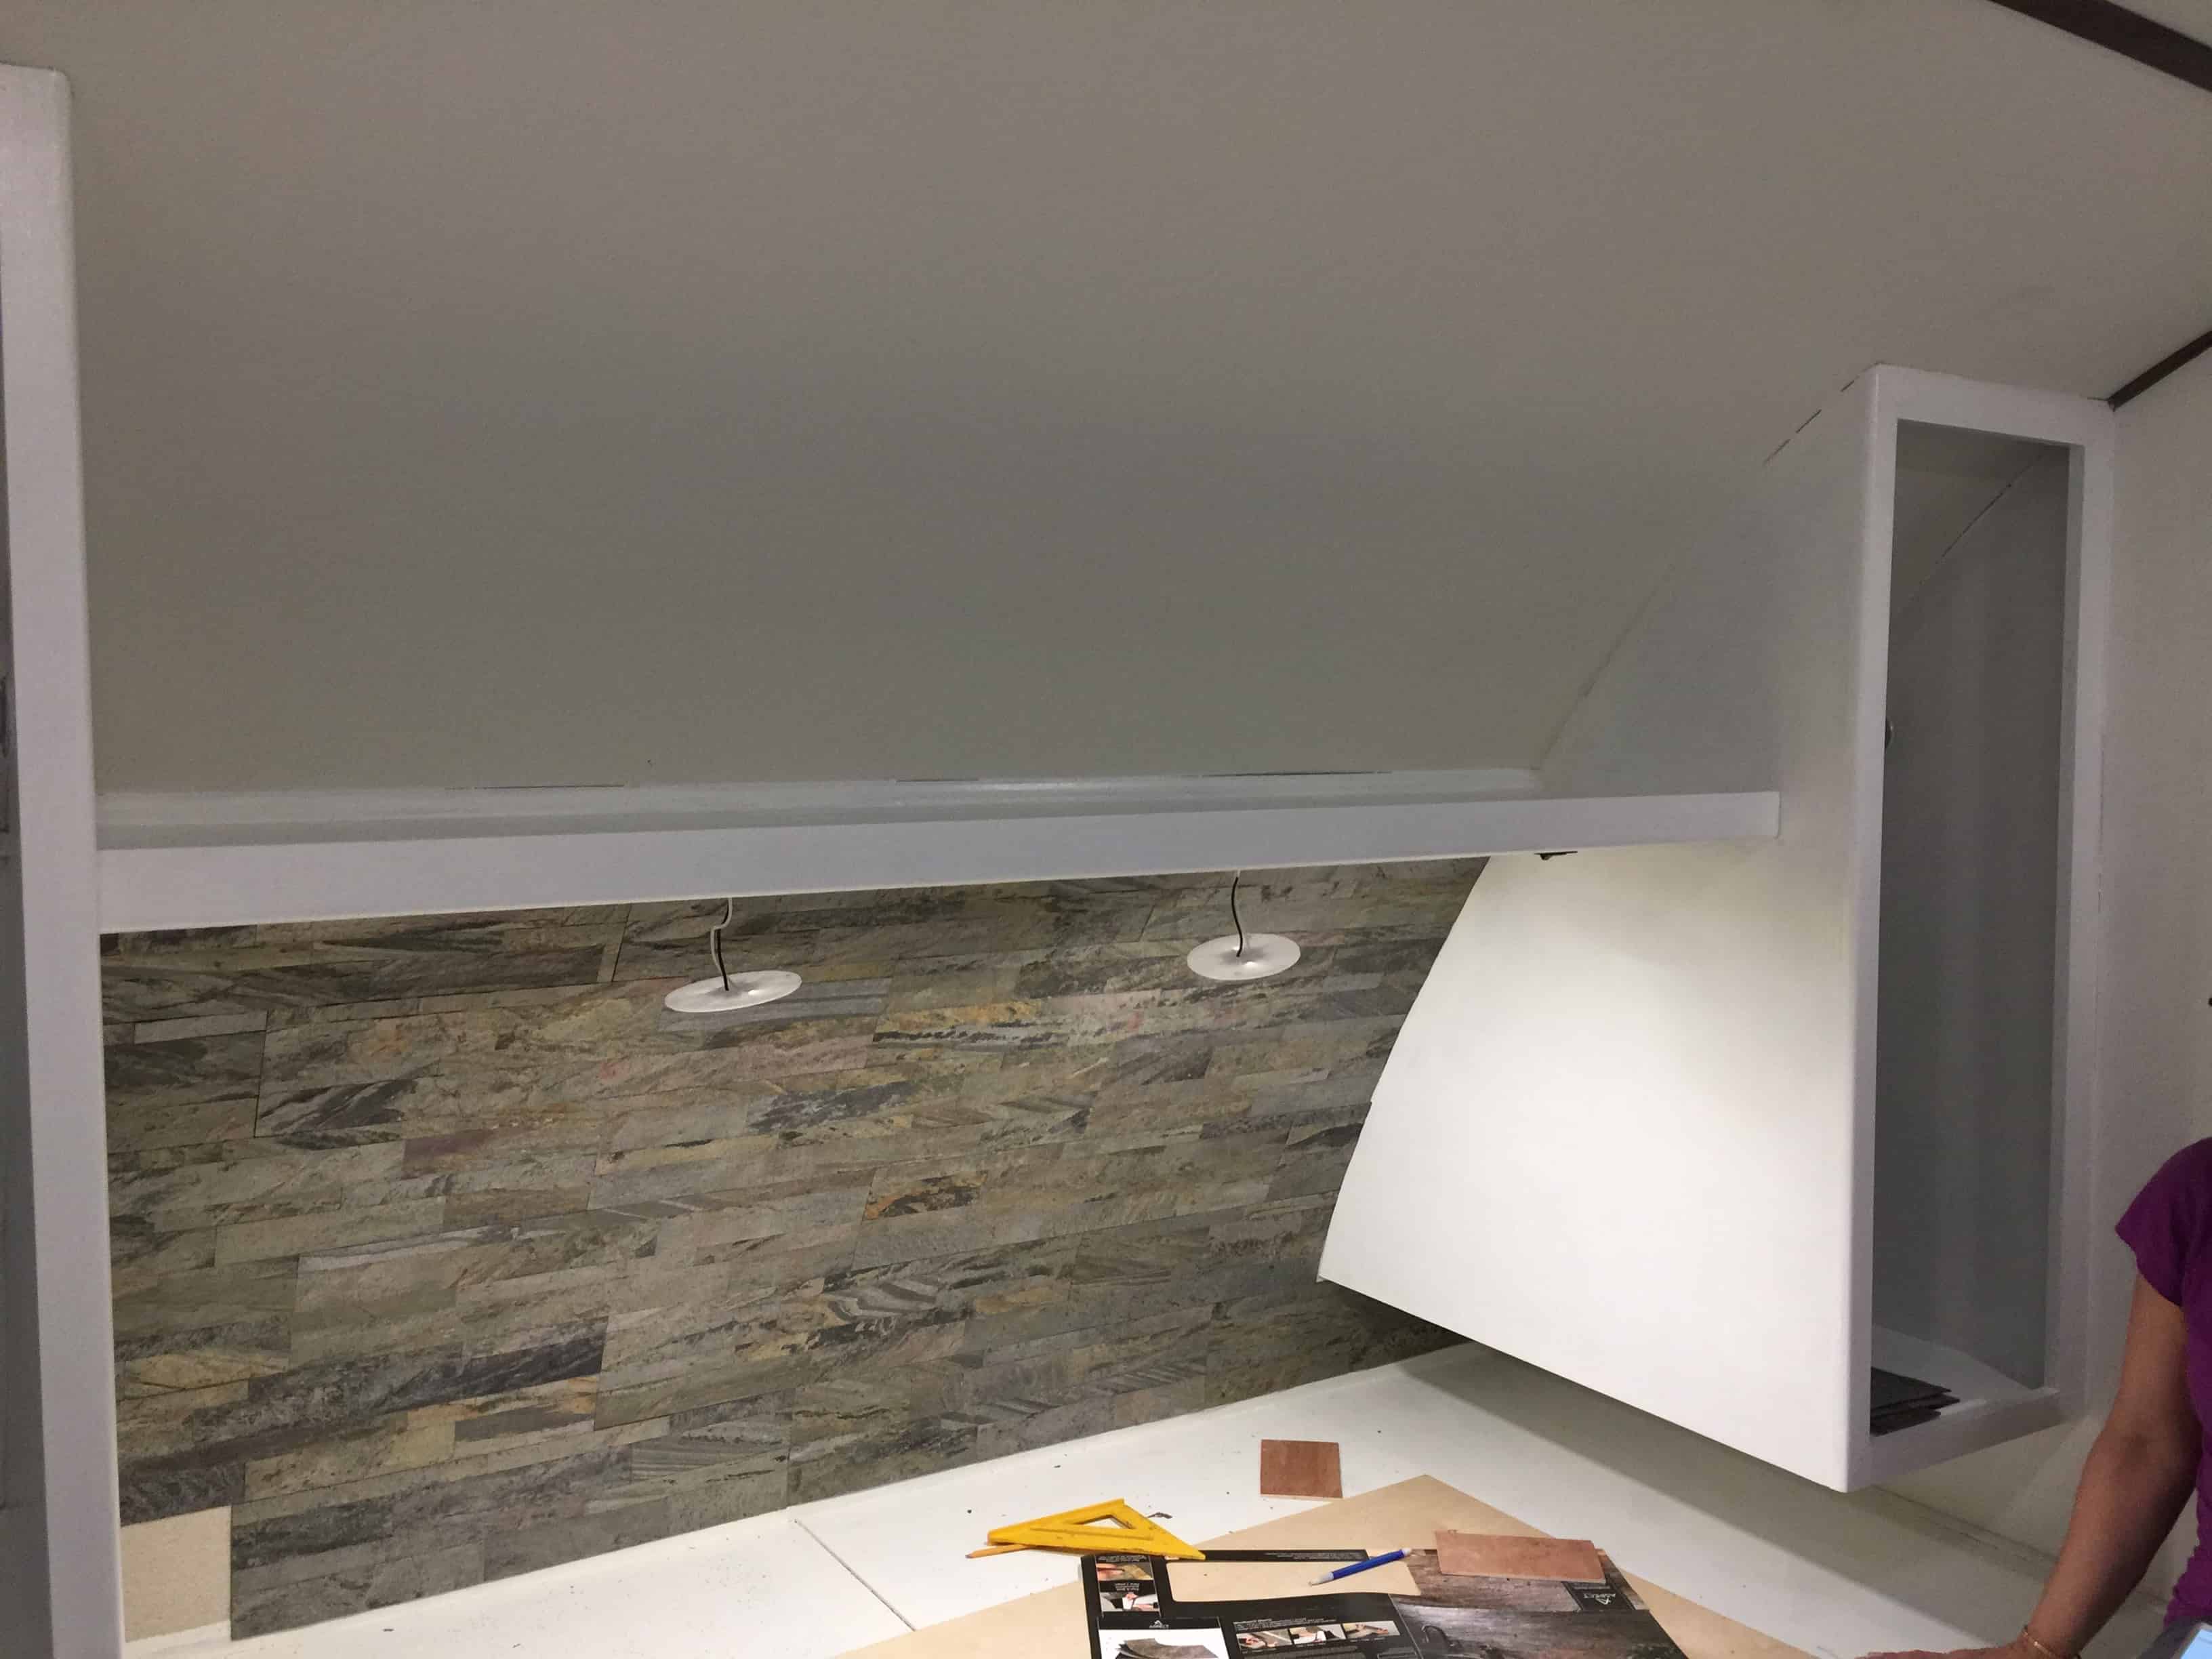
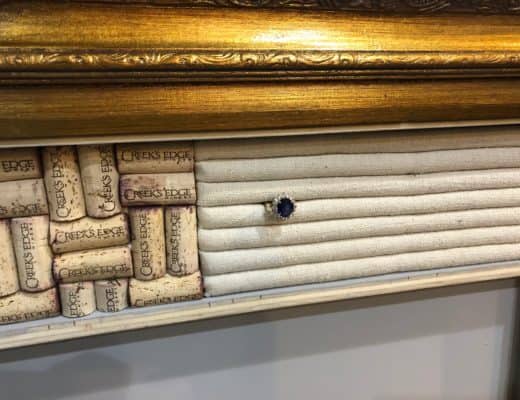
Aspect has several different kinds of tile. One of them is this fabulous stone… YES stone.
The process is pretty interesting: Resin is poured onto a large quarried stone and after it cures, they peel the resin back to reveal the natural colors and textures of the stone. Then thin slabs of resin stone can then be cut and arranged on pressure sensitive adhesive backers and cut to the individual tile dimensions. The process leave the tiles so thin you can use tin snips to cut it easily. Lightweight is a HUGE bonus in an rv and these stone tiles make a stunning statement. This space went up super quick since it was just one big rectangle.
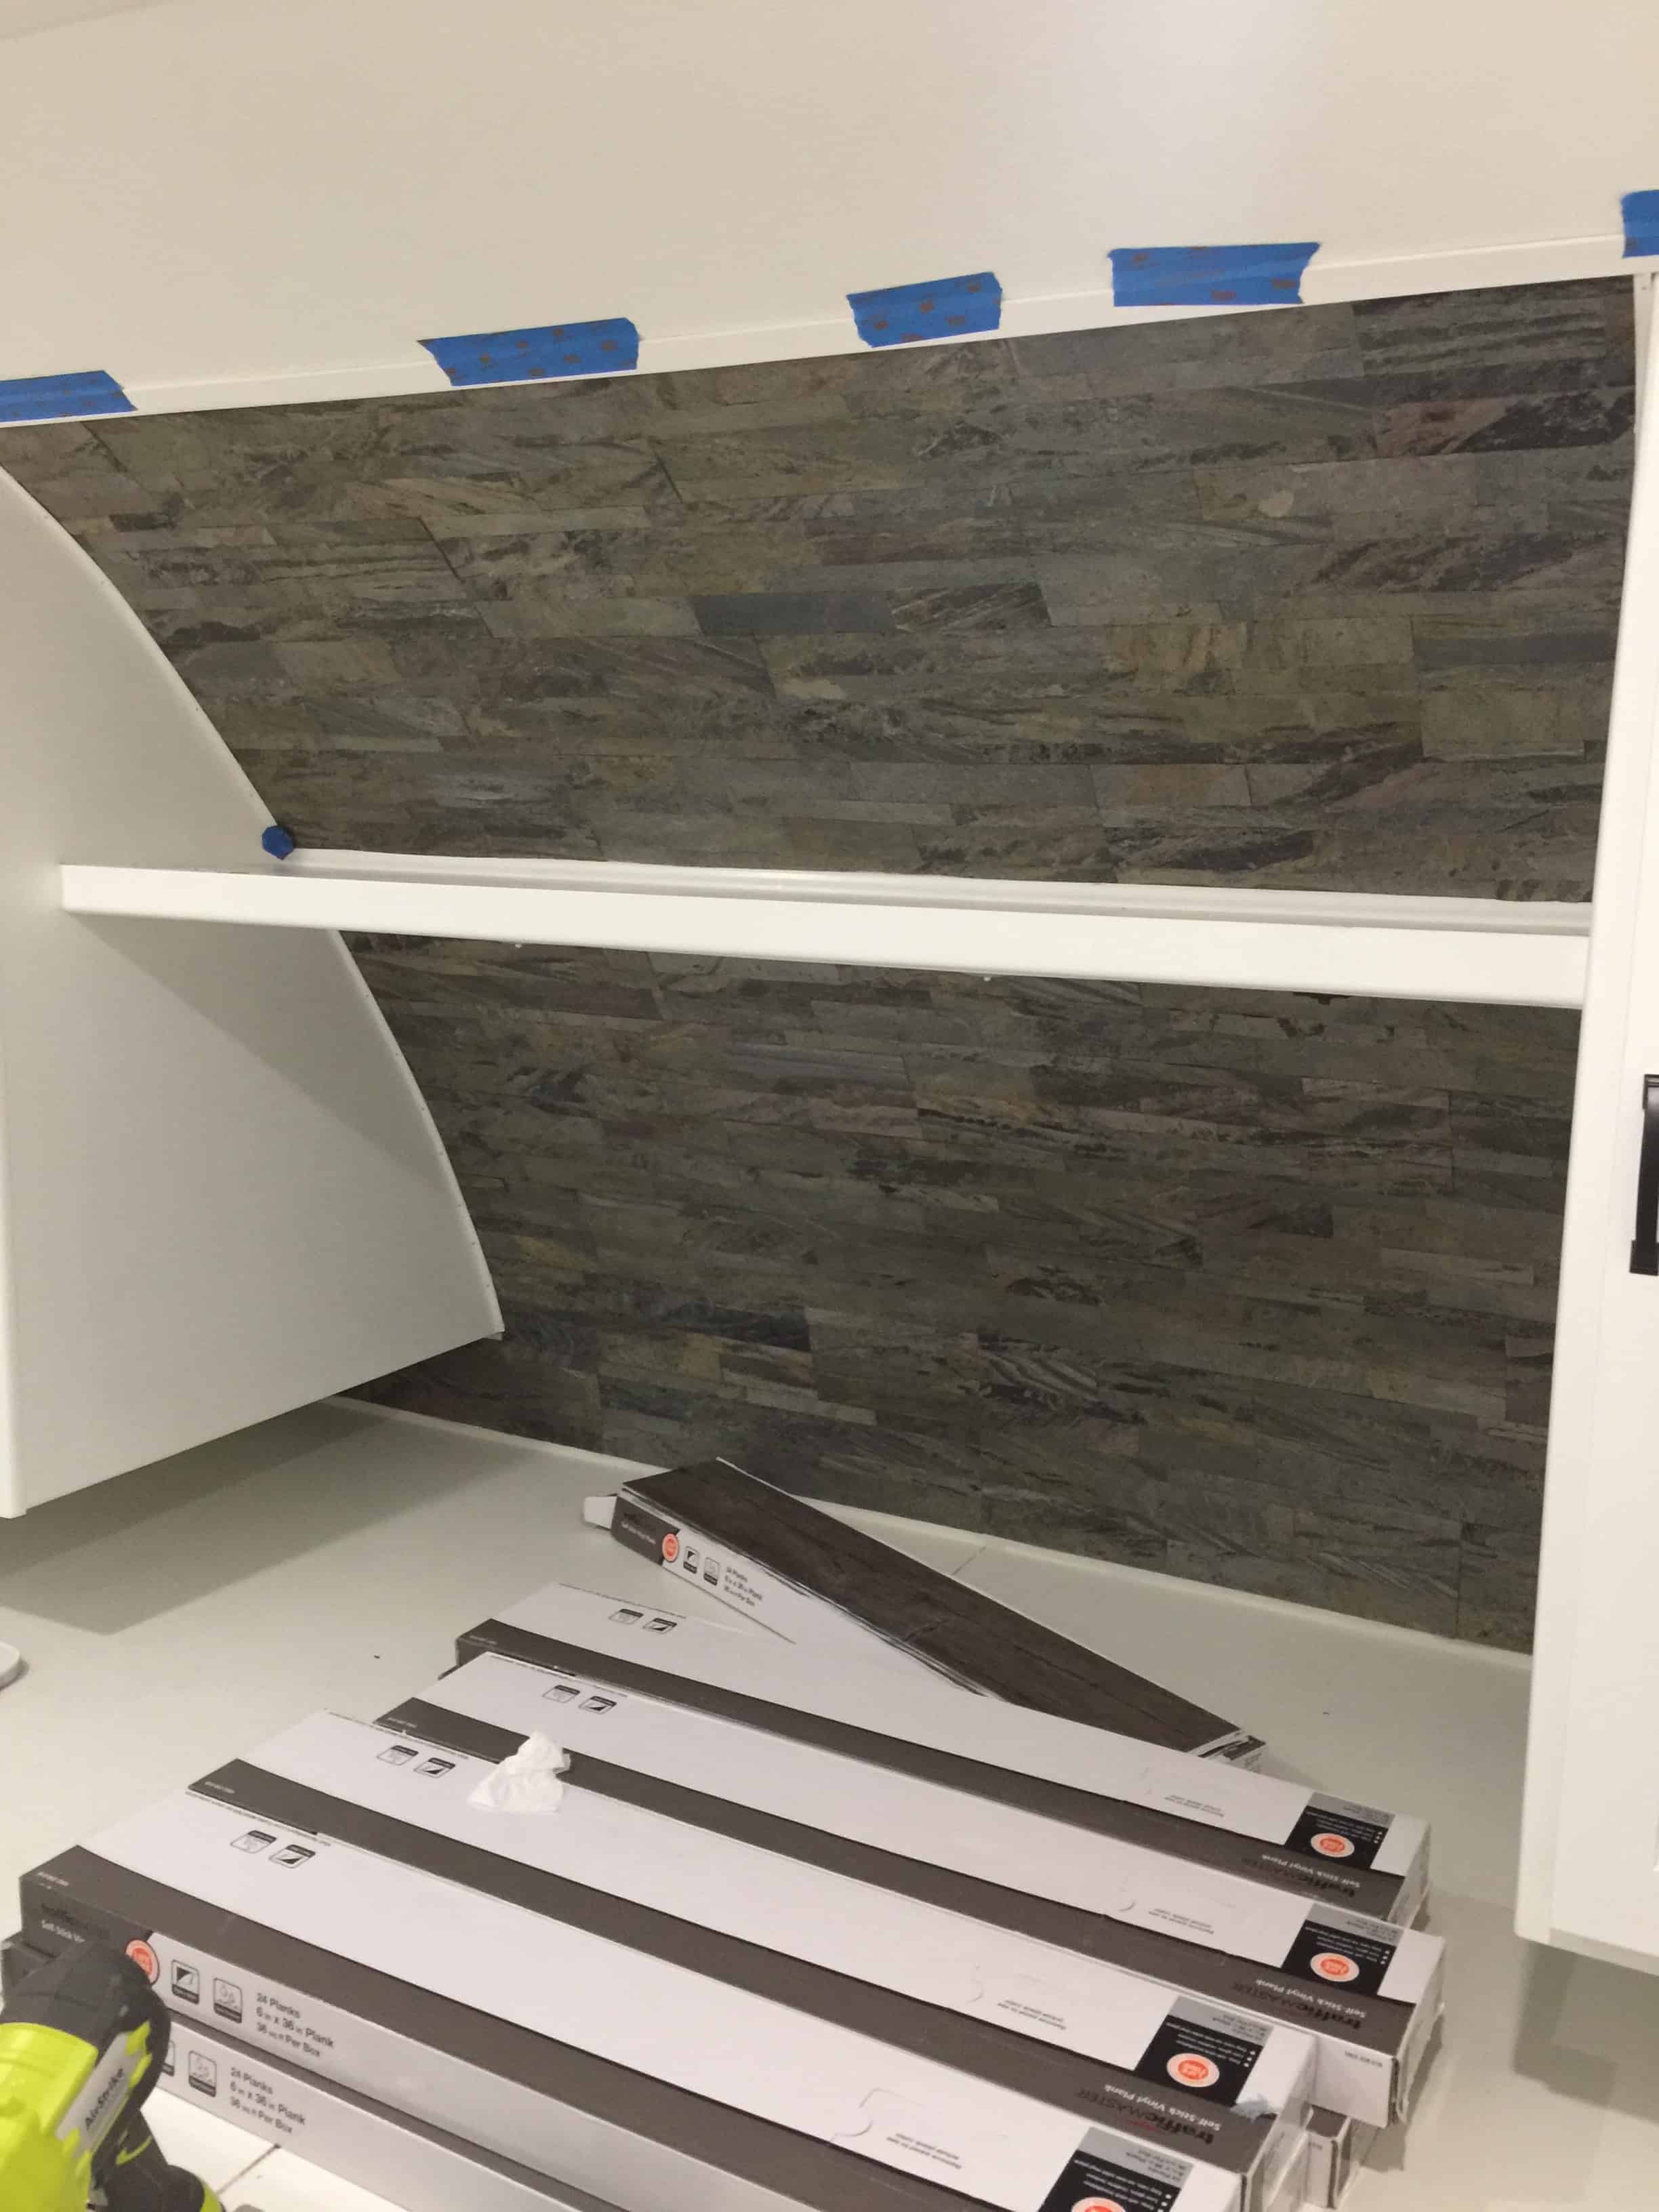
One we got this far, my client decided it wasn’t enough of a statement. When the bedding and pillows are there, her thought was it wouldn’t be very visible… she had a point. So we ordered a few more tiles and kept going.

Much more impressive, don’t you think? Those cut edges weren’t quite perfect and I love a finished look so I grabbed my brad nailer (probably my favorite tool) and attached some thin trim (which made that curved wall no issue at all)
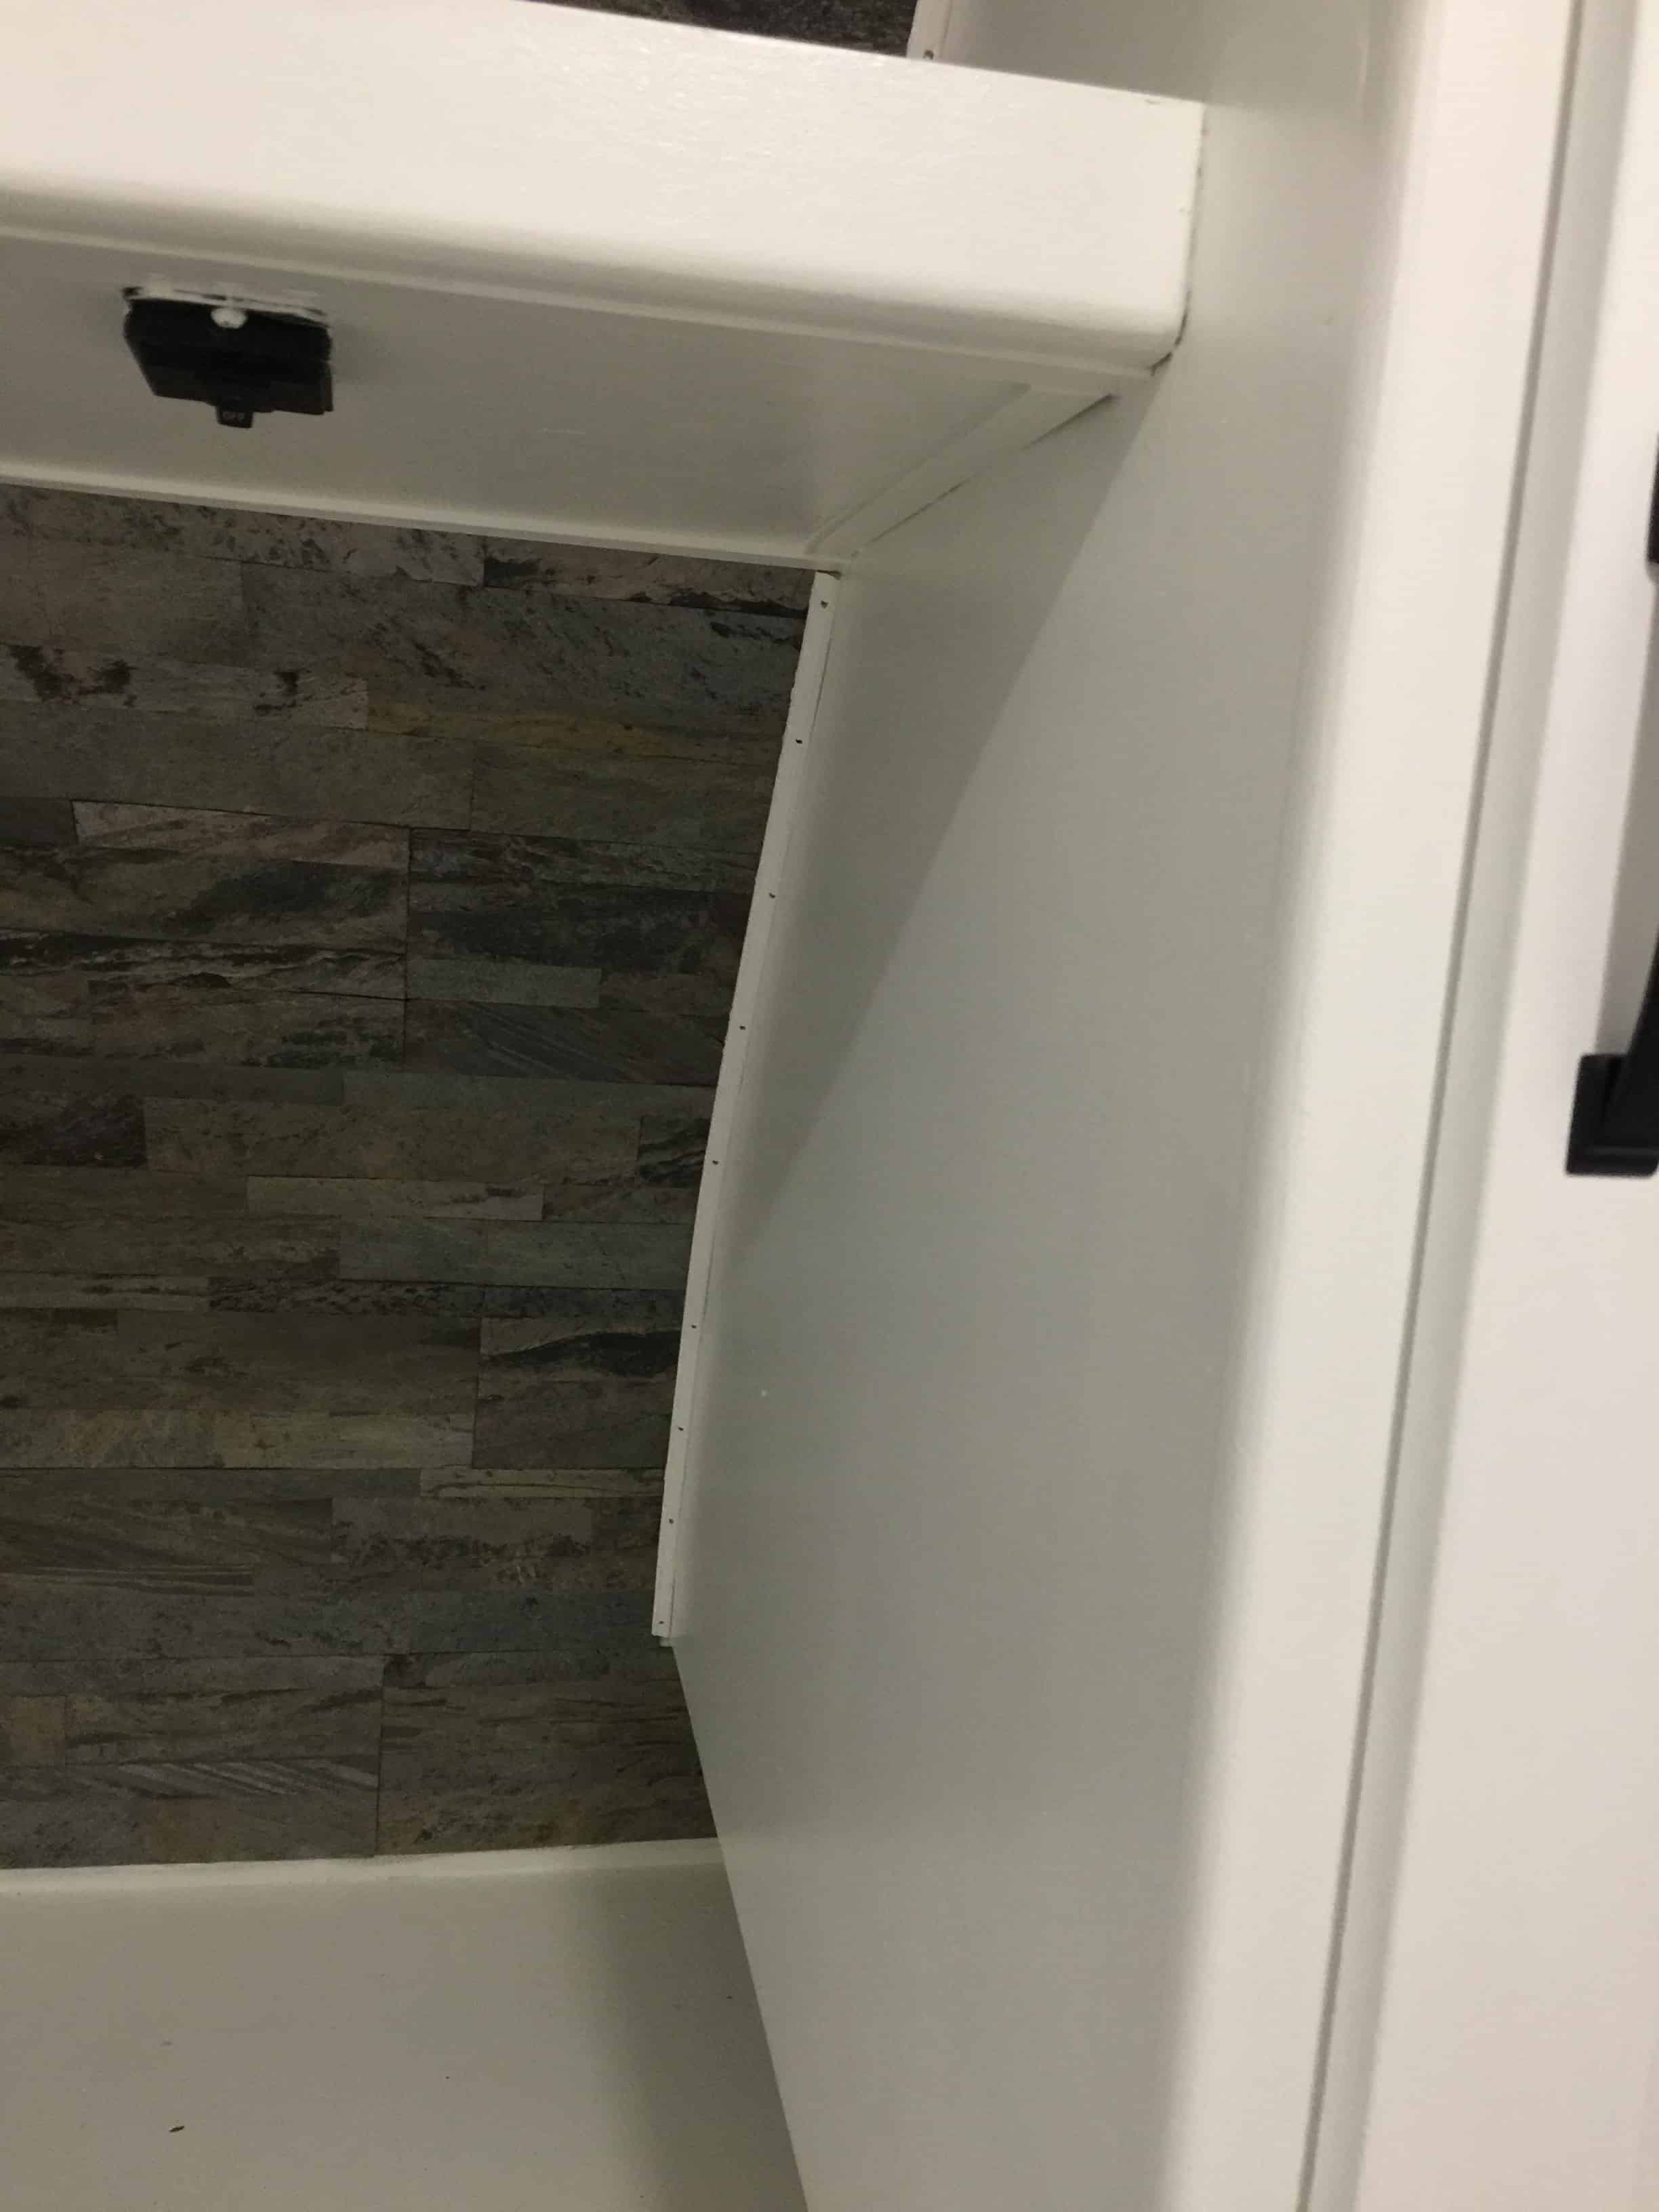
There were a few spots where the tip of the nailer wouldn’t reach because of the angle, so construction adhesive and tape to the rescue!

We taped all the way across the top to hold it in place while the adhesive dried. That piece was super thin pvc and we didn’t want to put holes in it and deal with patching them.
Makes a much bigger statement now, doesn’t it?
What do you think- Are you up for a tiling project yet? You can find all kinds of pictures and inspiration at Aspectideas.com too if you’re still on the fence.
Looking for the other parts of this journey? rv remodel, rv shiplap, bunk room to office and rv remodel Finished!
Please Share and Pin this Post!

XO!
~Scottie
To make sure you don’t miss the entire remodel, please subscribe to the blog and get everything delivered right to your inbox.
*Aspect Tiles has provided product for this post in exchange for me sharing it with you. All experiences and opinions are my own, and always will be.


2 Comments
Aspect Tiles Spur Big Transformation in a Small Space -
September 27, 2019 at 12:14 PM[…] recently took the time to transform an RV. She points out in a post on her blog, Saved By Scottie, that when it comes to decorating and furnishing, RVs require everything on a much smaller scale […]
RV remodel- rv shiplap - Saved by Scottie
November 21, 2021 at 4:56 PM[…] for the other parts of this journey? rv remodel, rv two kinds of tile, bunk room to office and rv remodel […]