
I have been swamped with a huge cedar box build for a client. (I promise to share when it’s done.) Two pieces of lumber were broken in transit. Those two pieces are all I need to finish the entire project. They were supposed to be here yesterday, that didn’t happen. While waiting, I decided to throw together a tool charging station from scraps I have around (I have a lot of scraps).
This page includes affiliate links. If you make a purchase using the link, I may receive a commission at no additional cost to you.
Stalling for time, I starting looking for some plans online to see how others had built similar units. My closet build left me with some larger 3/4″ plywood scraps and I started digging around to see what else I could find. I had other scraps from the key holder and cremone bolt cabinet and managed to gather enough to throw something together.
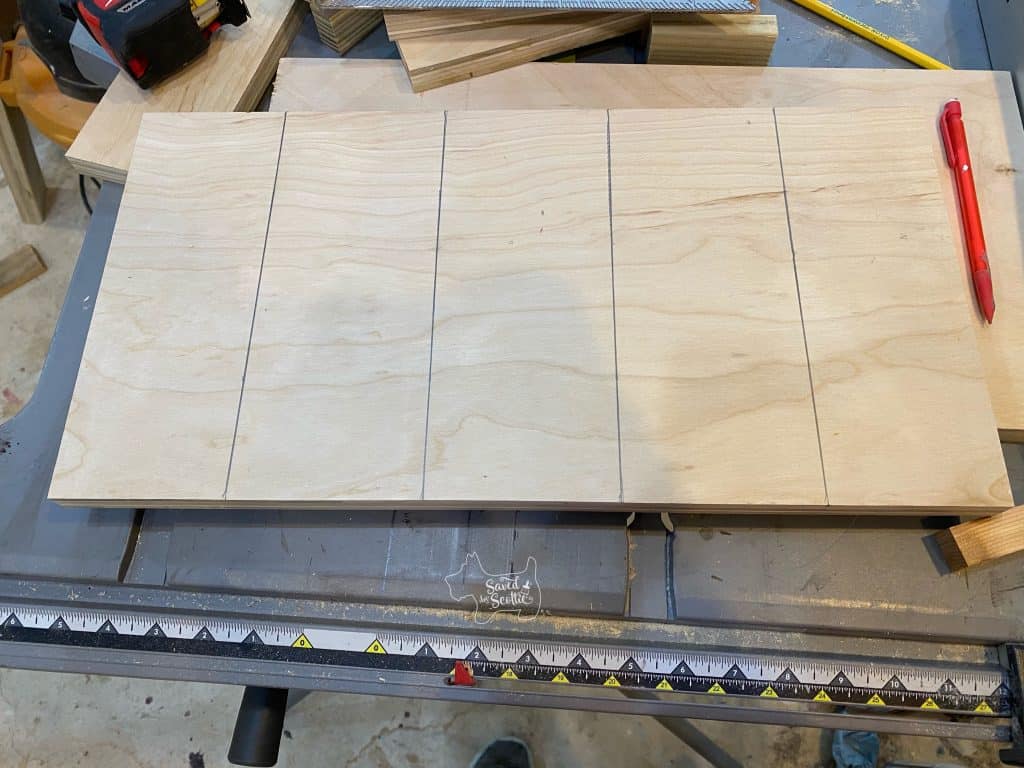
I cut two plywood shelves measuring 18 x 9 1/4″ and then cut some 3 1/4″ wide scraps to 9 1/4 inches for the drill storage spots. Wanting to leave 3″ between each divider, I measured 3″ from each side and 3 3/8″ in between, then drew lines to show me where the dividers would go. (3″ spacing plus 1/2 the 3/4 plywood width)
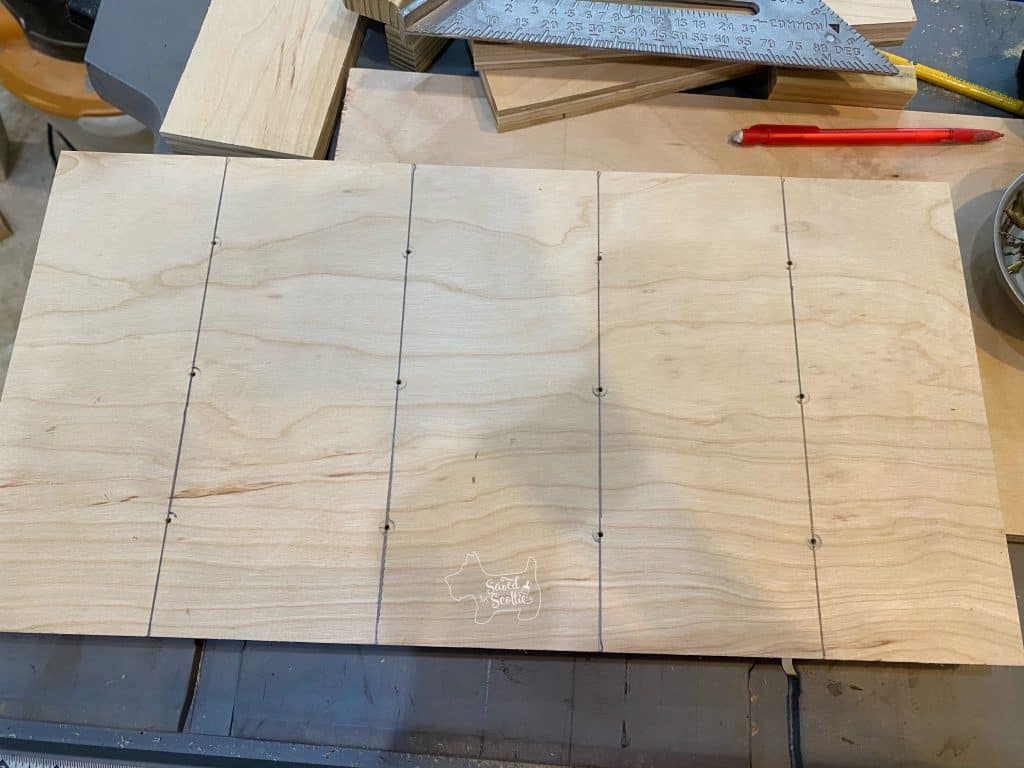
I marked where I wanted to attach each divider and used my center punch to mark where I wanted the screws to go. (dead center and 2″ from each side)

Using a 7/64 bit, I drilled holes at each of those marks.
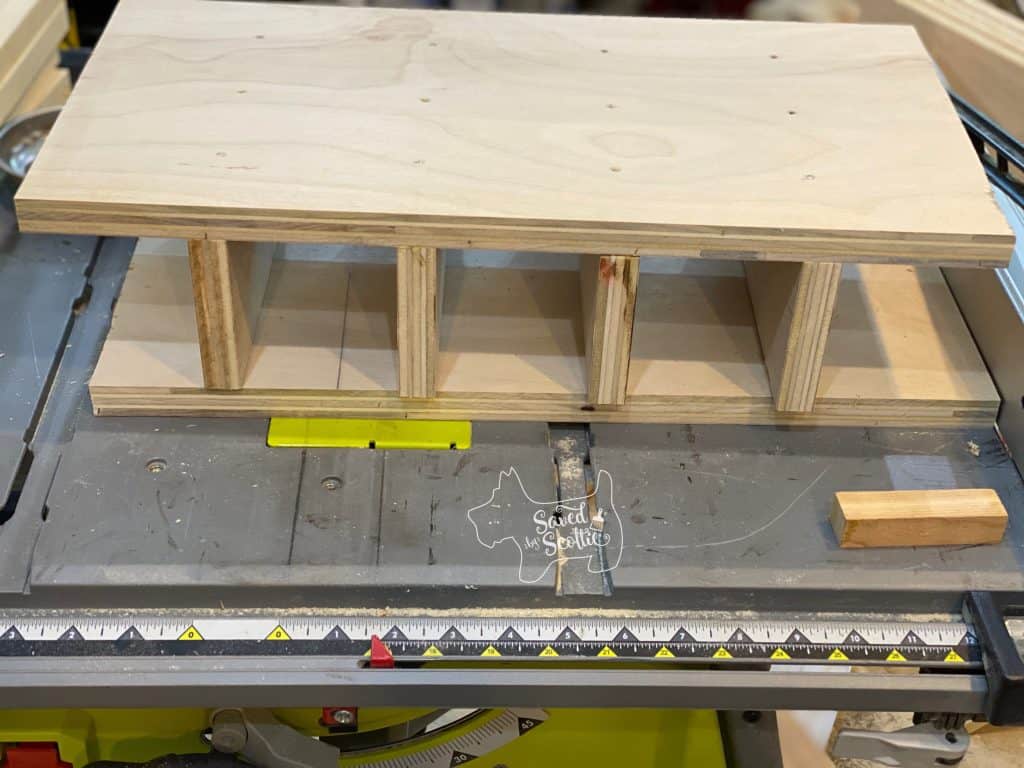
Cutting some 3″ spacers with a miter saw made it easy to keep everything in line.

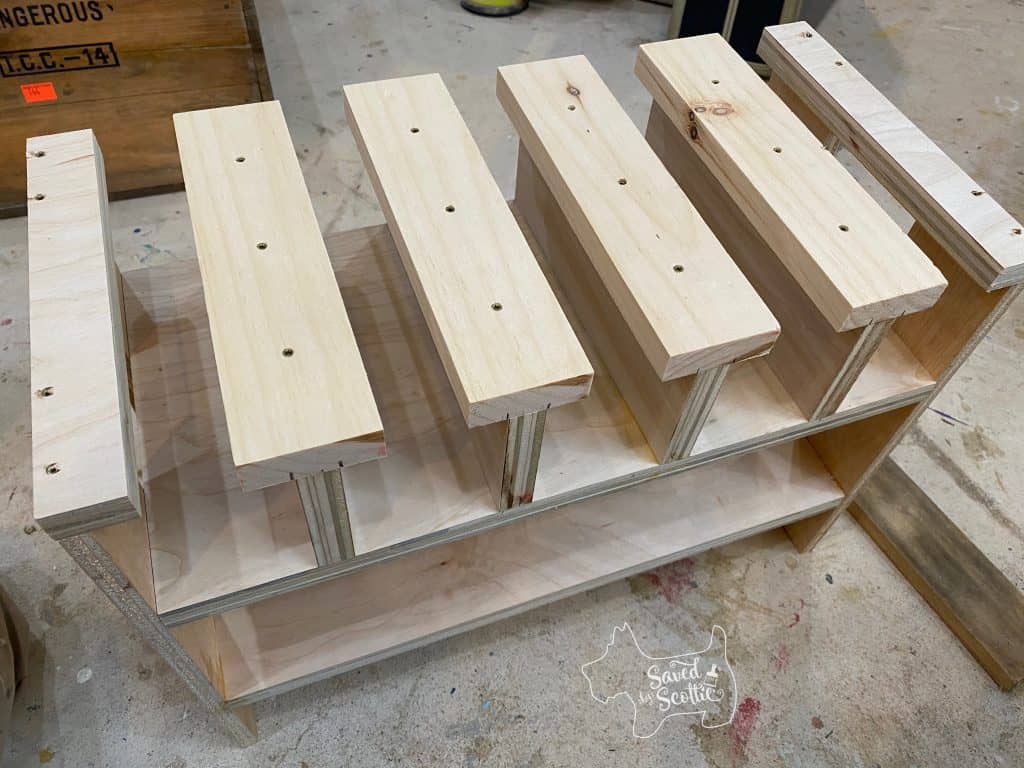
Flipping it over, I glued and screwed the dividers in place using 1 1/4 trim fasteners, screwing them in flush.
I used scraps of 1/2″ plywood for the sides cut to 13″ long and glued/screwed them into the sides of the shelves, leaving a 5″ gap for battery storage. Cutting the leftover oak piece to 18″, I dry fit for the back of the top section.

After ripping some leftover 1×3 scraps to 2 1/4″ on my table saw, they were cut to 9 1/4″ long and attached in the same way as the dividers. The outside pieces are 1 1/4 wide 3/4 plywood scraps.
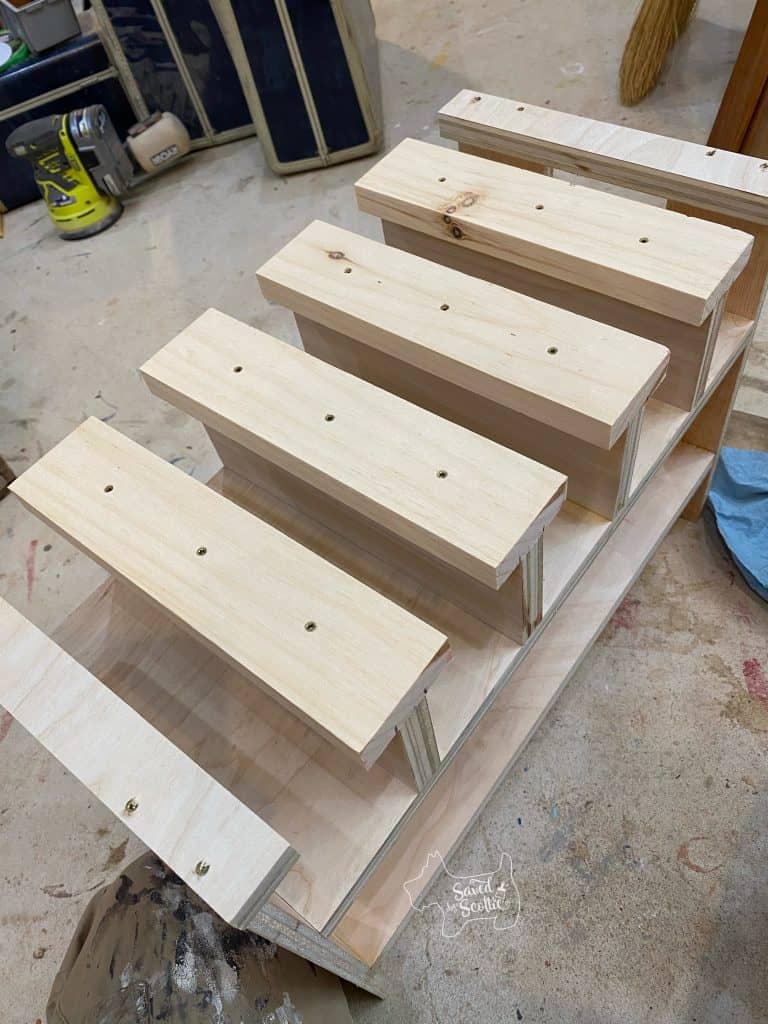
Even upside down, it was starting to come together.
Flipping the unit right side up, the back panels were glued and screwed into place.

The best place to hang this tool charging station was on one of the support posts of my shop right by the door. Now when my dear husband borrows my drills or batteries, he knows exactly where to put them back.

Bet ‘cha I can get several more batteries in there if I turn them sideways.

It may not be the prettiest thing, but it IS functional and the top shelf makes a great place to store oddly sided cordless tools that don’t hang on my pegboard easily- like my router and orbital sander.

One of the power outlets for the workshop is on the other side of the post so the open sides make it easy to keep the cord out of the way. That extra side post is great for wrapping the cord to shorten it as well. I’m debating adding tape measure storage to the side…

Have you ever thrown a quick “organization helper” together? I’d love to hear all about it! What else would you love to see made? I’m always looking for ideas.
Please Share and Pin this Post!


2 Comments
John Robinson
August 11, 2020 at 9:46 AMI did a organizer for all my pipe clamps it is easy to get at and the clamps are not faĺing all over each other. Also did an organizer for all my small parts bins. I had to build out a wall were the water meter so I build out the entire wall, built shelves between the studs an will finish with plywood doors. I will send a pic when complete along with my revised pipe clamp storage.
Scottie
August 11, 2020 at 10:19 PMI absolutely can NOT wait to see!