
 …Where did we leave off? You will recall I used the Wagner Furno 750 heat gun to strip paint from a neglected fireplace mantle. After listening to my dear husband express his concerns regarding his certain and imminent death over a falling headboard, I figured I should do something about that. The shelf was positioned too low for sitting up in bed, and the 3″ gap between the wall and the mattress was inhabited by a pillow eating monster…. something had to be done. Of course… tufting was my answer!
This post is longer than I intended but stick with me (or scroll to the end if you don’t care how I did it, I won’t be offended) I promise it’s worth it.

Well… there is a reason tufting sounds like tough… It’s not easy.. at all. As a matter of fact, if you tell and experienced upholsterer that it’s the first thing you want to attempt, they will laugh at you (on the inside, they’ve always been just smiling on the outside to me…). How hard can it be? So I Googled…
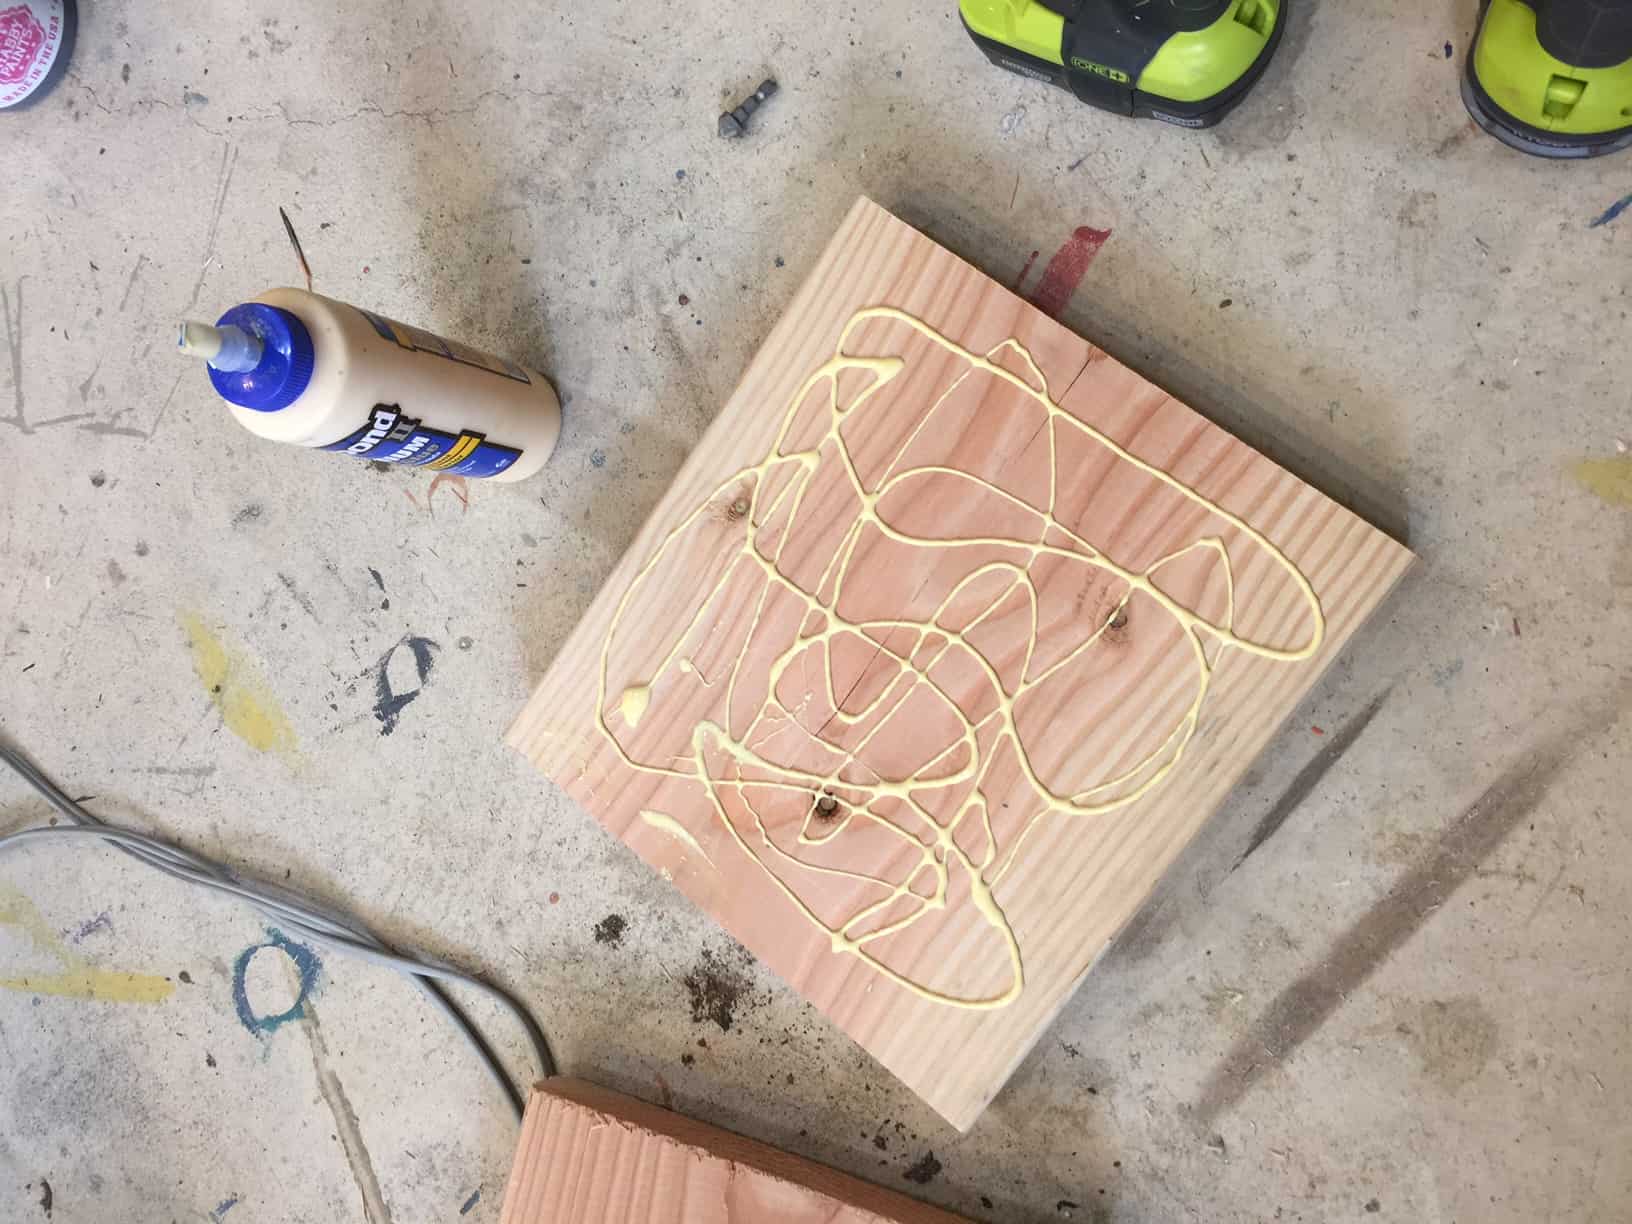
Before I could even start the insert, I had to deal with raising it up so no heads would be wounded. I grabbed some 2 x 12s from Home Depot and cut 4 12″ pieces. I glued and screwed 2 together so them I had two 4 x 12 pieces. (countersinking the screws so it was flush)


Then I stained them a weathered wood color.


I white washed them a bit to give them a bit closer match to the headboard (no pics- sorry)
Then I screwed the metal bed frame into the supports leaving 3 inches on each side to accommodate for the width of the mantle and lifted the mantle onto the supports. I found the studs in the wall behind the headboard and screwed heavy-duty D rings into the back and lifted it on them to keep it from tipping. The actual weight is supported by the blocks at bottom.


I took a piece of 1/2″ Pure Bond plywood (because no formaldehyde where I sleep y’all- more details on this Monday) and cut it to the size of the opening plus 2.5 inches on the top and sides to attach it and then went to measuring. In all of my research, no one talks about how far apart they placed their “tufts”. I first decided on 7″ spacing, and then changed my mind and decided 8″ looked better (thus the two sets of lines in different colors). I drew lines out at 4″ apart and drilled at every other intersection staggering them each row. I bought a button kit and traced out the circles on the fabric to cut for matching covered buttons (because if I am going to do this, I am going to do the MOST complicated way possible right out of the gate… Go big or go home, right?

I cut out and covered all those buttons… Ugh, seriously, that was a chore. I got into a bit of a groove the second time around.. Not sure I will do it again without a button press. OUCH.

I bought 3″ multipurpose foam at Home Depot ($25). It was literally the cheapest place I found it. Totally surprised me! I cut it to fit the interior space of the mantle and used spray adhesive to attach it to the plywood then covered it with batting. Then I used an upholstery needle to help me mark the holes from the front and used my drill bit to dig them out a bit. I didn’t turn it on, just uses it to poke into the batting and foam.

Oh by the way, the fabric is just a canvas drop cloth from Home Depot. It was about $12 for the 4 x 8 foot size and exactly the look I wanted. Canvas fabric is easily $10 a yard at the fabric store… don’t be afraid to think outside the box.
I used wax string and it helped with holding it in place once I pulled the button to create the tuft. I stapled it in place and then after I pulled, and then again to hopefully lock it in for a long time.

At first I was only going to tuft a few rows, but realized I would be disappointed with the look.

I went and bought more buttons and finished the rest. I pulled the fabric neatly and stapled it as flat as I could in the 2.5 inch border and wrapped it under at the bottom. Then I took the mantle off the wall, fit the insert in the open space and screwed it down tight. One more lift and it was D.O.N.E.
I think the tufting was exactly what the whole project needed. What do you think?

Plus one more gratuitous shot of cute and lazy dog who refused to get out of the picture…. feel free to pin either image (hint, hint).

The insert isn’t perfect, but I am still proud of it for a first attempt. It looks fantastic and I absolutely love it and I’m excited about shopping my house to find fun things for the shelf.
Now if I could just find a rug and get that room painted…
XO!
~Scottie
(While Pure Bond plywood provided product for me to share with you. All my opinions are my own and always will be)


4 Comments
Fireplace mantle repurpose - Saved by Scottie
October 16, 2019 at 11:28 AM[…] Part 2 “Tufting is Tough” […]
How to Reupholster a Chair - Saved by Scottie
February 17, 2020 at 6:59 PM[…] to change. I am a bit of a novice at upholstery but not afraid to give it a go. After all, I made a tufted headboard with no experience, this seemed much more […]
Lingerie Chest Makeover - Saved by Scottie
March 10, 2020 at 11:40 AM[…] color and wears well so I love using it for simple reupholstery and special projects like my fireplace repurpose and jewelry display […]
DIY Mask with filter pocket - Saved by Scottie
April 7, 2020 at 11:47 AM[…] I actually had. I guess my supply collection from upholstery projects like the Jewelry Frame and fireplace mantle headboard come in […]