
This post was originally for a Furniture Flippin’ Contest and *sponsored by ETI-Envirotex. It was my first time to use a two-part epoxy to make a penny table. I have never done that and it was super fun!
This page includes affiliate links. If you make a purchase using the link, I may receive a commission at no additional cost to you.
The table
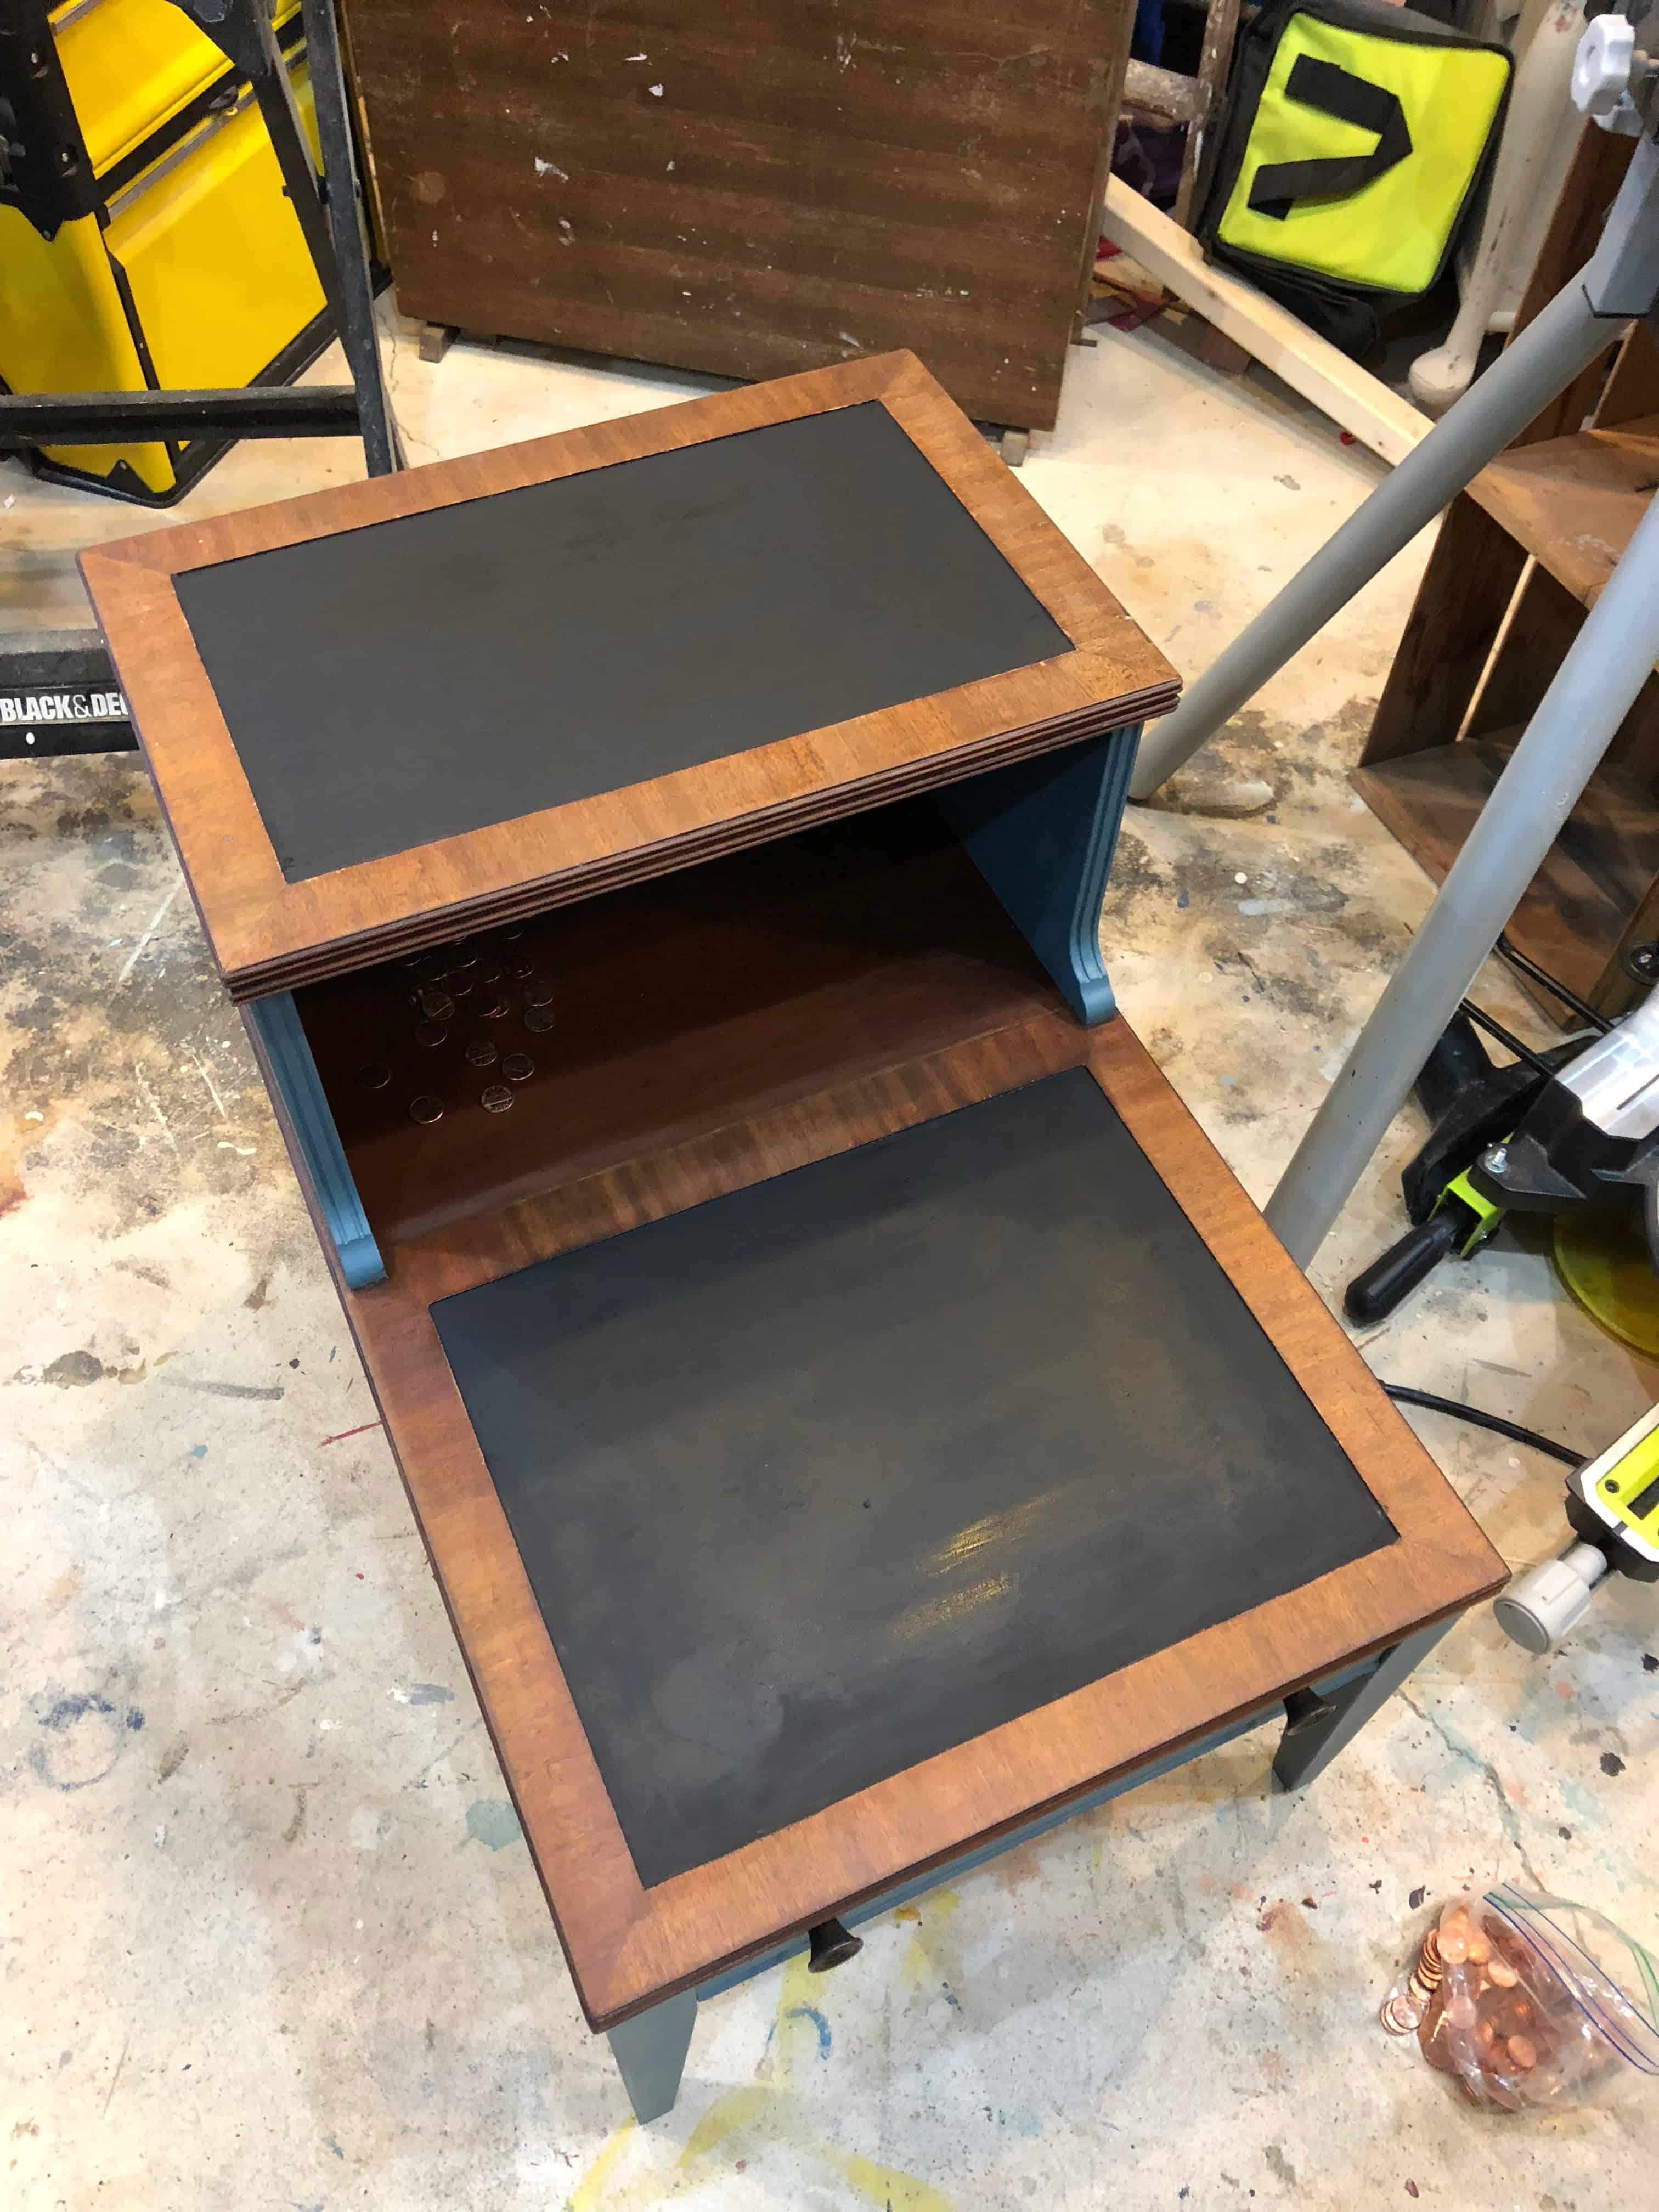
I had this table that I bought at auction. Originally I thought I would just make it a Lego table as a quick paint and flip. It sat in storage and I pulled it out for a look.
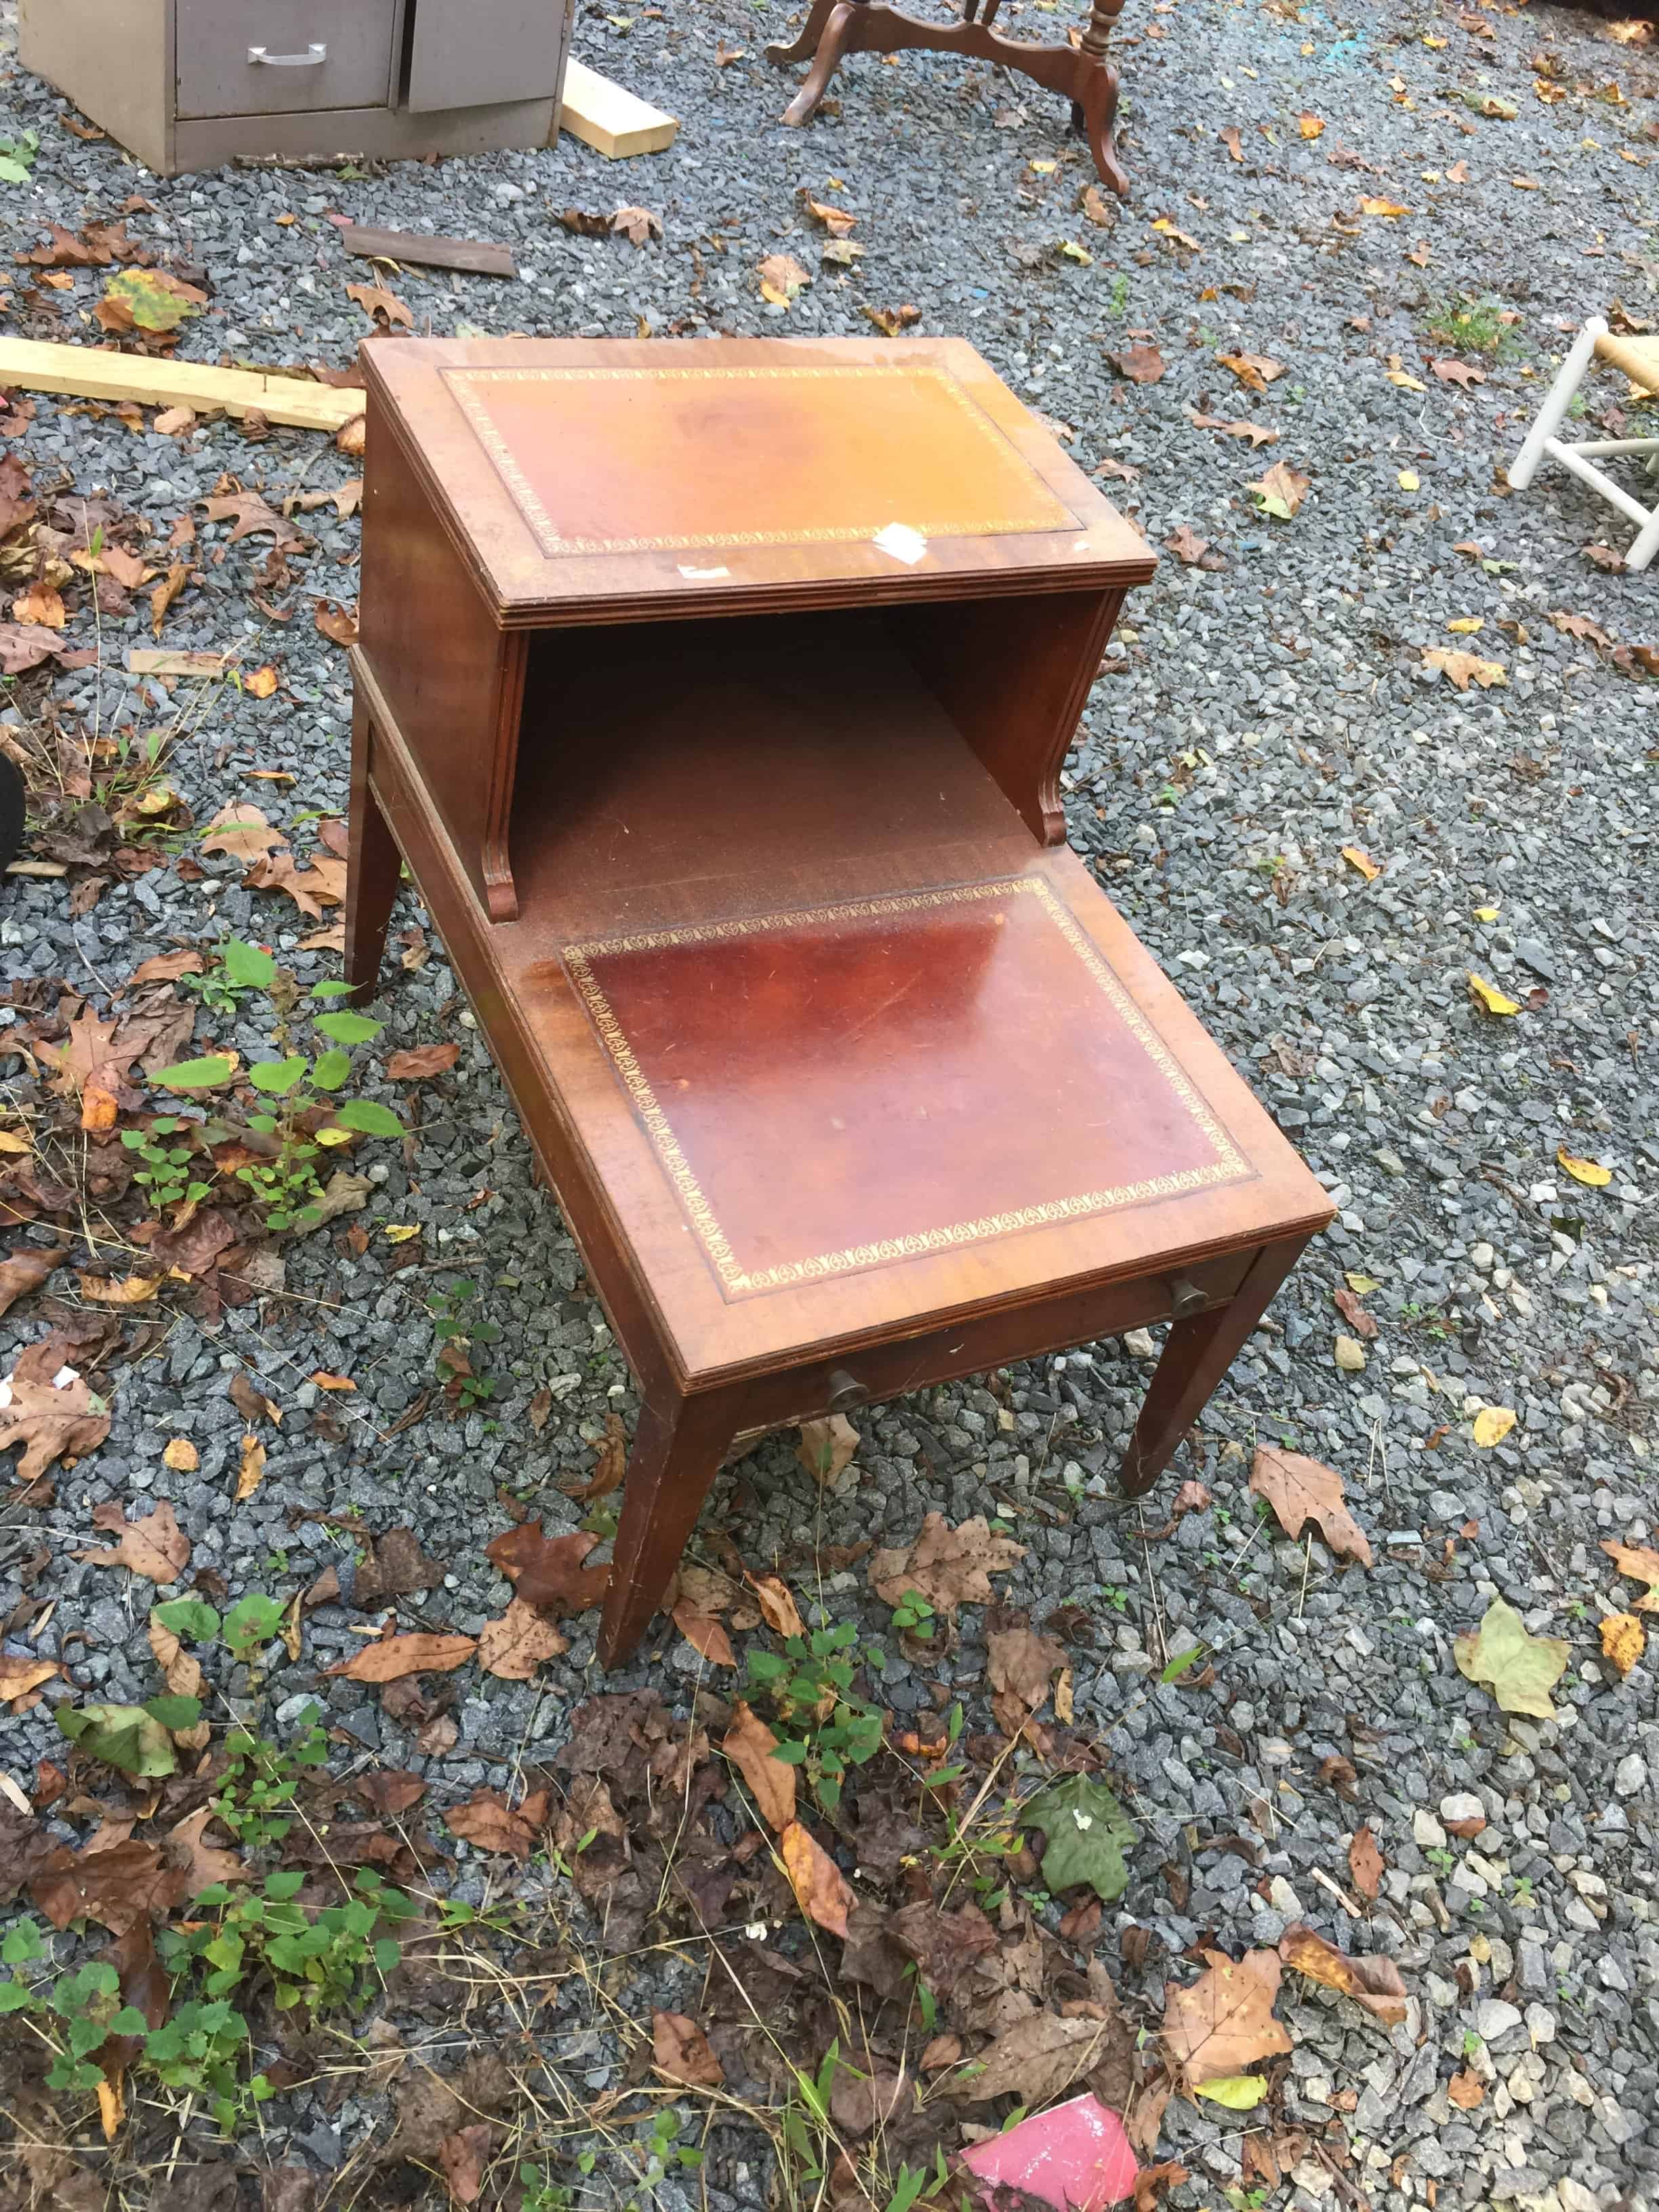
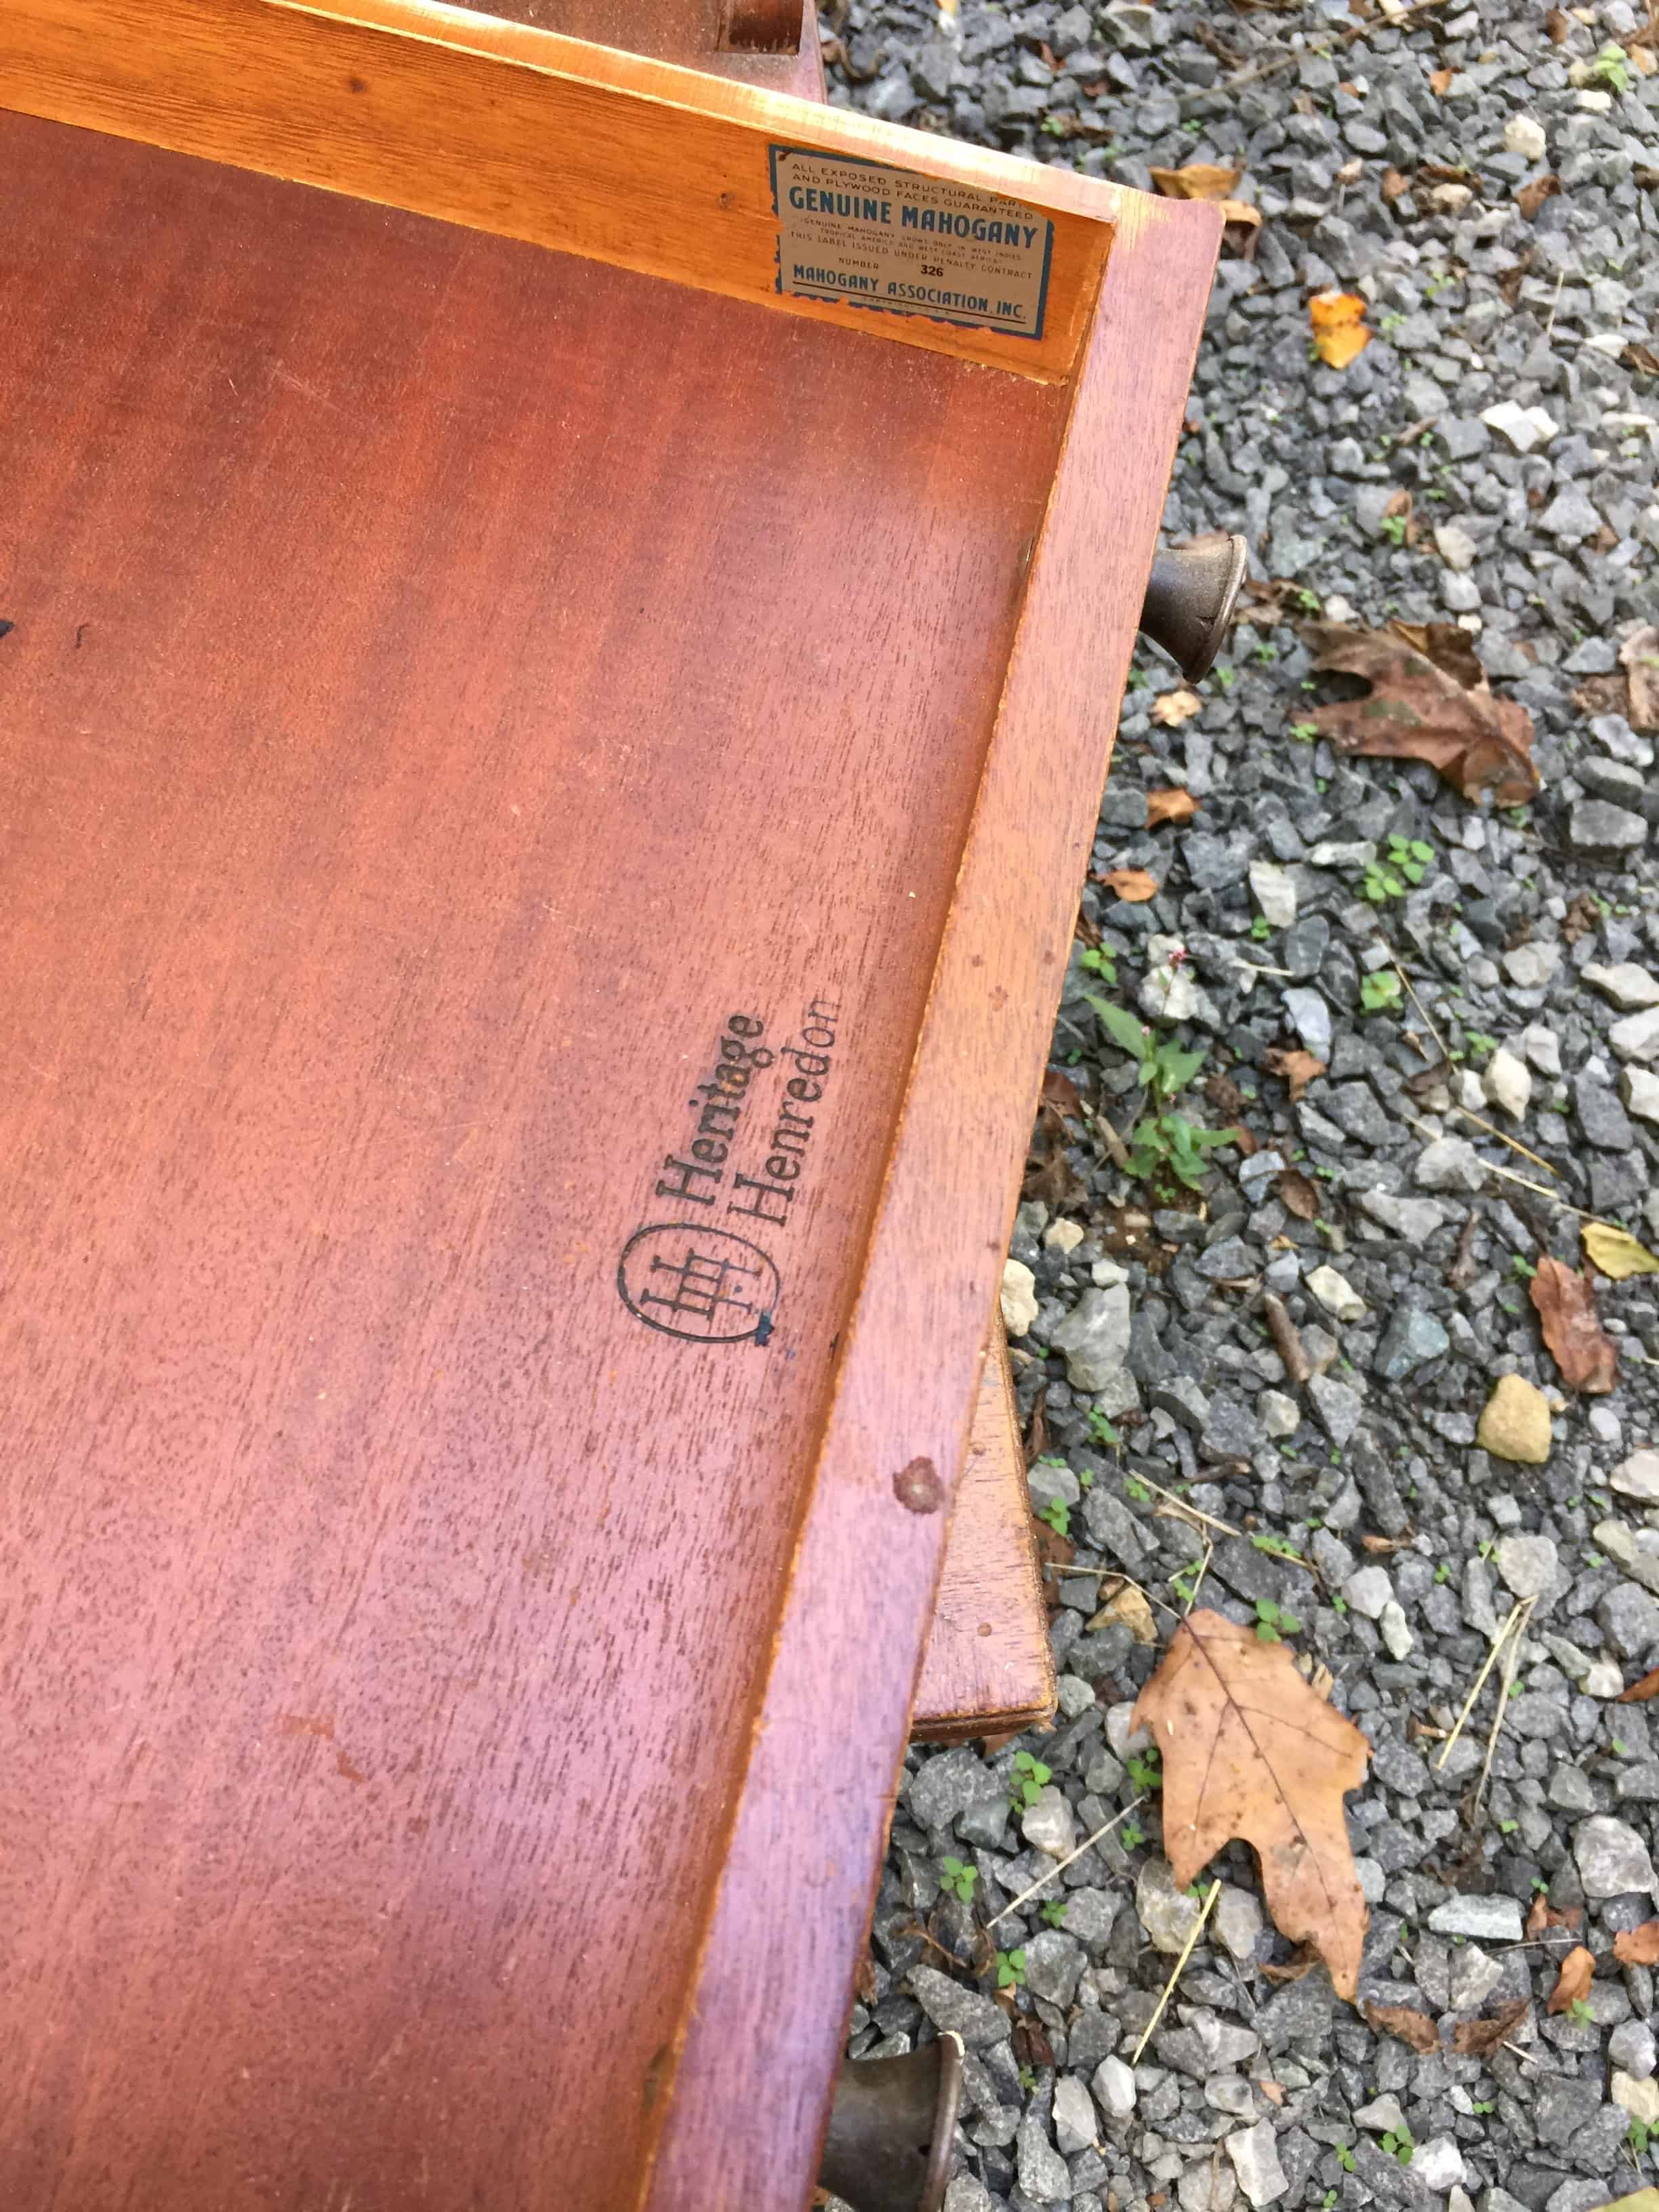

Good bones for sure and I always love the vintage and original markings. I left those in place and cleaned it then painted it with a mix of Shabby Paints Dynasty Blue and Licorice. I also stained the tops and mismatched leather just a bit with Shabby Paints reVAX.

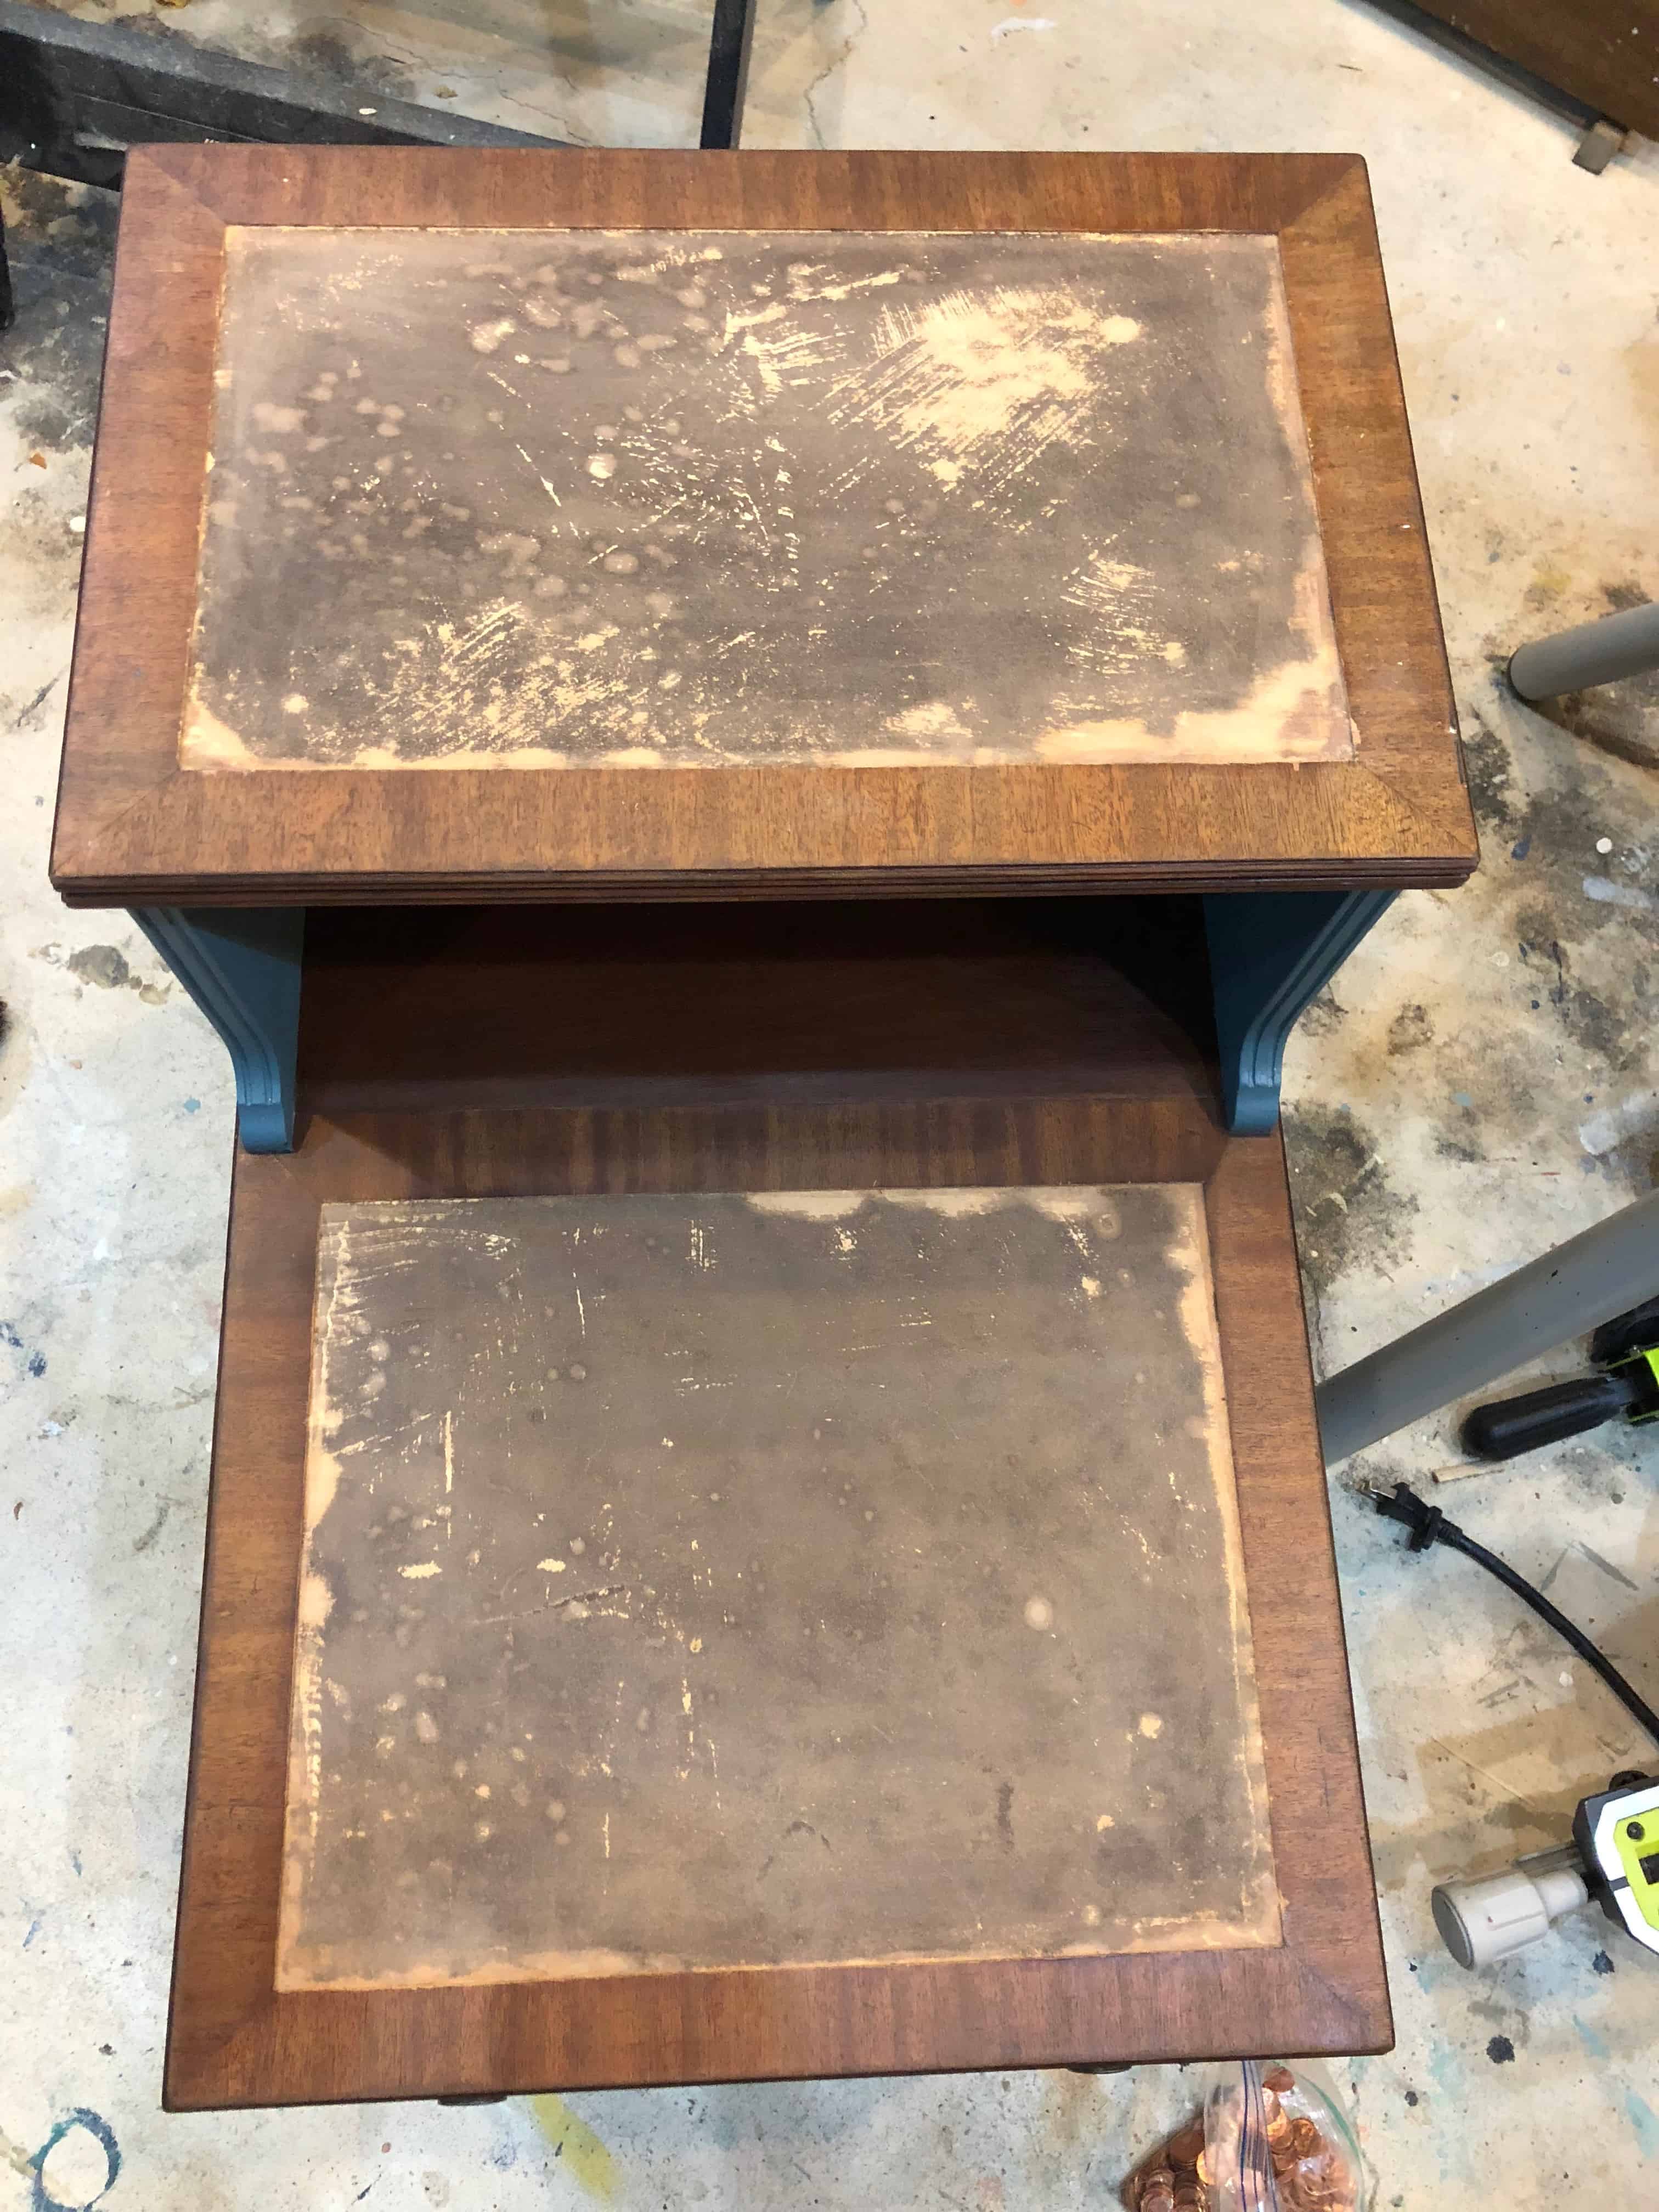
Tearing it apart and prep
I really wasn’t happy with it overall. When this month’s contest came up, I was thrilled to get the opportunity to revamp this little treasure. I grabbed it and pulled off the leather knowing what I would do. I have always wanted to do a penny floor… this was my opportunity to practice first- a penny table!
Adding the pennies
It wasn’t pretty. I laid out some pennies to get a feel for whether this would look good.
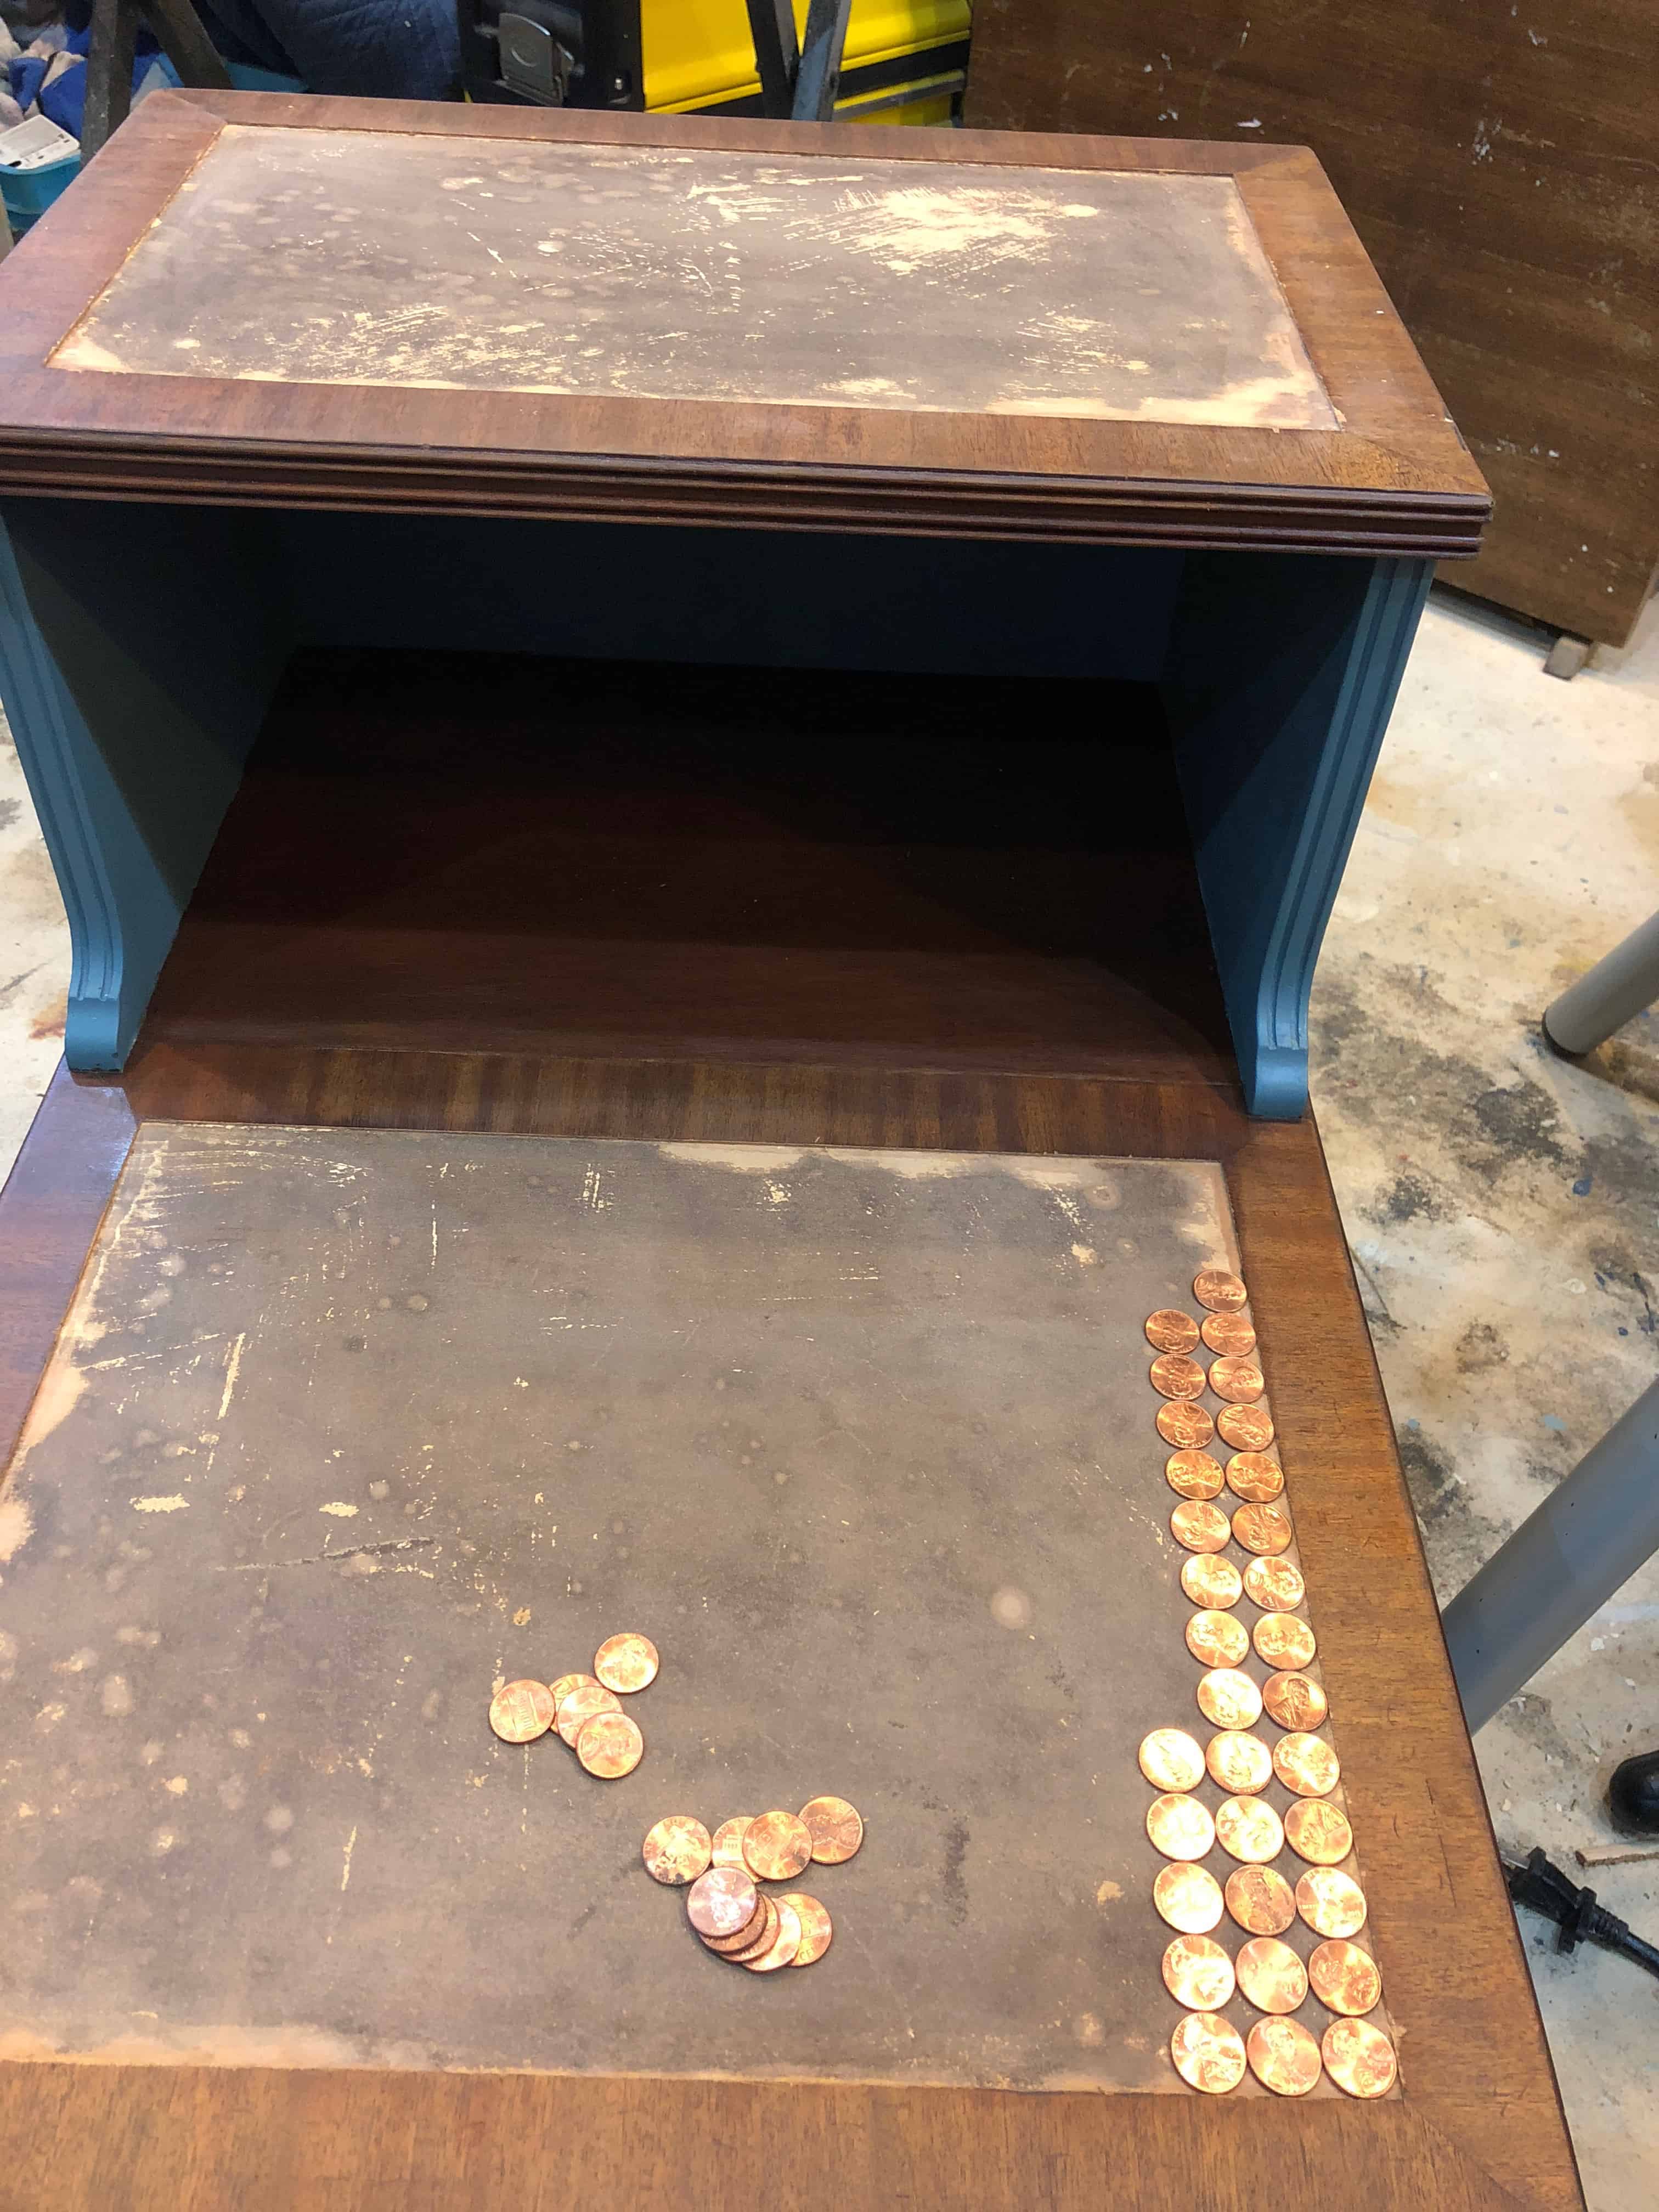

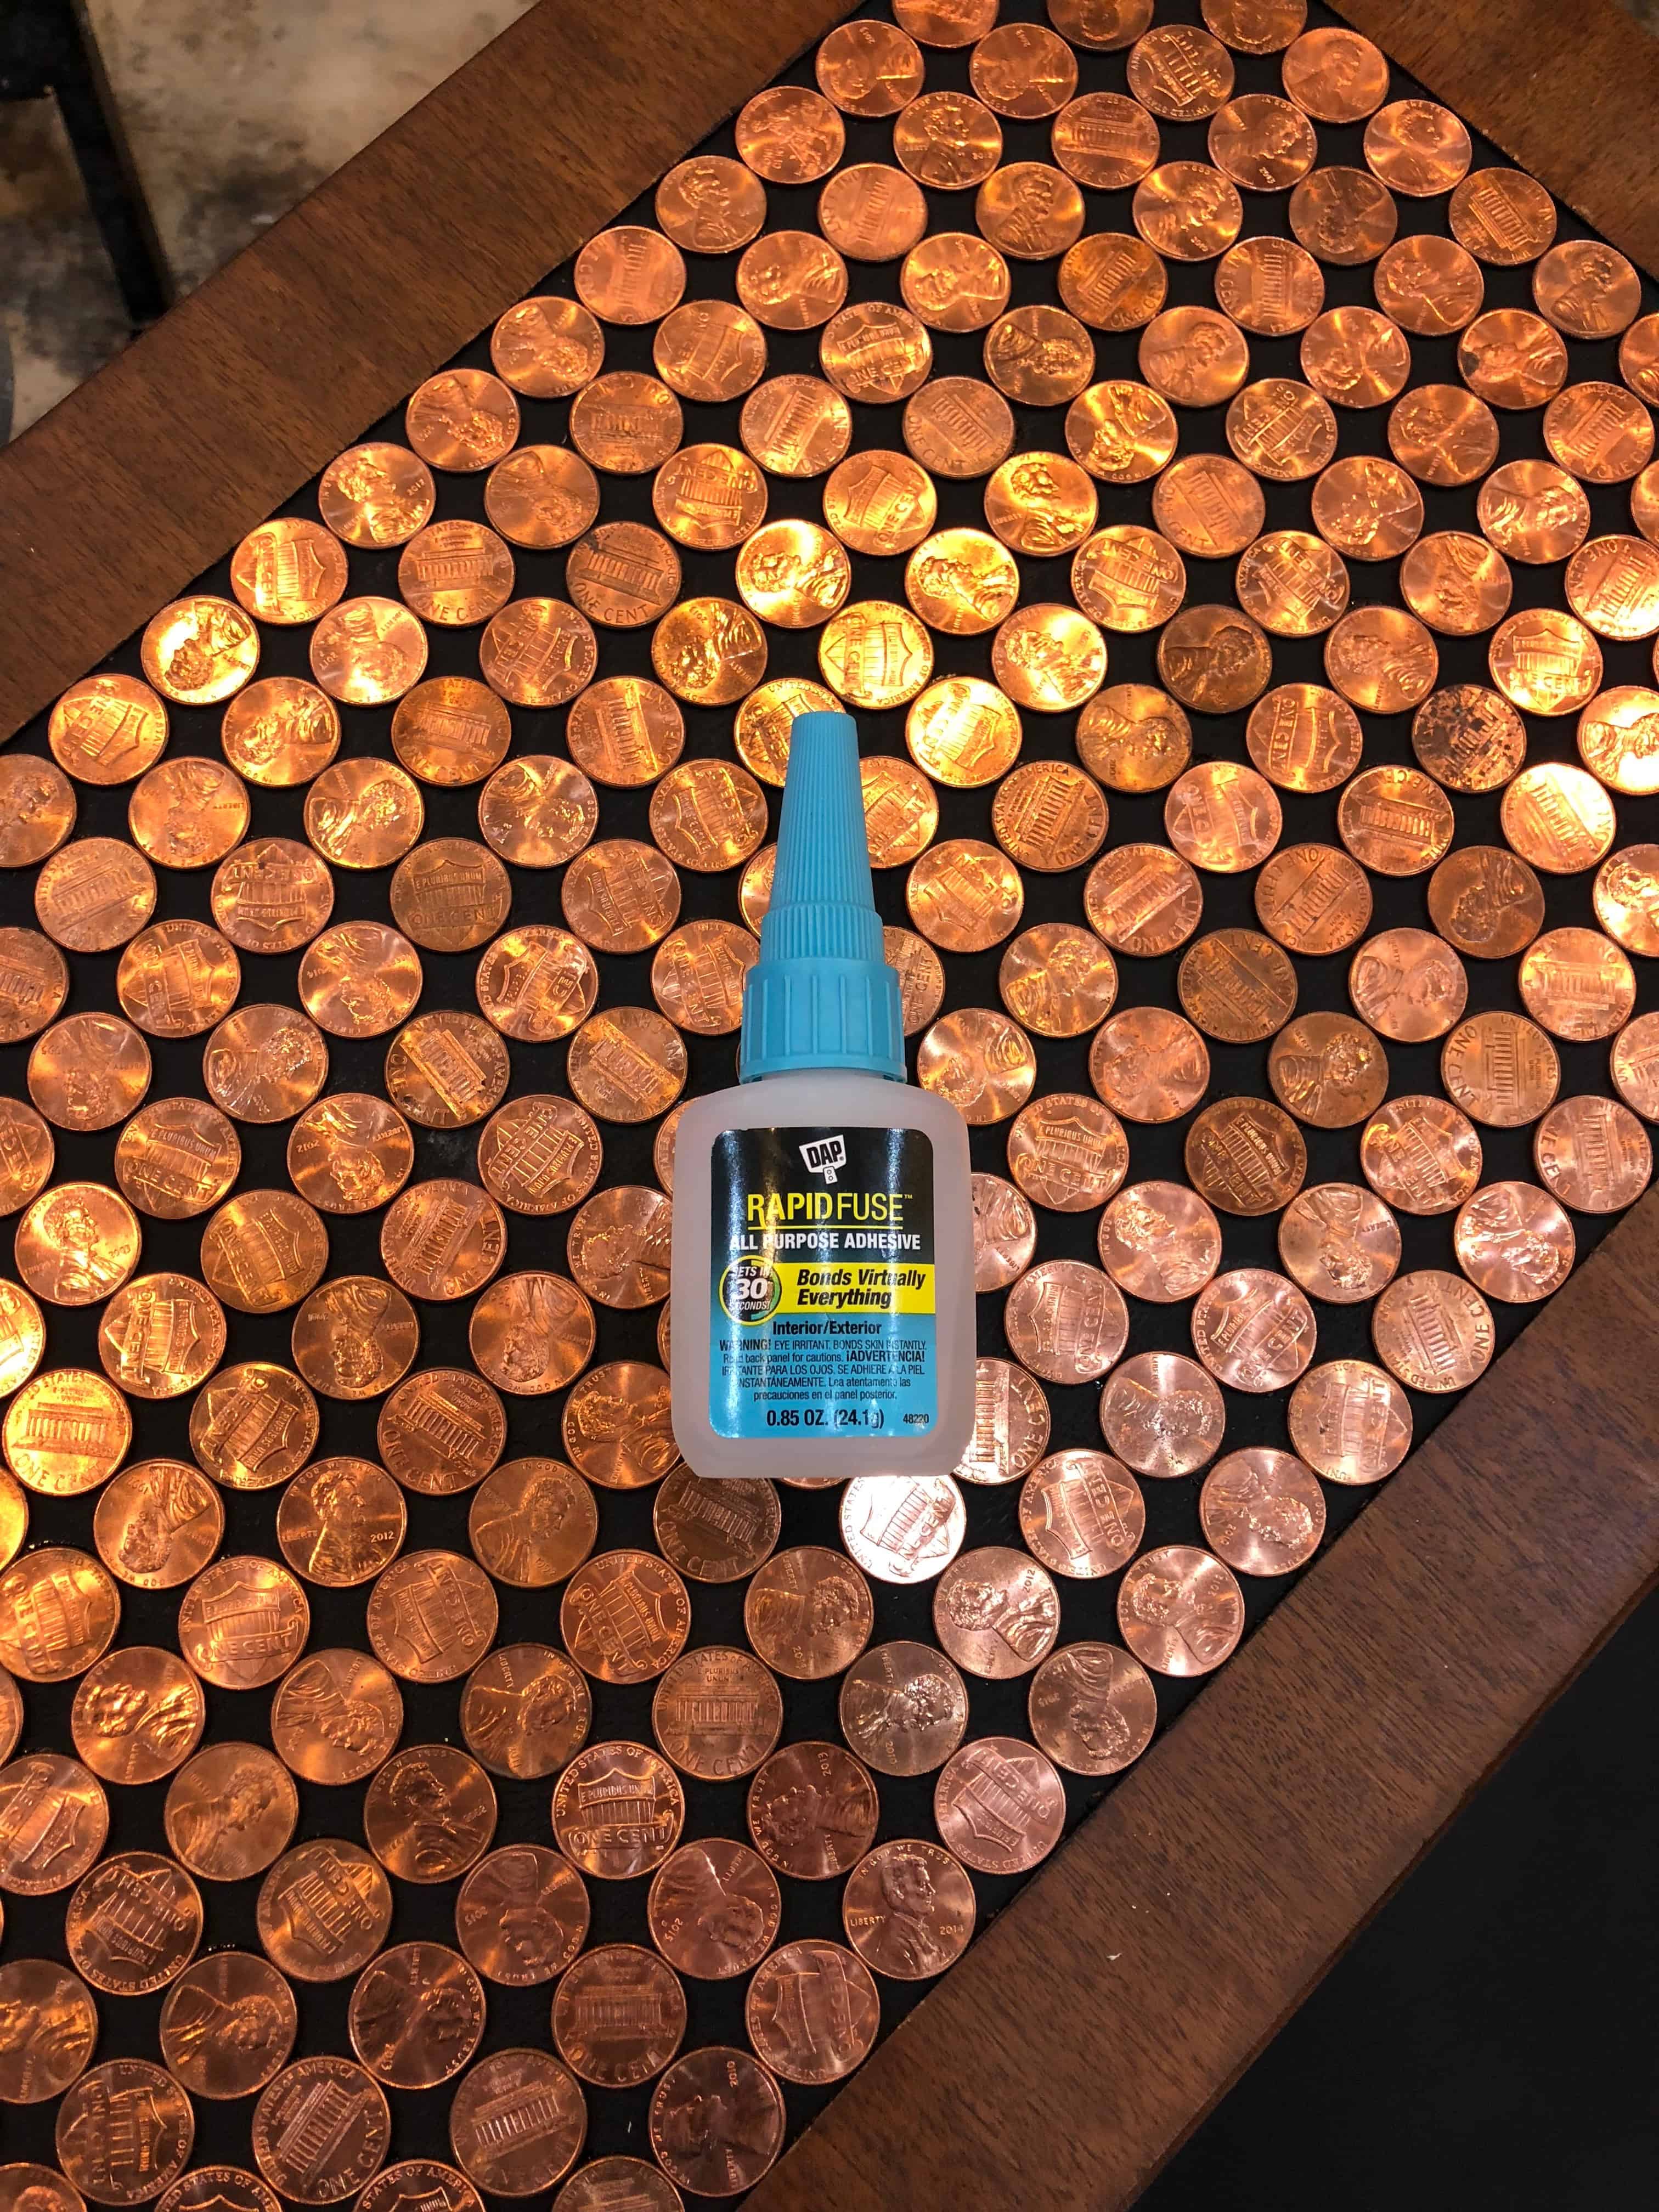
Once I knew it was going to work and the pennies weren’t too thick, I pulled them all off and painted the insert Licorice to really show off the shine.
Then I laid out the pennies again and started glueing. I found it easiest and fastest to pull out one row, lay a line of glue down, then slide the pennies into the line of glue. This had to be done line by line as the glue set up pretty quickly.
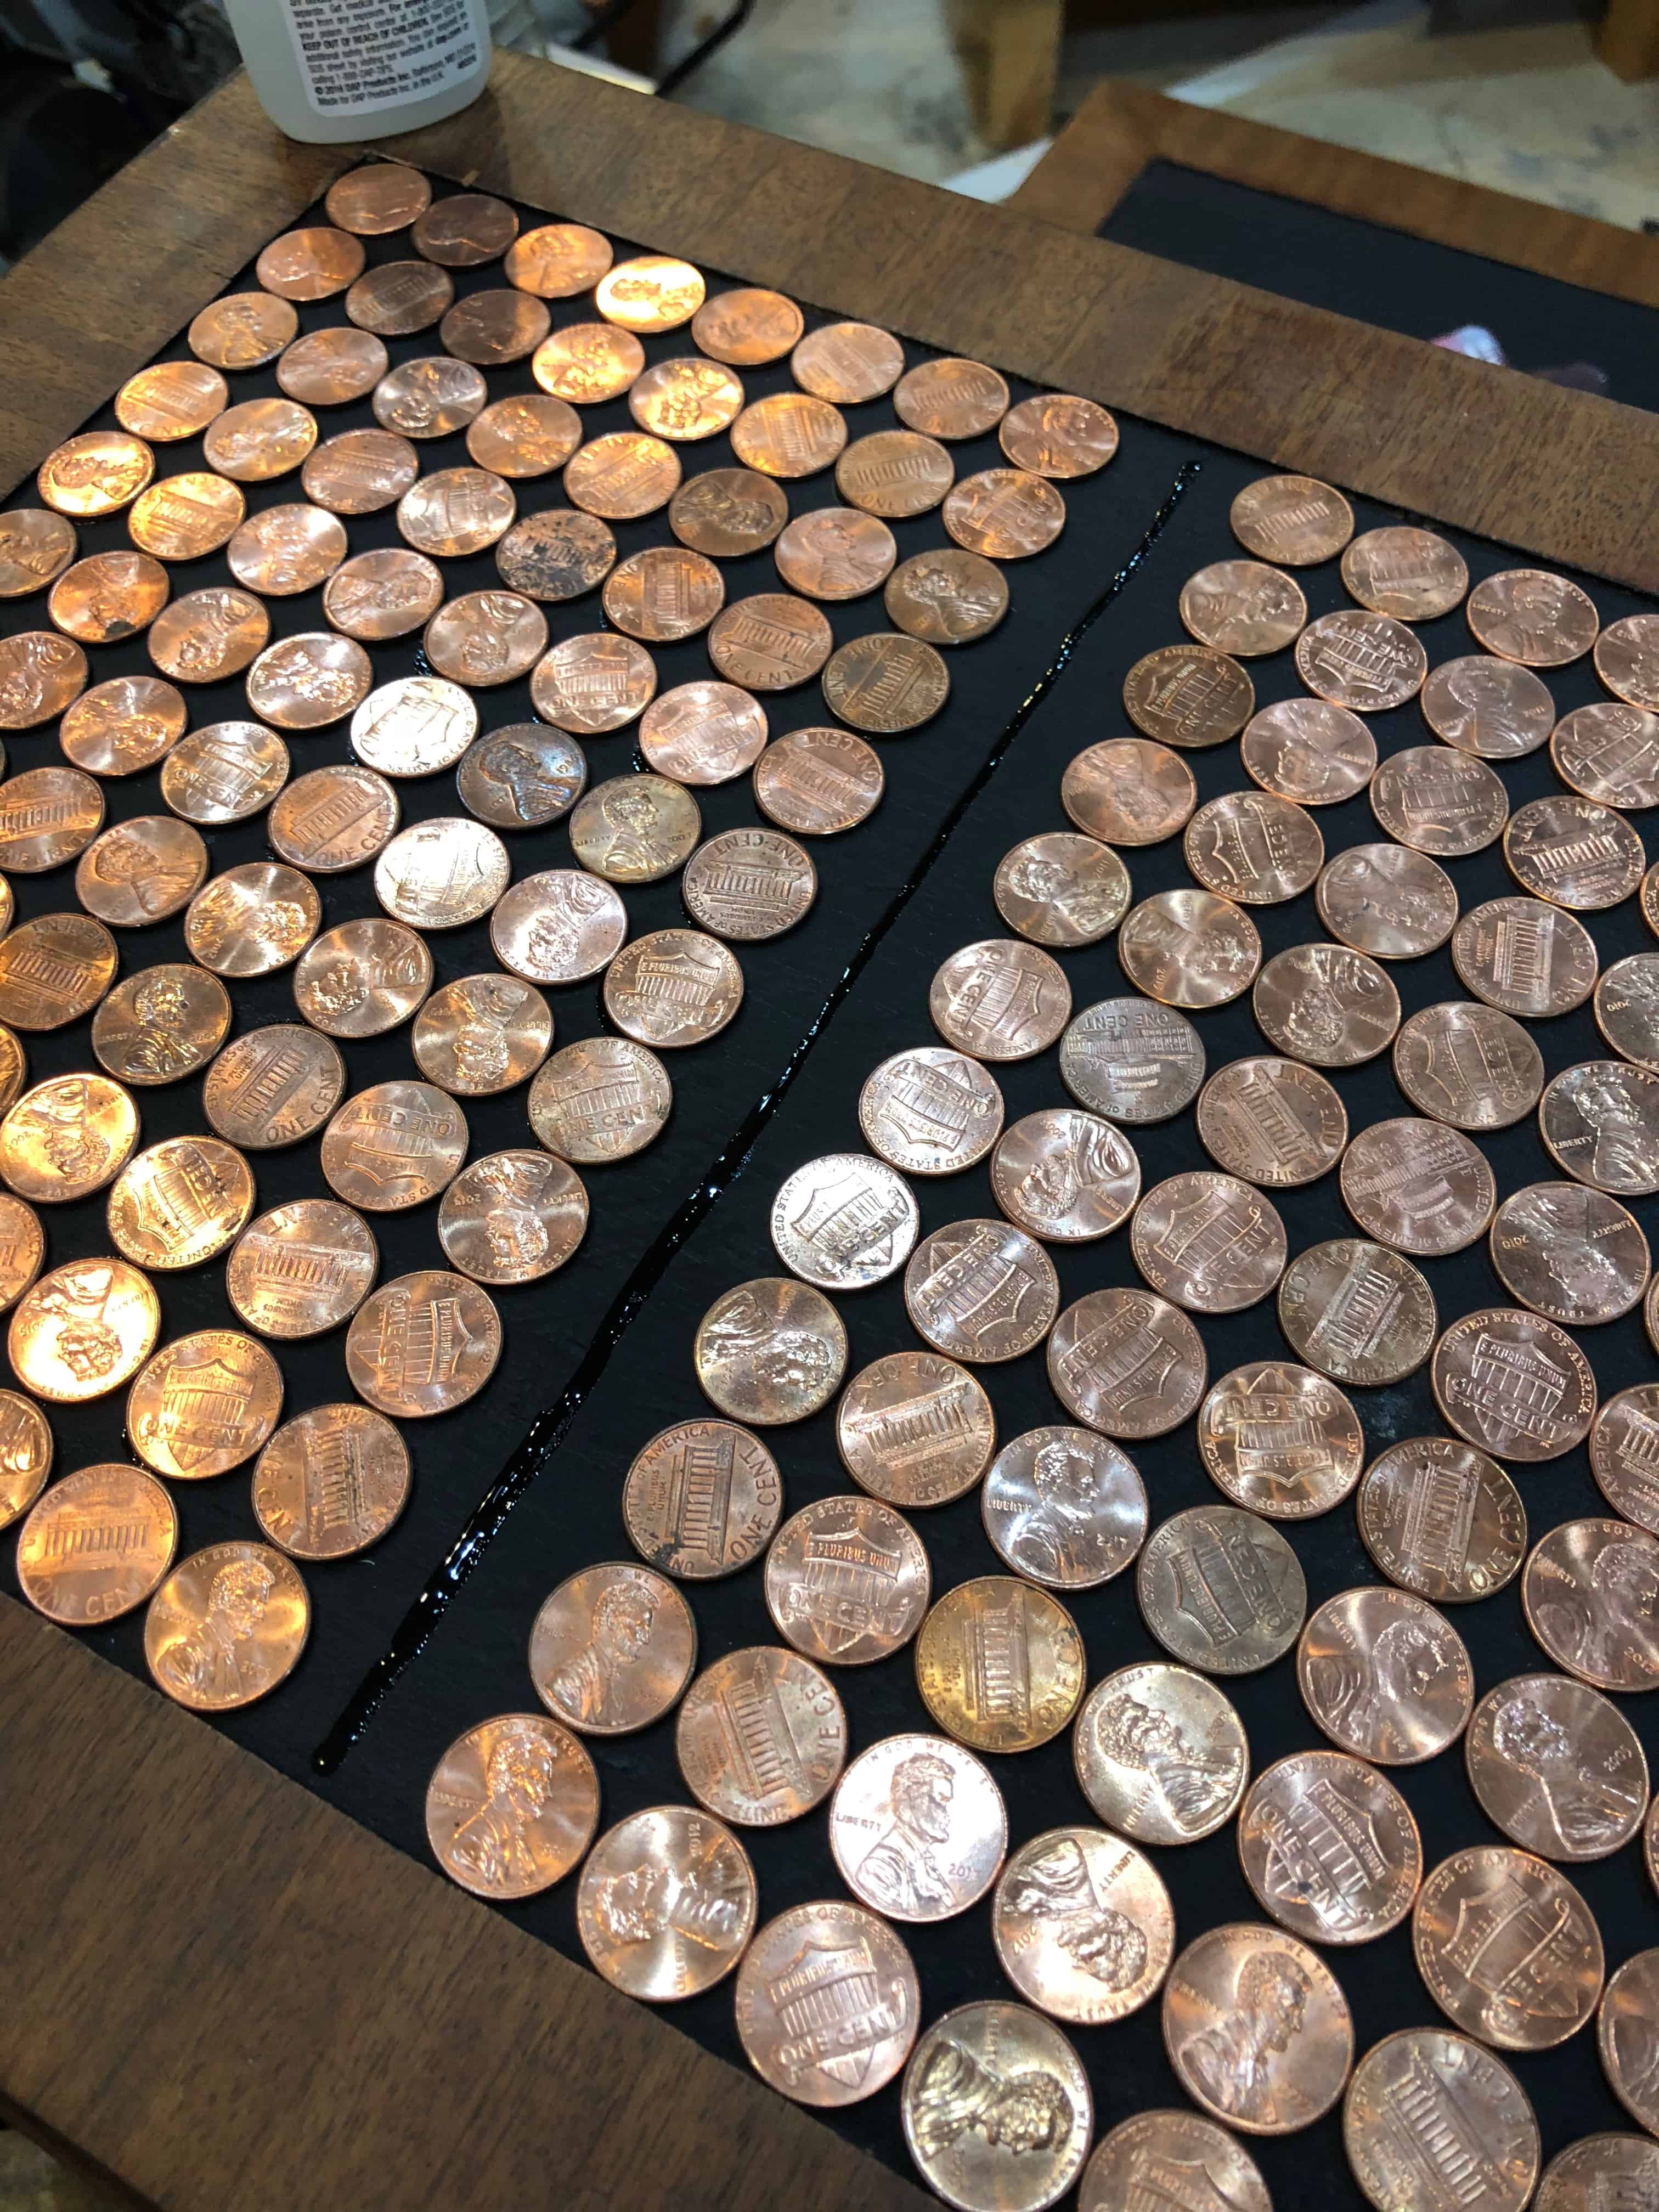
When I got to gluing the bottom everything didn’t line up as perfectly so I had to get creative. I tried laying it all out in a random pattern, but there were odd gaps no matter how I arranged things.
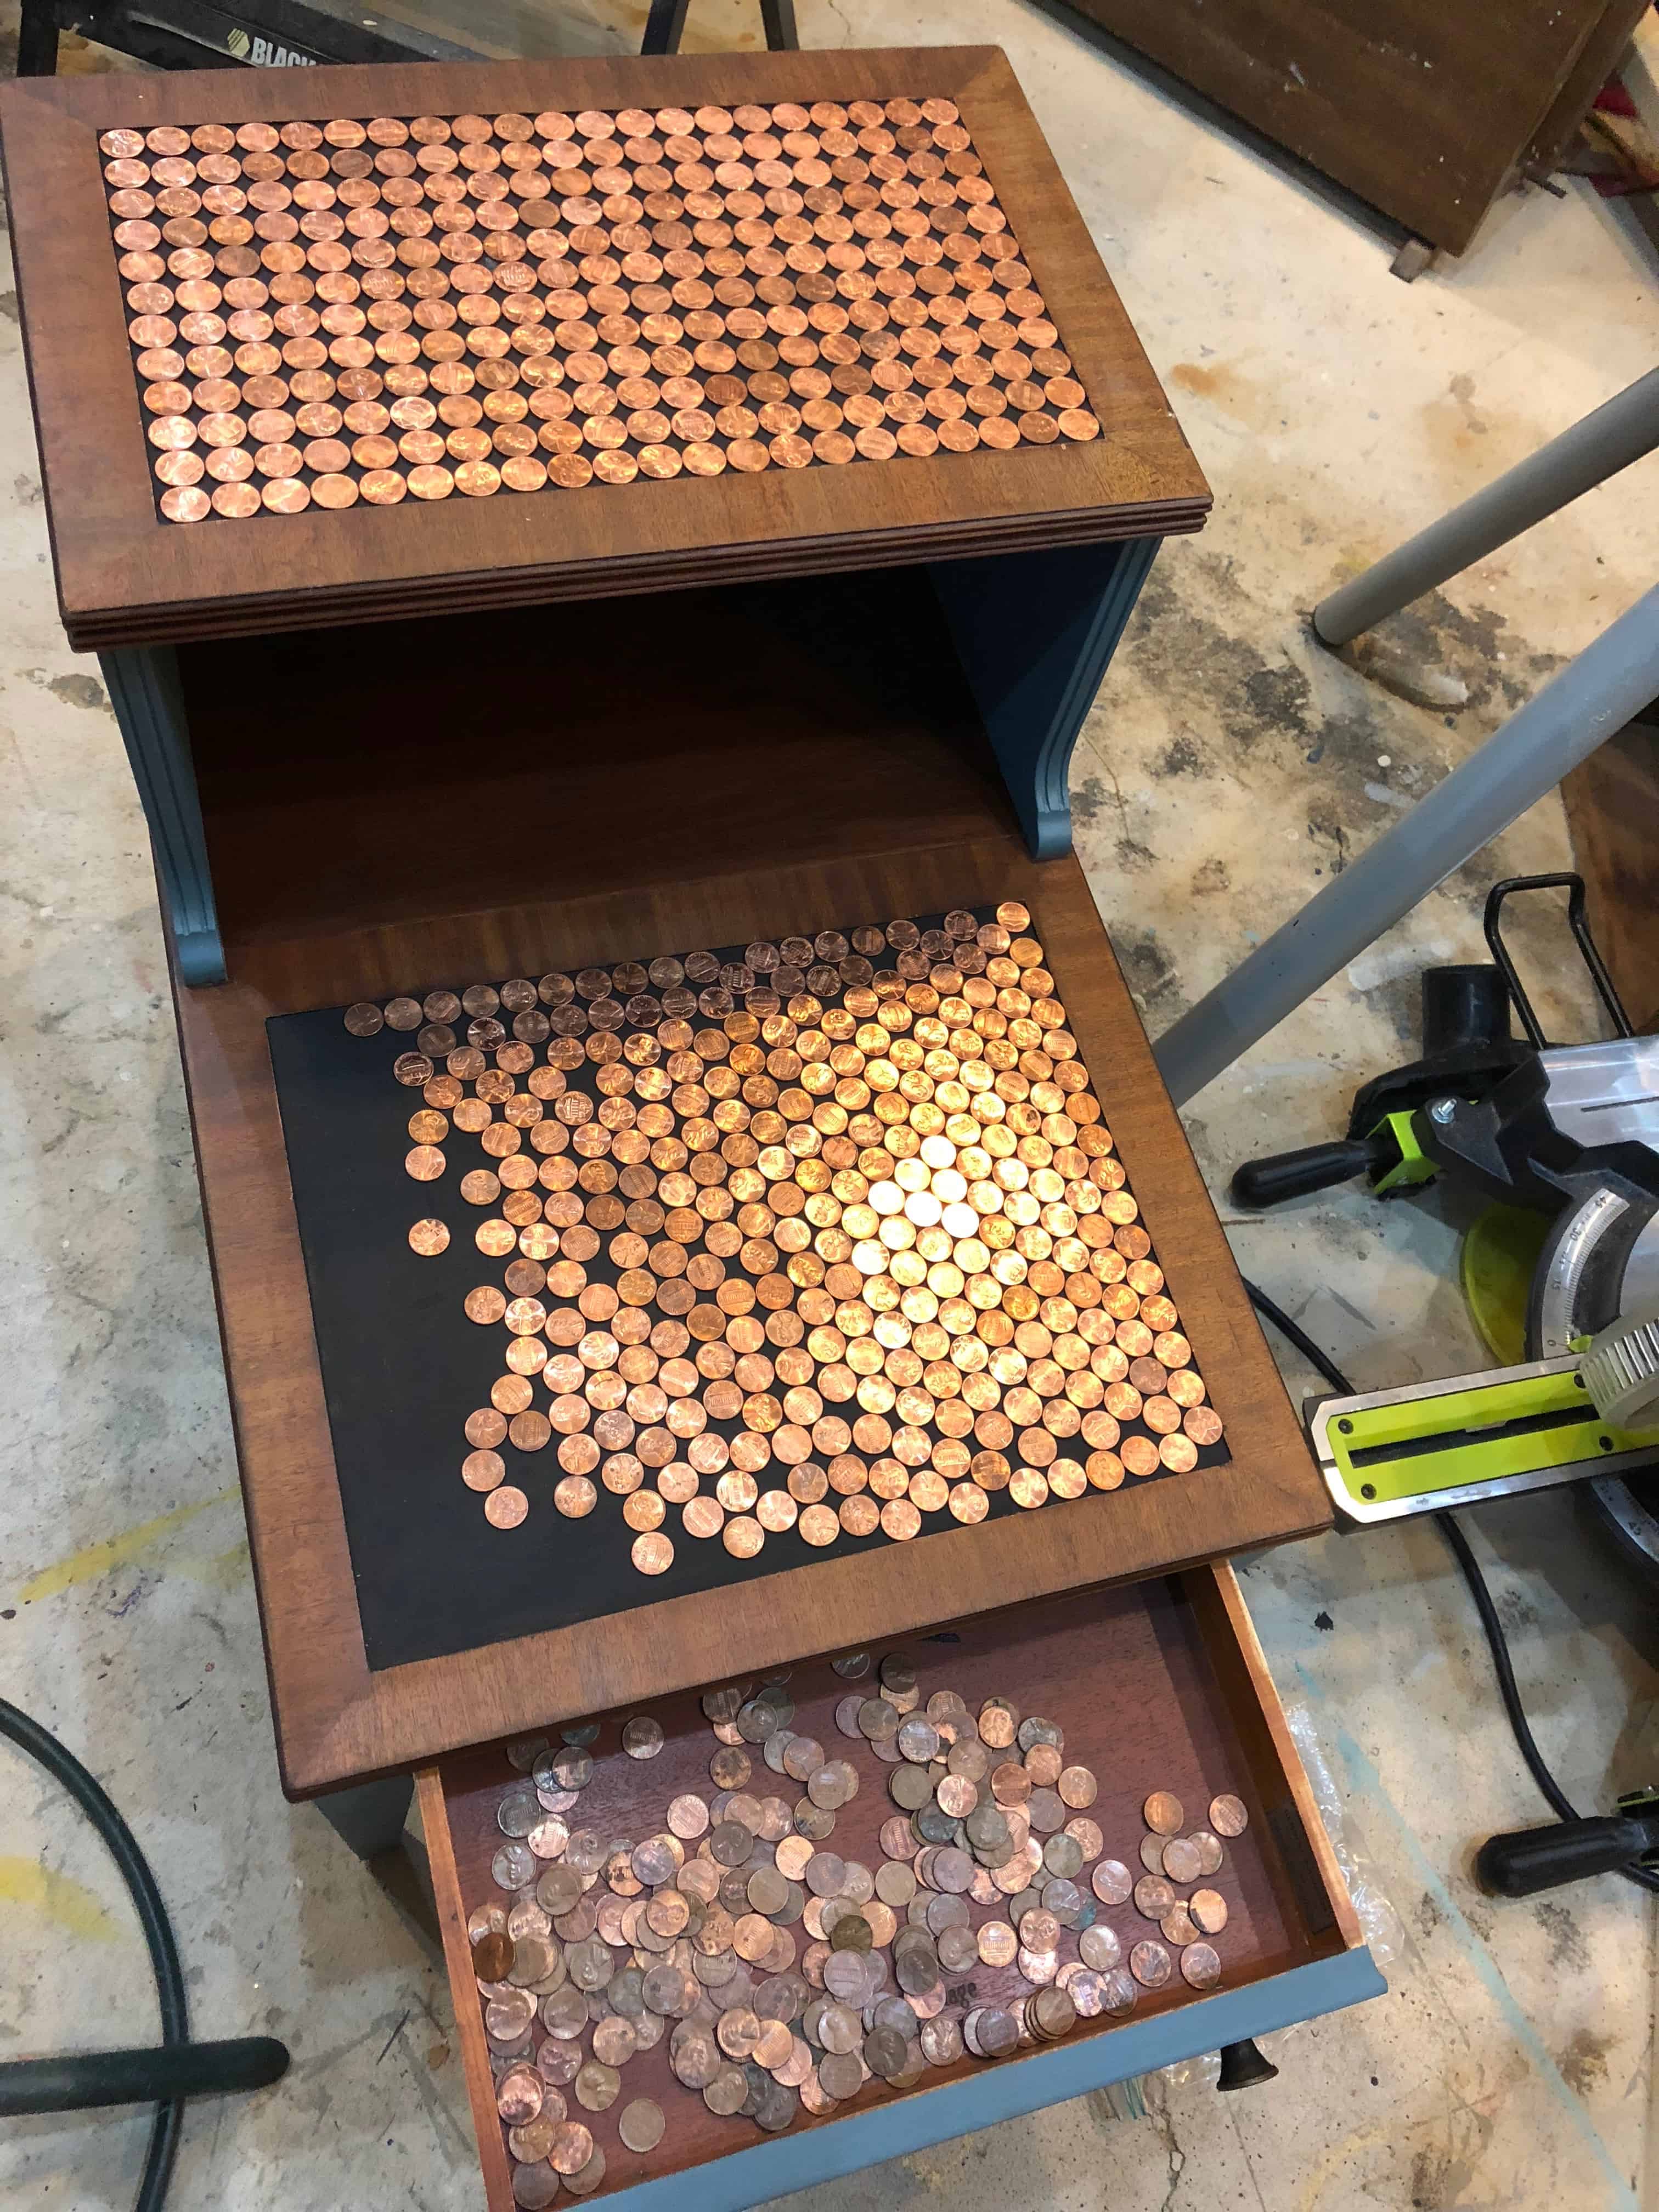
There was about a 3/4 penny gap at one end when I tried to set them up in a line. After thinking for a while, I decided to cut popsicle sticks thinly to fill the gaps on the top and bottom.
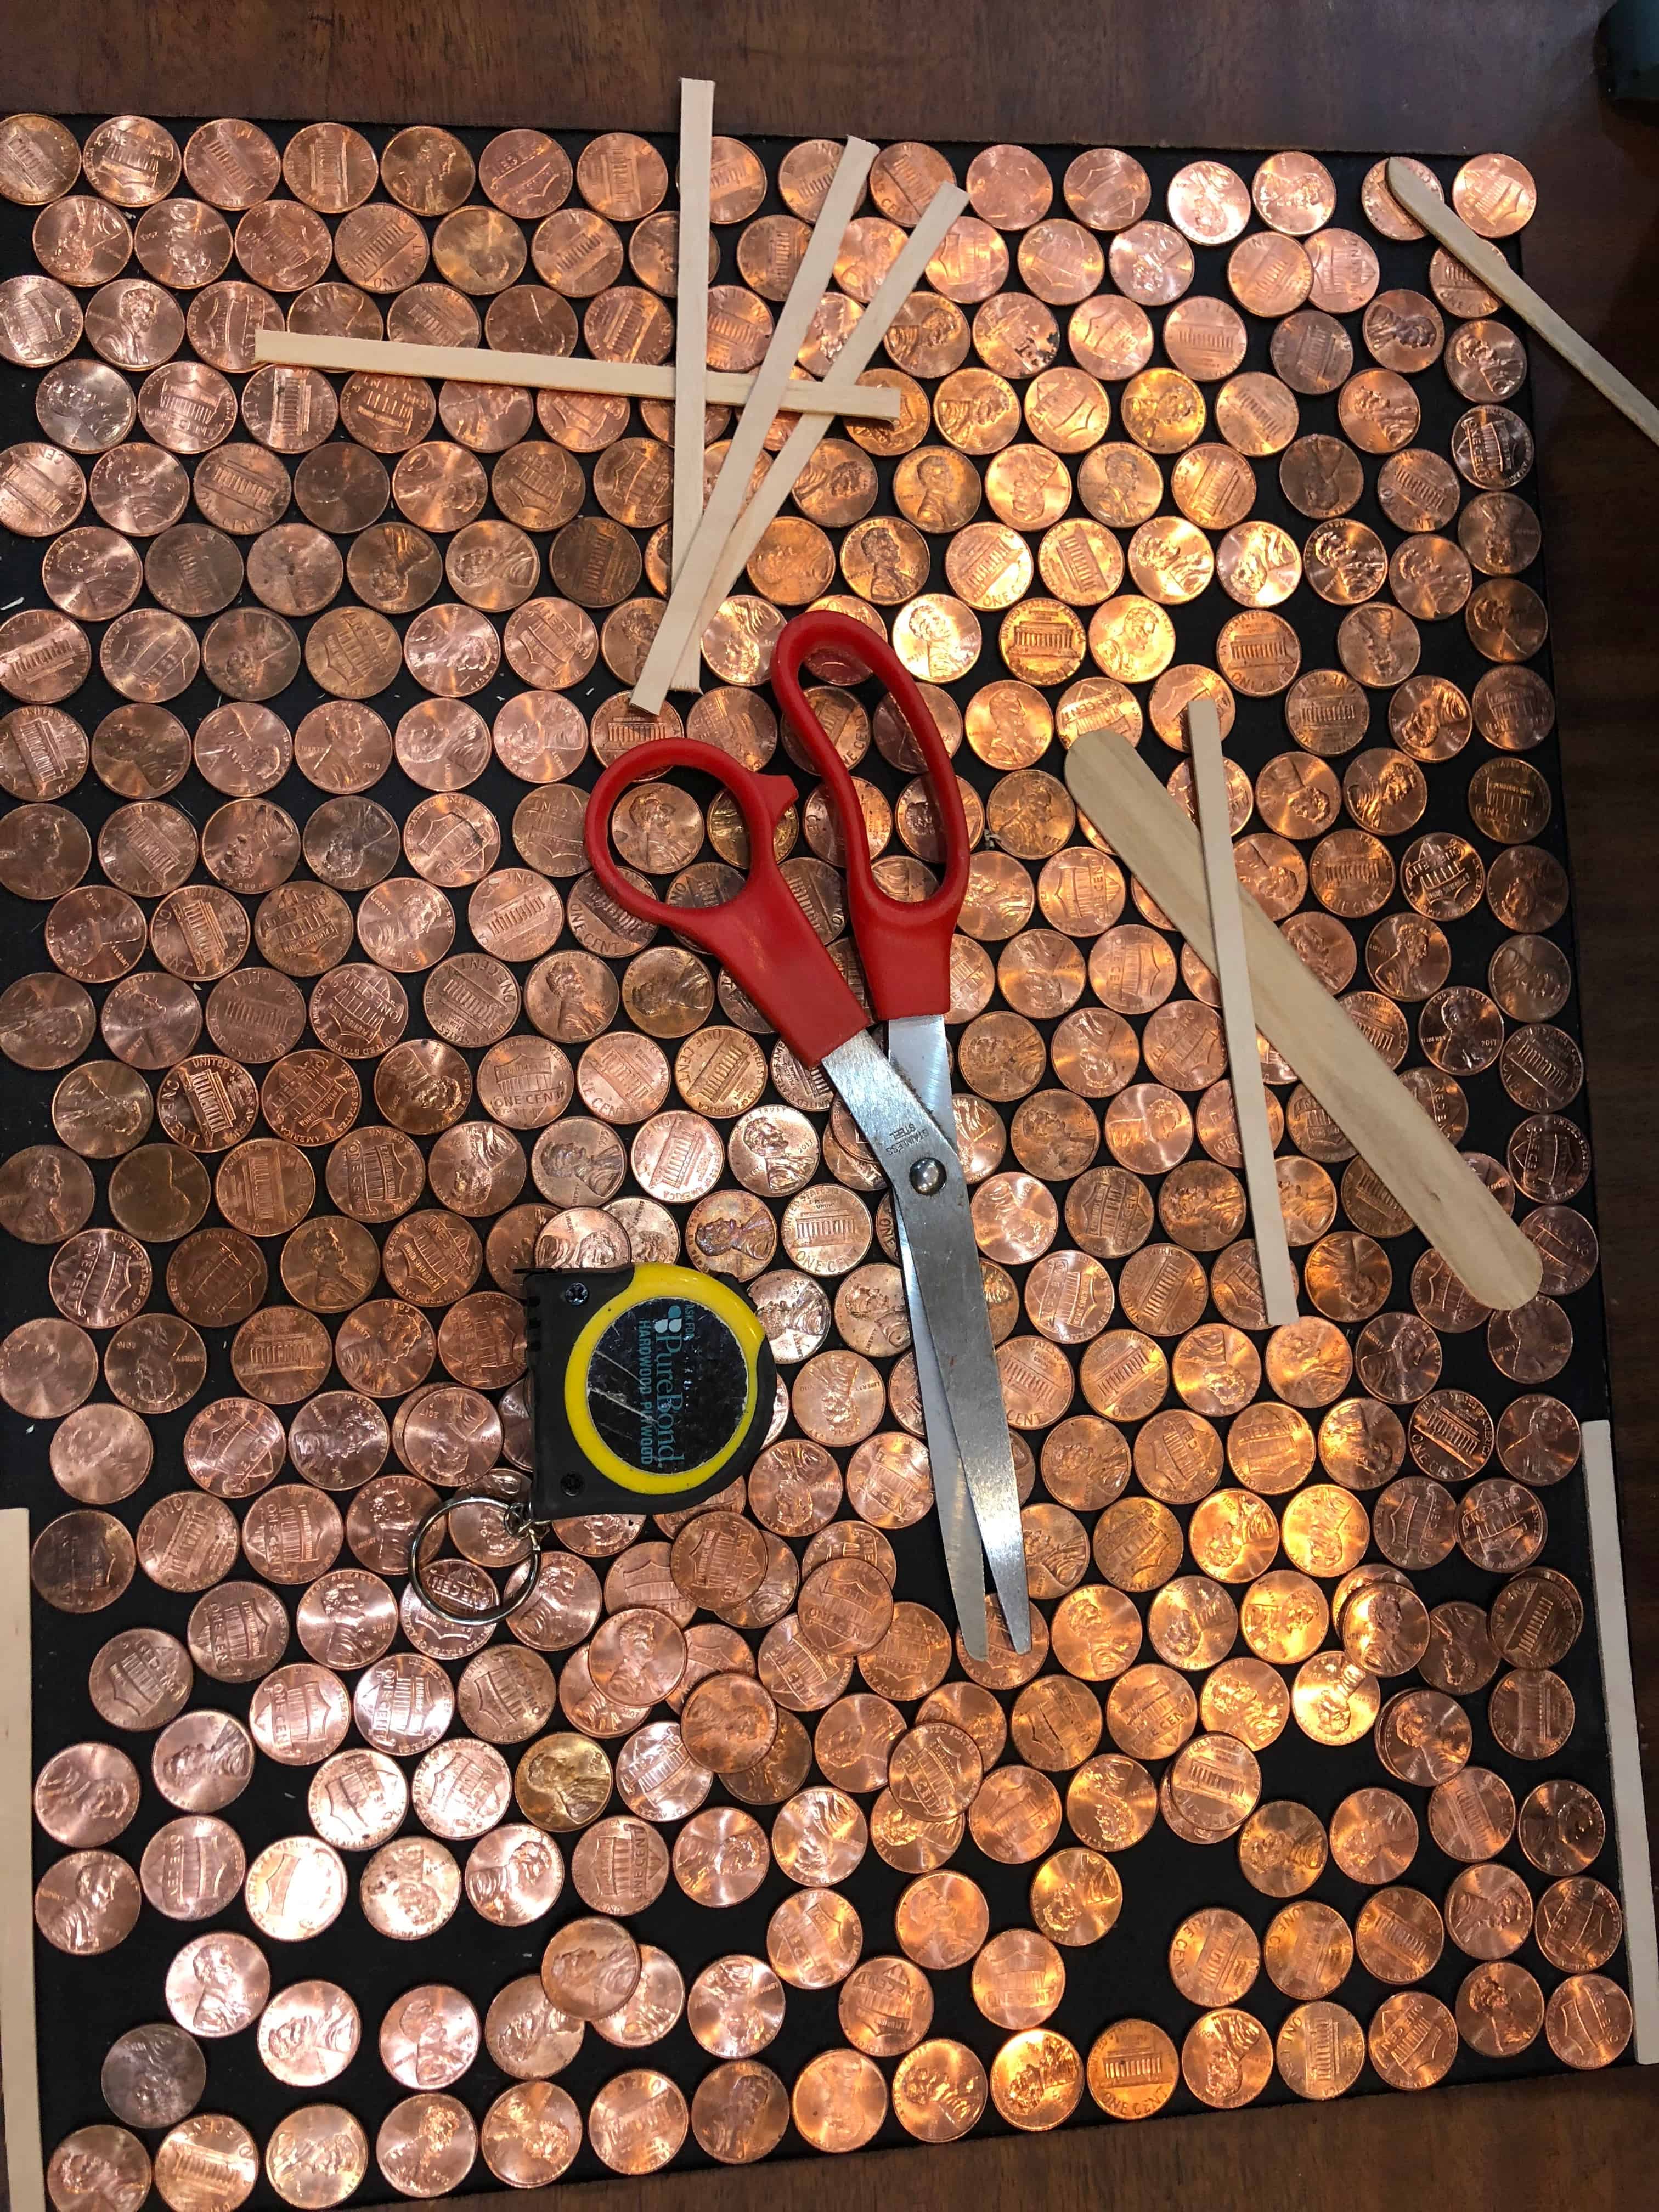
How did I cut them so thinly? I used a scroll saw with a makeshift jig.

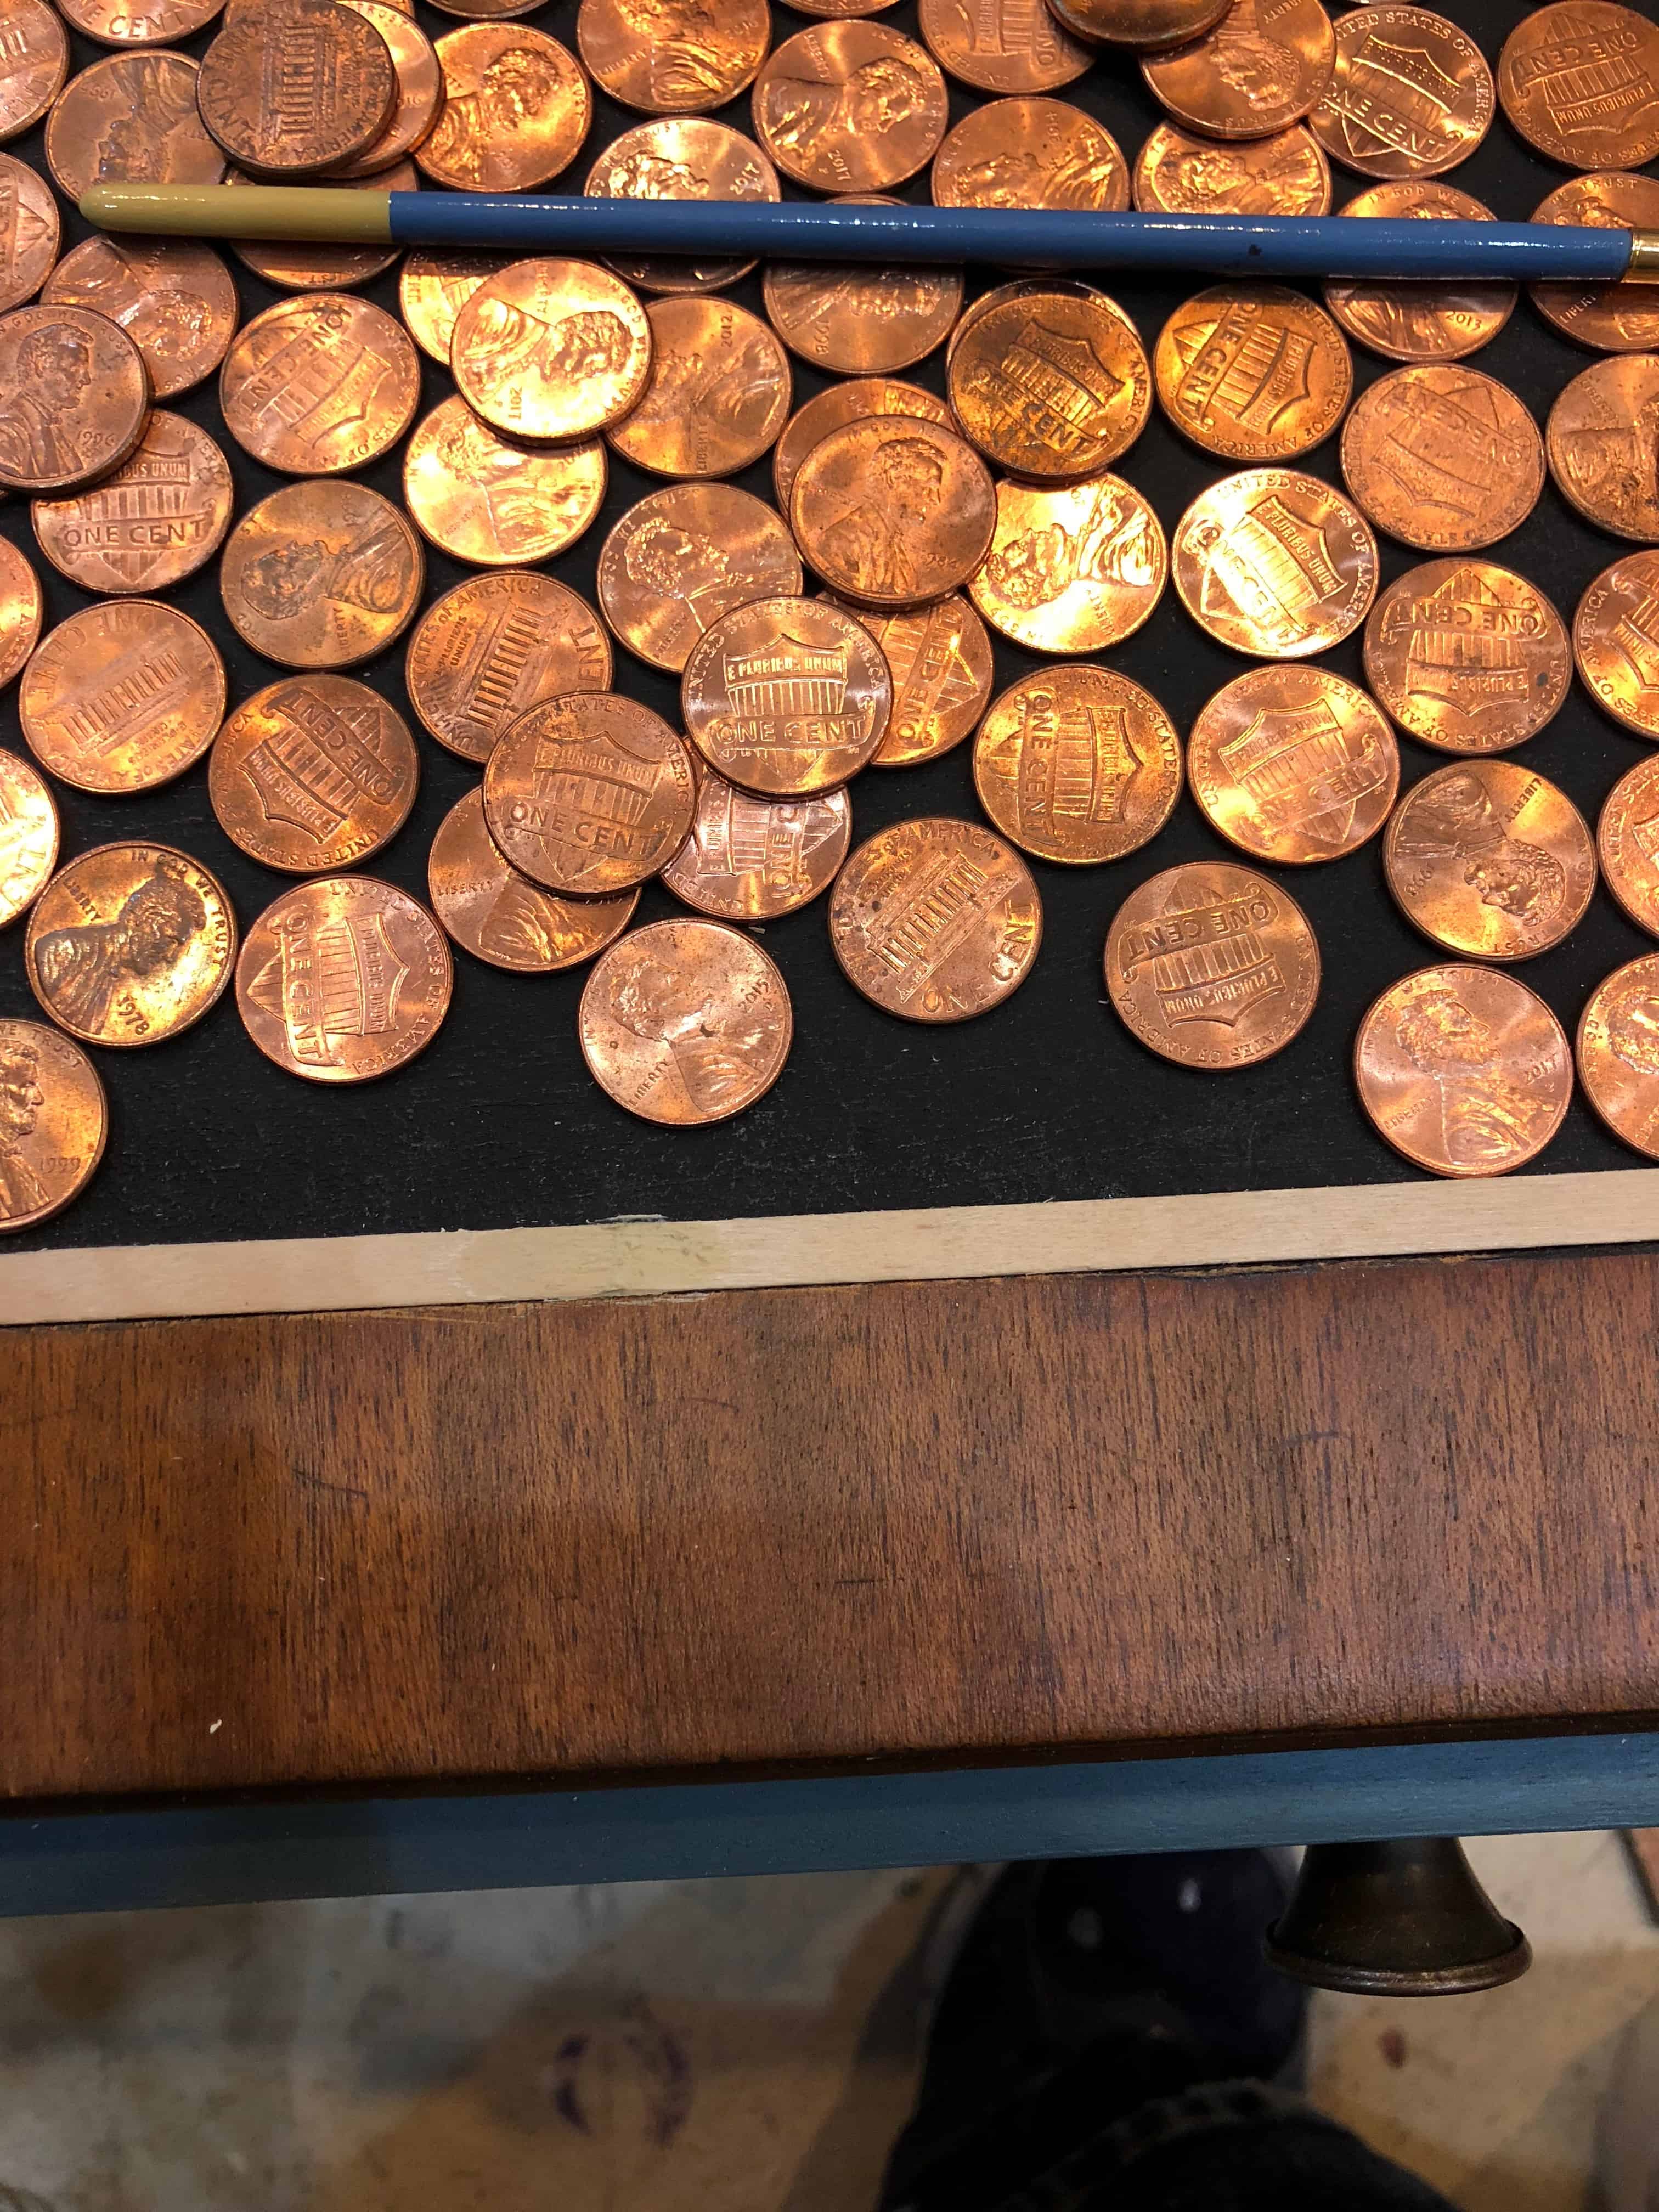
Once i glued them down, you could see a gap where the sticks met.

I used Shabby Paints Texture as a quick drying wood filler.

I sanded it smooth and painted the edging Licorice to match… and then, I panicked. Never having worked with a 2 part epoxy before I decided I might need to practice first. So I grabbed a square bit of plywood and glued some pennies then mixed a sample batch.


Not nearly as bad as I thought- wax paper and time are your friends…
I jumped in with both feet and finished the table:

The bottom was a little bit more tricky than the top, but not horribly so at all. The long “open” time was a blessing a few times and gave me the ability to move everything around when I realized it wasn’t flowing in certain spots in the back. I loved breathing on it and using my torch to get rid of bubbles (it’s the carbon dioxide more than the heat that moves them out). It was also super satisfying and relaxing watching the product flow, settle and level out.
Once it was finished, dry and cured, I drug it off to the new shop and it sold faster than anything I have ever made before. The shine of the copper is nicely offset by the wood tones and the blue. Hopefully this penny table gem is happy in it’s new home.

What do you think? Are you ready to give ETI-Envirotex a try? I can’t wait to see what everyone else does with it!
Please Pin and Share this post!

XO!
~Scottie
(*ETI-Envirotex sent me product in exchange for sharing it with you. All opinions and experiences are my own and always will be)


11 Comments
Anam
November 30, 2017 at 12:02 AMThis looks gorgeous! Beautiful table!
Scottie
November 30, 2017 at 9:03 AMThank you so much!
Michele @ Thistledown Domestic Creations
November 30, 2017 at 6:21 PMThis is FABULOUS! I have a table that would work for this project! Thanks for sharing!
Scottie
November 30, 2017 at 7:00 PMThank you so much! I can’t wait to see yours!!
Emy
December 7, 2017 at 10:02 AMYour table is so cool! Love how it turned out.
By the way, how do I add my link? Do you guys manually add them? Thanks!
Scottie
December 11, 2017 at 8:47 AMThank you Emy! I believe you add it to the post on the Facebook group.
Lisa
December 10, 2017 at 10:11 AMScottie, I love how this table came out! The copper accents the paint color you chose so beautifully!! Thank you so much for hosting, such a fun challenge and product to work with!
Scottie
December 11, 2017 at 8:46 AMThank you so much!
How to Make a Show-stopping Retro DIY Coffee Table
April 17, 2018 at 3:57 PM[…] Flippin’ Contest is hosted by: Evey, Christie, Scottie and Jessica. Be sure to check out Scottie’s fabulous penny table and Jess’s buffalo check […]
Debbie P
December 19, 2019 at 10:54 PMUsing pennies to resurface that table is a very clever and cool idea! Looks amazing!
Scottie
December 20, 2019 at 12:07 PMThank you so much Debbie- it was such a fun project!